HS-102P Pan and Tilt Head - Vinten Radamec
HS-102P Pan and Tilt Head - Vinten Radamec
HS-102P Pan and Tilt Head - Vinten Radamec
Create successful ePaper yourself
Turn your PDF publications into a flip-book with our unique Google optimized e-Paper software.
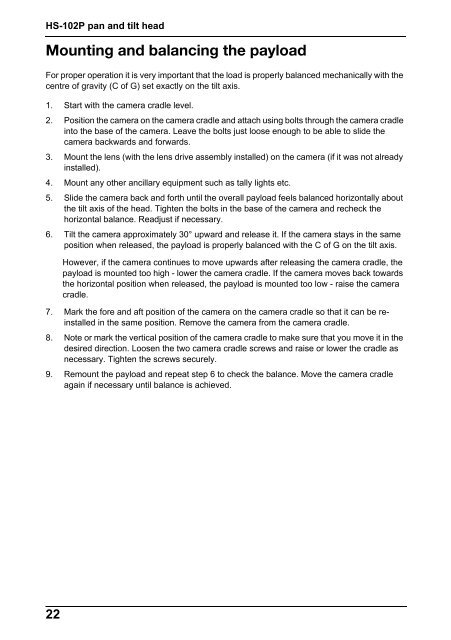
<strong>HS</strong>-<strong>102P</strong> pan <strong>and</strong> tilt head<br />
Mounting <strong>and</strong> balancing the payload<br />
For proper operation it is very important that the load is properly balanced mechanically with the<br />
centre of gravity (C of G) set exactly on the tilt axis.<br />
1. Start with the camera cradle level.<br />
2. Position the camera on the camera cradle <strong>and</strong> attach using bolts through the camera cradle<br />
into the base of the camera. Leave the bolts just loose enough to be able to slide the<br />
camera backwards <strong>and</strong> forwards.<br />
3. Mount the lens (with the lens drive assembly installed) on the camera (if it was not already<br />
installed).<br />
4. Mount any other ancillary equipment such as tally lights etc.<br />
5. Slide the camera back <strong>and</strong> forth until the overall payload feels balanced horizontally about<br />
the tilt axis of the head. Tighten the bolts in the base of the camera <strong>and</strong> recheck the<br />
horizontal balance. Readjust if necessary.<br />
6. <strong>Tilt</strong> the camera approximately 30° upward <strong>and</strong> release it. If the camera stays in the same<br />
position when released, the payload is properly balanced with the C of G on the tilt axis.<br />
However, if the camera continues to move upwards after releasing the camera cradle, the<br />
payload is mounted too high - lower the camera cradle. If the camera moves back towards<br />
the horizontal position when released, the payload is mounted too low - raise the camera<br />
cradle.<br />
7. Mark the fore <strong>and</strong> aft position of the camera on the camera cradle so that it can be reinstalled<br />
in the same position. Remove the camera from the camera cradle.<br />
8. Note or mark the vertical position of the camera cradle to make sure that you move it in the<br />
desired direction. Loosen the two camera cradle screws <strong>and</strong> raise or lower the cradle as<br />
necessary. Tighten the screws securely.<br />
9. Remount the payload <strong>and</strong> repeat step 6 to check the balance. Move the camera cradle<br />
again if necessary until balance is achieved.<br />
22


