How to/Next Step Floor Care Procedures Manual .pdf
How to/Next Step Floor Care Procedures Manual .pdf
How to/Next Step Floor Care Procedures Manual .pdf
You also want an ePaper? Increase the reach of your titles
YUMPU automatically turns print PDFs into web optimized ePapers that Google loves.
SCRUB & RECOAT PROCEDURES (continued)<br />
<strong>Procedures</strong><br />
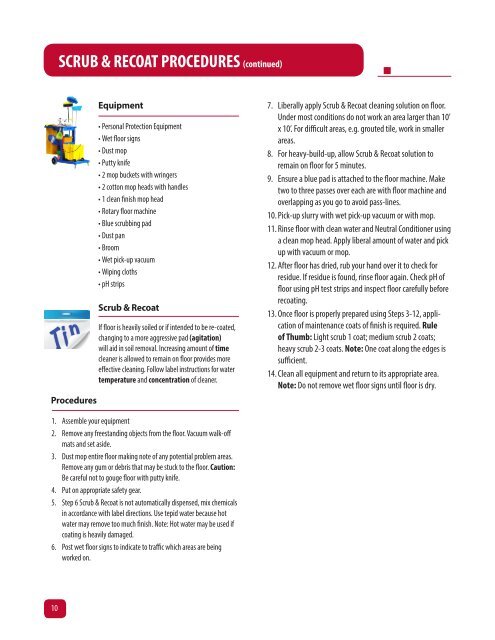
Equipment<br />
• Personal Protection Equipment<br />
• Wet floor signs<br />
• Dust mop<br />
• Putty knife<br />
• 2 mop buckets with wringers<br />
• 2 cot<strong>to</strong>n mop heads with handles<br />
• 1 clean finish mop head<br />
• Rotary floor machine<br />
• Blue scrubbing pad<br />
• Dust pan<br />
• Broom<br />
• Wet pick-up vacuum<br />
• Wiping cloths<br />
• pH strips<br />
Scrub & Recoat<br />
If floor is heavily soiled or if intended <strong>to</strong> be re-coated,<br />
changing <strong>to</strong> a more aggressive pad (agitation)<br />
will aid in soil removal. Increasing amount of time<br />
cleaner is allowed <strong>to</strong> remain on floor provides more<br />
effective cleaning. Follow label instructions for water<br />
temperature and concentration of cleaner.<br />
7. Liberally apply Scrub & Recoat cleaning solution on floor.<br />
Under most conditions do not work an area larger than 10’<br />
x 10’. For difficult areas, e.g. grouted tile, work in smaller<br />
areas.<br />
8. For heavy-build-up, allow Scrub & Recoat solution <strong>to</strong><br />
remain on floor for 5 minutes.<br />
9. Ensure a blue pad is attached <strong>to</strong> the floor machine. Make<br />
two <strong>to</strong> three passes over each are with floor machine and<br />
overlapping as you go <strong>to</strong> avoid pass-lines.<br />
10. Pick-up slurry with wet pick-up vacuum or with mop.<br />
11. Rinse floor with clean water and Neutral Conditioner using<br />
a clean mop head. Apply liberal amount of water and pick<br />
up with vacuum or mop.<br />
12. After floor has dried, rub your hand over it <strong>to</strong> check for<br />
residue. If residue is found, rinse floor again. Check pH of<br />
floor using pH test strips and inspect floor carefully before<br />
recoating.<br />
13. Once floor is properly prepared using <strong>Step</strong>s 3-12, application<br />
of maintenance coats of finish is required. Rule<br />
of Thumb: Light scrub 1 coat; medium scrub 2 coats;<br />
heavy scrub 2-3 coats. Note: One coat along the edges is<br />
sufficient.<br />
14. Clean all equipment and return <strong>to</strong> its appropriate area.<br />
Note: Do not remove wet floor signs until floor is dry.<br />
1. Assemble your equipment<br />
2. Remove any freestanding objects from the floor. Vacuum walk-off<br />
mats and set aside.<br />
3. Dust mop entire floor making note of any potential problem areas.<br />
Remove any gum or debris that may be stuck <strong>to</strong> the floor. Caution:<br />
Be careful not <strong>to</strong> gouge floor with putty knife.<br />
4. Put on appropriate safety gear.<br />
5. <strong>Step</strong> 6 Scrub & Recoat is not au<strong>to</strong>matically dispensed, mix chemicals<br />
in accordance with label directions. Use tepid water because hot<br />
water may remove <strong>to</strong>o much finish. Note: Hot water may be used if<br />
coating is heavily damaged.<br />
6. Post wet floor signs <strong>to</strong> indicate <strong>to</strong> traffic which areas are being<br />
worked on.<br />
10


