HALCON/COM User's Manual
HALCON/COM User's Manual
HALCON/COM User's Manual

Create successful ePaper yourself
Turn your PDF publications into a flip-book with our unique Google optimized e-Paper software.
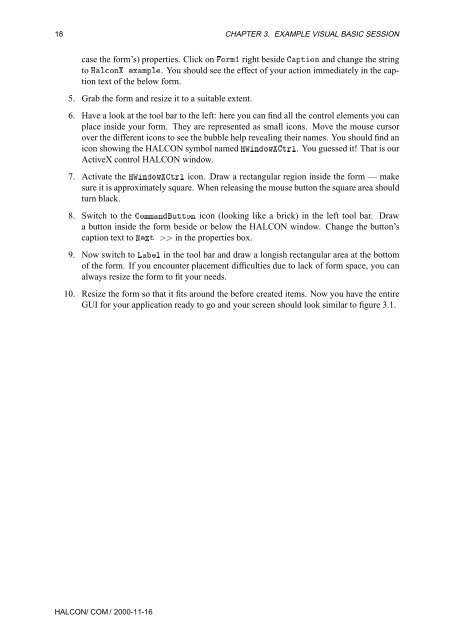
18 CHAPTER 3. EXAMPLE VISUAL BASIC SESSION<br />
case the form’s) properties. Click on ÓÖѽ right beside ÔØÓÒ and change the string<br />
to ÀÐÓÒ ÜÑÔÐ. You should see the effect of your action immediately in the caption<br />
text of the below form.<br />
5. Grab the form and resize it to a suitable extent.<br />
6. Have a look at the tool bar to the left: here you can find all the control elements you can<br />
place inside your form. They are represented as small icons. Move the mouse cursor<br />
over the different icons to see the bubble help revealing their names. You should find an<br />
icon showing the <strong>HALCON</strong> symbol named ÀÏÒÓÛØÖÐ. You guessed it! That is our<br />
ActiveX control <strong>HALCON</strong> window.<br />
7. Activate the ÀÏÒÓÛØÖÐ icon. Draw a rectangular region inside the form — make<br />
sure it is approximately square. When releasing the mouse button the square area should<br />
turn black.<br />
8. Switch to the ÓÑÑÒÙØØÓÒ icon (looking like a brick) in the left tool bar. Draw<br />
a button inside the form beside or below the <strong>HALCON</strong> window. Change the button’s<br />
caption text to ÆÜØ in the properties box.<br />
9. Now switch to ÄÐ in the tool bar and draw a longish rectangular area at the bottom<br />
of the form. If you encounter placement difficulties due to lack of form space, you can<br />
always resize the form to fit your needs.<br />
10. Resize the form so that it fits around the before created items. Now you have the entire<br />
GUI for your application ready to go and your screen should look similar to figure 3.1.<br />
<strong>HALCON</strong>/ <strong>COM</strong> / 2000-11-16