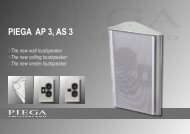
User Manual PIEGA AP 3, AS 3 - Piega SA
User Manual PIEGA AP 3, AS 3 - Piega SA
User Manual PIEGA AP 3, AS 3 - Piega SA

You also want an ePaper? Increase the reach of your titles
YUMPU automatically turns print PDFs into web optimized ePapers that Google loves.
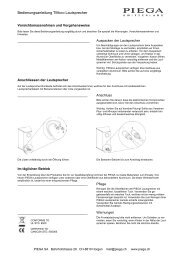
On-Wall Installation<br />
<strong>PIEGA</strong> <strong>AP</strong> 3, <strong>AS</strong> 3 Positioning and mounting instructions...<br />
Thanks to their asymmetric design and well thought-out fixing concept, the <strong>AP</strong> 3, <strong>AS</strong> 3 loudspeakers can be used easily as wall,<br />
center or ceiling loudspeakers. Refer to the alignment instructions on page 16 and use the pull-out drilling template provided at the<br />
center of this user manual for mounting the wall and ceiling brackets.<br />
Mounting the wall bracket:<br />
>Depending on the application, mark the holes for the wall bracket<br />
horizontally or vertically, taking into account the optimum distances<br />
required (stereo triangle)<br />
>With concrete or brick walls, drill the holes with a 6 mm diameter and<br />
use the screw anchors and screws supplied<br />
>Only use suitable screws and screw anchors with wooden or<br />
plasterboard walls (not supplied with the delivery)<br />
Mounting the loudspeaker:<br />
>Ensure without fail that the plastic washers are fitted inside the two<br />
arms before inserting the loudspeakers<br />
>Remove the two fixing screws on the upper and lower side<br />
of the loudspeakers<br />
>Position the loudspeaker carefully between to two arms of<br />
the wall bracket<br />
>Use the previously removed fixing screws supplied and insert<br />
them from the outside<br />
>Align the loudspeakers as required and tighten the screws evenly<br />
>Connect the loudspeaker cables using the loudspeaker terminals<br />
provided (see page 9)<br />
7