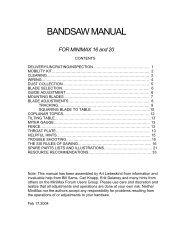
Grizzly 14â Band Saw Safety Rules - Valley Woodworkers
Grizzly 14â Band Saw Safety Rules - Valley Woodworkers
Grizzly 14â Band Saw Safety Rules - Valley Woodworkers

Create successful ePaper yourself
Turn your PDF publications into a flip-book with our unique Google optimized e-Paper software.
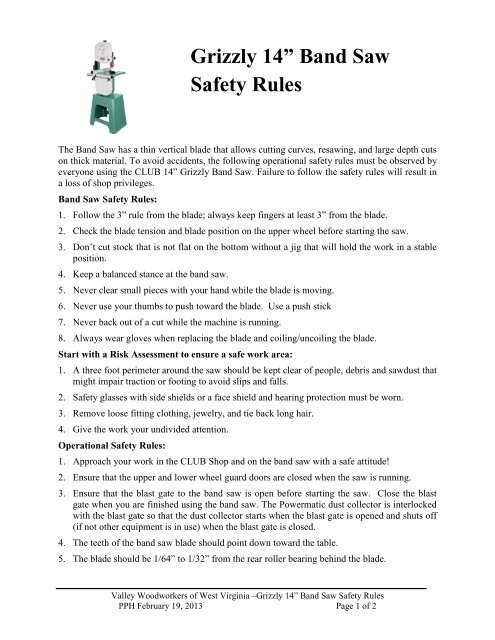
<strong>Grizzly</strong> 14” <strong>Band</strong> <strong>Saw</strong><br />
<strong>Safety</strong> <strong>Rules</strong><br />
The <strong>Band</strong> <strong>Saw</strong> has a thin vertical blade that allows cutting curves, resawing, and large depth cuts<br />
on thick material. To avoid accidents, the following operational safety rules must be observed by<br />
everyone using the CLUB 14” <strong>Grizzly</strong> <strong>Band</strong> <strong>Saw</strong>. Failure to follow the safety rules will result in<br />
a loss of shop privileges.<br />
<strong>Band</strong> <strong>Saw</strong> <strong>Safety</strong> <strong>Rules</strong>:<br />
1. Follow the 3” rule from the blade; always keep fingers at least 3” from the blade.<br />
2. Check the blade tension and blade position on the upper wheel before starting the saw.<br />
3. Don’t cut stock that is not flat on the bottom without a jig that will hold the work in a stable<br />
position.<br />
4. Keep a balanced stance at the band saw.<br />
5. Never clear small pieces with your hand while the blade is moving.<br />
6. Never use your thumbs to push toward the blade. Use a push stick<br />
7. Never back out of a cut while the machine is running.<br />
8. Always wear gloves when replacing the blade and coiling/uncoiling the blade.<br />
Start with a Risk Assessment to ensure a safe work area:<br />
1. A three foot perimeter around the saw should be kept clear of people, debris and sawdust that<br />
might impair traction or footing to avoid slips and falls.<br />
2. <strong>Safety</strong> glasses with side shields or a face shield and hearing protection must be worn.<br />
3. Remove loose fitting clothing, jewelry, and tie back long hair.<br />
4. Give the work your undivided attention.<br />
Operational <strong>Safety</strong> <strong>Rules</strong>:<br />
1. Approach your work in the CLUB Shop and on the band saw with a safe attitude!<br />
2. Ensure that the upper and lower wheel guard doors are closed when the saw is running.<br />
3. Ensure that the blast gate to the band saw is open before starting the saw. Close the blast<br />
gate when you are finished using the band saw. The Powermatic dust collector is interlocked<br />
with the blast gate so that the dust collector starts when the blast gate is opened and shuts off<br />
(if not other equipment is in use) when the blast gate is closed.<br />
4. The teeth of the band saw blade should point down toward the table.<br />
5. The blade should be 1/64” to 1/32” from the rear roller bearing behind the blade.<br />
<strong>Valley</strong> <strong>Woodworkers</strong> of West Virginia –<strong>Grizzly</strong> 14” <strong>Band</strong> <strong>Saw</strong> <strong>Safety</strong> <strong>Rules</strong><br />
PPH February 19, 2013 Page 1 of 2
6. The blade should be at the center of the upper wheel to ensure proper tracking and minimize<br />
drift<br />
7. Keep the blade guard & guide no higher above the stock than necessary to see the cut line.<br />
¼” to ½” is usually sufficient.<br />
8. Keep bystanders away from the work area of the saw. Broken blades have a tendency to fly<br />
out to the right.<br />
9. Always keep your fingers and hands away from the path of the blade.<br />
10. If you hear a rhythmic click as the wood is being cut, this often indicates that the blade is<br />
cracked. Turn off the saw, lock it out and inspect the blade. A crooked blade weld can also<br />
cause a click and can not be corrected. If the blade is cracked or the blade weld is crooked,<br />
the blade must be replaced.<br />
11. To control the stock, use push sticks, feather boards, or any other safety device when cutting<br />
small or short stock.<br />
12. Use “V” blocks when cutting cylindrical stock.<br />
13. Cut at a moderate feed rate into the blade. Do not force a cut.<br />
14. Cut relief cuts prior to cutting long or tight curves. The relief cuts will free the blade of the<br />
tension of the tight curve and the wood will fall away. The blade size will dictate the radius<br />
of the cut.<br />
15. If you need to back out of a cut, shut the machine off, wait for the blade to stop, and then<br />
carefully back out. If the stock can not be easily removed: Lockout/Tagout the band saw;<br />
slowly rotate the upper wheel backwards by hand as you pull the stock back through the cut.<br />
Verify that the blade has not come off of the wheels prior to restarting the band saw.<br />
16. If a blade breaks, shut the machine off and stand clear until everything stops. Notify the<br />
Shop Leader.<br />
17. If the work is too large for one person to handle, get help holding the stock or use infeed or<br />
outfeed supports.<br />
18. Lockout the saw before changing the blade, adjusting the blade guides or performing any<br />
other maintenance operation. All blade changes and guide block settings must be done under<br />
the direction of the Shop Leader.<br />
19. When you have finished your use of the band saw, push the stop button and wait until the<br />
blade comes to a complete stop. Never stick an object into the blade to stop the machine<br />
quicker. Stay at the saw and continue to prevent others from entering the area until the blade<br />
has stopped.<br />
<strong>Valley</strong> <strong>Woodworkers</strong> of West Virginia –<strong>Grizzly</strong> 14” <strong>Band</strong> <strong>Saw</strong> <strong>Safety</strong> <strong>Rules</strong><br />
PPH February 19, 2013 Page 2 of 2