Installation and Maintenance
Installation and Maintenance
Installation and Maintenance

You also want an ePaper? Increase the reach of your titles
YUMPU automatically turns print PDFs into web optimized ePapers that Google loves.
Renold Roller Chain Catalogue I 87<br />
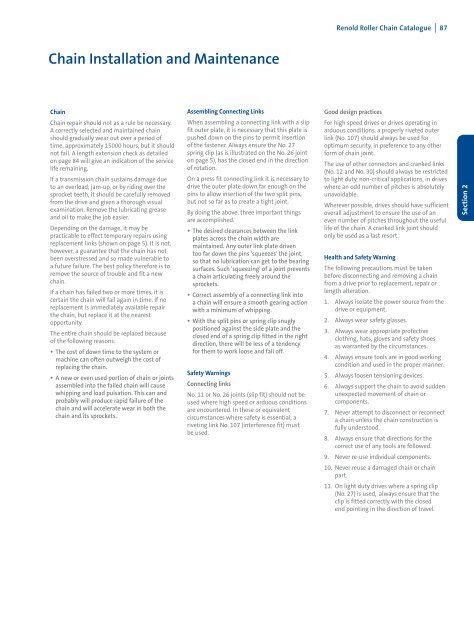
Chain <strong>Installation</strong> <strong>and</strong> <strong>Maintenance</strong><br />
Chain<br />
Chain repair should not as a rule be necessary.<br />
A correctly selected <strong>and</strong> maintained chain<br />
should gradually wear out over a period of<br />
time, approximately 15000 hours, but it should<br />
not fail. A length extension check as detailed<br />
on page 84 will give an indication of the service<br />
life remaining.<br />
If a transmission chain sustains damage due<br />
to an overload, jam-up, or by riding over the<br />
sprocket teeth, it should be carefully removed<br />
from the drive <strong>and</strong> given a thorough visual<br />
examination. Remove the lubricating grease<br />
<strong>and</strong> oil to make the job easier.<br />
Depending on the damage, it may be<br />
practicable to effect temporary repairs using<br />
replacement links (shown on page 5). It is not,<br />
however, a guarantee that the chain has not<br />
been overstressed <strong>and</strong> so made vulnerable to<br />
a future failure. The best policy therefore is to<br />
remove the source of trouble <strong>and</strong> fit a new<br />
chain.<br />
If a chain has failed two or more times, it is<br />
certain the chain will fail again in time. If no<br />
replacement is immediately available repair<br />
the chain, but replace it at the nearest<br />
opportunity.<br />
The entire chain should be replaced because<br />
of the following reasons:<br />
• The cost of down time to the system or<br />
machine can often outweigh the cost of<br />
replacing the chain.<br />
• A new or even used portion of chain or joints<br />
assembled into the failed chain will cause<br />
whipping <strong>and</strong> load pulsation. This can <strong>and</strong><br />
probably will produce rapid failure of the<br />
chain <strong>and</strong> will accelerate wear in both the<br />
chain <strong>and</strong> its sprockets.<br />
Assembling Connecting Links<br />
When assembling a connecting link with a slip<br />
fit outer plate, it is necessary that this plate is<br />
pushed down on the pins to permit insertion<br />
of the fastener. Always ensure the No. 27<br />
spring clip (as is illustrated on the No. 26 joint<br />
on page 5), has the closed end in the direction<br />
of rotation.<br />
On a press fit connecting link it is necessary to<br />
drive the outer plate down far enough on the<br />
pins to allow insertion of the two split pins,<br />
but not so far as to create a tight joint.<br />
By doing the above, three important things<br />
are accomplished.<br />
• The desired clearances between the link<br />
plates across the chain width are<br />
maintained. Any outer link plate driven<br />
too far down the pins 'squeezes' the joint,<br />
so that no lubrication can get to the bearing<br />
surfaces. Such 'squeezing' of a joint prevents<br />
a chain articulating freely around the<br />
sprockets.<br />
• Correct assembly of a connecting link into<br />
a chain will ensure a smooth gearing action<br />
with a minimum of whipping.<br />
• With the split pins or spring clip snugly<br />
positioned against the side plate <strong>and</strong> the<br />
closed end of a spring clip fitted in the right<br />
direction, there will be less of a tendency<br />
for them to work loose <strong>and</strong> fall off.<br />
Good design practices<br />
For high speed drives or drives operating in<br />
arduous conditions, a properly riveted outer<br />
link (No. 107) should always be used for<br />
optimum security, in preference to any other<br />
form of chain joint.<br />
The use of other connectors <strong>and</strong> cranked links<br />
(No. 12 <strong>and</strong> No. 30) should always be restricted<br />
to light duty, non-critical applications, in drives<br />
where an odd number of pitches is absolutely<br />
unavoidable.<br />
Wherever possible, drives should have sufficient<br />
overall adjustment to ensure the use of an<br />
even number of pitches throughout the useful<br />
life of the chain. A cranked link joint should<br />
only be used as a last resort.<br />
Safety Warnings<br />
Connecting links<br />
No. 11 or No. 26 joints (slip fit) should not be<br />
used where high speed or arduous conditions<br />
are encountered. In these or equivalent<br />
circumstances where safety is essential, a<br />
riveting link No. 107 (interference fit) must<br />
be used.<br />
Health <strong>and</strong> Safety Warning<br />
The following precautions must be taken<br />
before disconnecting <strong>and</strong> removing a chain<br />
from a drive prior to replacement, repair or<br />
length alteration.<br />
1. Always isolate the power source from the<br />
drive or equipment.<br />
2. Always wear safety glasses.<br />
3. Always wear appropriate protective<br />
clothing, hats, gloves <strong>and</strong> safety shoes<br />
as warranted by the circumstances.<br />
4. Always ensure tools are in good working<br />
condition <strong>and</strong> used in the proper manner.<br />
5. Always loosen tensioning devices.<br />
6. Always support the chain to avoid sudden<br />
unexpected movement of chain or<br />
components.<br />
7. Never attempt to disconnect or reconnect<br />
a chain unless the chain construction is<br />
fully understood.<br />
8. Always ensure that directions for the<br />
correct use of any tools are followed.<br />
9. Never re-use individual components.<br />
10. Never reuse a damaged chain or chain<br />
part.<br />
11. On light duty drives where a spring clip<br />
(No. 27) is used, always ensure that the<br />
clip is fitted correctly with the closed<br />
end pointing in the direction of travel.<br />
Section 2