Split System Indoor Coils Installation Instructions - Nordyne
Split System Indoor Coils Installation Instructions - Nordyne
Split System Indoor Coils Installation Instructions - Nordyne
- No tags were found...

You also want an ePaper? Increase the reach of your titles
YUMPU automatically turns print PDFs into web optimized ePapers that Google loves.
7. Snap the bushings around the lines and into<br />
the close-off panels.<br />
8. Connect the refrigerant lines as outlined in<br />
the refrigerant lines section.<br />
4. REFRIGERANT LINE<br />
CONNECTIONS<br />
! CAUTION:<br />
Before proceeding with the connection<br />
of the refrigerant lines, confirm<br />
that the orifice size meets the requirements<br />
outlined in the outdoor unit installation<br />
manual.<br />
Factory installed orifice sizes are listed in the<br />
Specifications section. If the restrictor orifice<br />
must be replaced, see Section 5, Restrictor<br />
Change-Out.<br />
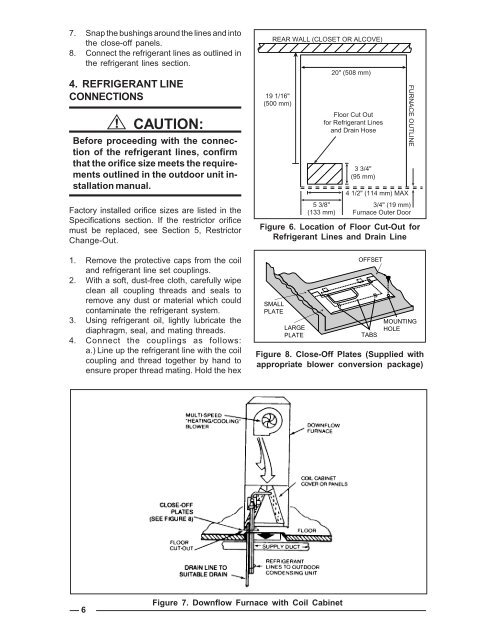
REAR WALL (CLOSET OR ALCOVE)<br />
;;;;;;;;<br />
19 1/16"<br />
(500 mm)<br />
;;<br />
;;<br />
5 3/8"<br />
(133 mm)<br />
20" (508 mm)<br />
Floor Cut Out<br />
for Refrigerant Lines<br />
and Drain Hose<br />
3 3/4"<br />
(95 mm)<br />
4 1/2" (114 mm) MAX<br />
FURNACE OUTLINE<br />
3/4" (19 mm)<br />
Furnace Outer Door<br />
Figure 6. Location of Floor Cut-Out for<br />
Refrigerant Lines and Drain Line<br />
1. Remove the protective caps from the coil<br />
and refrigerant line set couplings.<br />
2. With a soft, dust-free cloth, carefully wipe<br />
clean all coupling threads and seals to<br />
remove any dust or material which could<br />
contaminate the refrigerant system.<br />
3. Using refrigerant oil, lightly lubricate the<br />
diaphragm, seal, and mating threads.<br />
4. Connect the couplings as follows:<br />
a.) Line up the refrigerant line with the coil<br />
coupling and thread together by hand to<br />
ensure proper thread mating. Hold the hex<br />
SMALL<br />
PLATE<br />
LARGE<br />
PLATE<br />
OFFSET<br />
TABS<br />
MOUNTING<br />
HOLE<br />
Figure 8. Close-Off Plates (Supplied with<br />
appropriate blower conversion package)<br />
6<br />
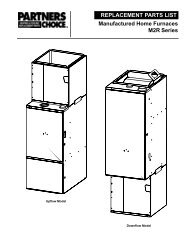
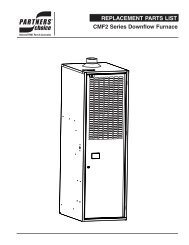
Figure 7. Downflow Furnace with Coil Cabinet