Knex Wind Powered Water Lift Lesson Plan - MTU Mind Trekkers
Knex Wind Powered Water Lift Lesson Plan - MTU Mind Trekkers
Knex Wind Powered Water Lift Lesson Plan - MTU Mind Trekkers
You also want an ePaper? Increase the reach of your titles
YUMPU automatically turns print PDFs into web optimized ePapers that Google loves.
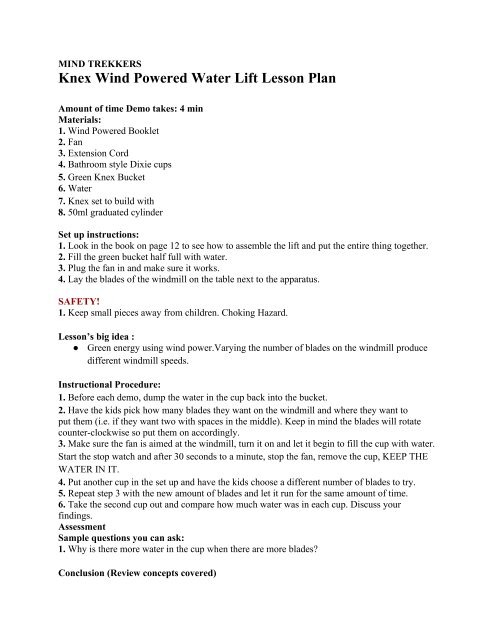
MIND TREKKERS<br />
<strong>Knex</strong> <strong>Wind</strong> <strong>Powered</strong> <strong>Water</strong> <strong>Lift</strong> <strong>Lesson</strong> <strong>Plan</strong><br />
Amount of time Demo takes: 4 min<br />
Materials:<br />
1. <strong>Wind</strong> <strong>Powered</strong> Booklet<br />
2. Fan<br />
3. Extension Cord<br />
4. Bathroom style Dixie cups<br />
5. Green <strong>Knex</strong> Bucket<br />
6. <strong>Water</strong><br />
7. <strong>Knex</strong> set to build with<br />
8. 50ml graduated cylinder<br />
Set up instructions:<br />
1. Look in the book on page 12 to see how to assemble the lift and put the entire thing together.<br />
2. Fill the green bucket half full with water.<br />
3. Plug the fan in and make sure it works.<br />
4. Lay the blades of the windmill on the table next to the apparatus.<br />
SAFETY!<br />
1. Keep small pieces away from children. Choking Hazard.<br />
<strong>Lesson</strong>’s big idea :<br />
● Green energy using wind power.Varying the number of blades on the windmill produce<br />
different windmill speeds.<br />
Instructional Procedure:<br />
1. Before each demo, dump the water in the cup back into the bucket.<br />
2. Have the kids pick how many blades they want on the windmill and where they want to<br />
put them (i.e. if they want two with spaces in the middle). Keep in mind the blades will rotate<br />
counter-clockwise so put them on accordingly.<br />
3. Make sure the fan is aimed at the windmill, turn it on and let it begin to fill the cup with water.<br />
Start the stop watch and after 30 seconds to a minute, stop the fan, remove the cup, KEEP THE<br />
WATER IN IT.<br />
4. Put another cup in the set up and have the kids choose a different number of blades to try.<br />
5. Repeat step 3 with the new amount of blades and let it run for the same amount of time.<br />
6. Take the second cup out and compare how much water was in each cup. Discuss your<br />
findings.<br />
Assessment<br />
Sample questions you can ask:<br />
1. Why is there more water in the cup when there are more blades<br />
Conclusion (Review concepts covered)
Big Idea: The more blades the windmill has for the fan to push, the faster it will go. After a<br />
certain point there may be too many blades and not enough air will be able to get through the<br />
blades. There is an optimum number of blades to use.<br />
Clean Up<br />
1. Dump the water out of the bucket.<br />
2. Dry the bucket and all other equipment that is wet before storing.<br />
Clean up between demonstrations if needed. When completely finished gather all materials listed<br />
for this demonstration and make sure everything is accounted for. If something was used up,<br />
broken or damaged. Let someone know so it can get replaced or fixed.<br />
References:<br />
KNEX Education, Renewable Energy Set, <strong>Wind</strong> <strong>Powered</strong> Models. K’NEW Limited Partnership<br />
Group, 2011. Print.<br />
knexeducation.com<br />
National Standards:<br />
K-4 Content Standard B: Physical Science, Light, heat, electricity and magnetism<br />
5-8 Content Standard B: Physical Science, Transfer of energy, Motions and forces<br />
9-12 Content Standard B: Physical Science, Motions and forces, Interactions of energy and matter


