PubTeX output 2002.07.17:1332
PubTeX output 2002.07.17:1332
PubTeX output 2002.07.17:1332

Create successful ePaper yourself
Turn your PDF publications into a flip-book with our unique Google optimized e-Paper software.
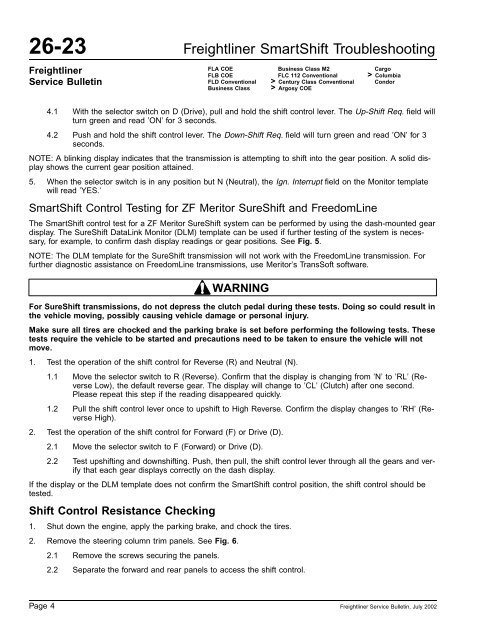
26-23 Freightliner SmartShift Troubleshooting<br />
Freightliner<br />
Service Bulletin<br />
FLA COE<br />
FLB COE<br />
FLD Conventional<br />
Business Class<br />
Business Class M2<br />
FLC 112 Conventional<br />
> Century Class Conventional<br />
> Argosy COE<br />
Cargo<br />
> Columbia<br />
Condor<br />
4.1 With the selector switch on D (Drive), pull and hold the shift control lever. The Up-Shift Req. field will<br />
turn green and read ’ON’ for 3 seconds.<br />
4.2 Push and hold the shift control lever. The Down-Shift Req. field will turn green and read ’ON’ for 3<br />
seconds.<br />
NOTE: A blinking display indicates that the transmission is attempting to shift into the gear position. A solid display<br />
shows the current gear position attained.<br />
5. When the selector switch is in any position but N (Neutral), the Ign. Interrupt field on the Monitor template<br />
will read ’YES.’<br />
SmartShift Control Testing for ZF Meritor SureShift and FreedomLine<br />
The SmartShift control test for a ZF Meritor SureShift system can be performed by using the dash-mounted gear<br />
display. The SureShift DataLink Monitor (DLM) template can be used if further testing of the system is necessary,<br />
for example, to confirm dash display readings or gear positions. See Fig. 5.<br />
NOTE: The DLM template for the SureShift transmission will not work with the FreedomLine transmission. For<br />
further diagnostic assistance on FreedomLine transmissions, use Meritor’s TransSoft software.<br />
WARNING<br />
For SureShift transmissions, do not depress the clutch pedal during these tests. Doing so could result in<br />
the vehicle moving, possibly causing vehicle damage or personal injury.<br />
Make sure all tires are chocked and the parking brake is set before performing the following tests. These<br />
tests require the vehicle to be started and precautions need to be taken to ensure the vehicle will not<br />
move.<br />
1. Test the operation of the shift control for Reverse (R) and Neutral (N).<br />
1.1 Move the selector switch to R (Reverse). Confirm that the display is changing from ’N’ to ’RL’ (Reverse<br />
Low), the default reverse gear. The display will change to ’CL’ (Clutch) after one second.<br />
Please repeat this step if the reading disappeared quickly.<br />
1.2 Pull the shift control lever once to upshift to High Reverse. Confirm the display changes to ’RH’ (Reverse<br />
High).<br />
2. Test the operation of the shift control for Forward (F) or Drive (D).<br />
2.1 Move the selector switch to F (Forward) or Drive (D).<br />
2.2 Test upshifting and downshifting. Push, then pull, the shift control lever through all the gears and verify<br />
that each gear displays correctly on the dash display.<br />
If the display or the DLM template does not confirm the SmartShift control position, the shift control should be<br />
tested.<br />
Shift Control Resistance Checking<br />
1. Shut down the engine, apply the parking brake, and chock the tires.<br />
2. Remove the steering column trim panels. See Fig. 6.<br />
2.1 Remove the screws securing the panels.<br />
2.2 Separate the forward and rear panels to access the shift control.<br />
Page 4<br />
Freightliner Service Bulletin, July 2002