
You also want an ePaper? Increase the reach of your titles
YUMPU automatically turns print PDFs into web optimized ePapers that Google loves.
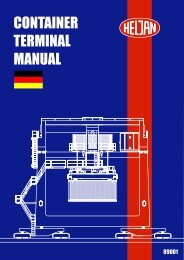
INTRODUCTION<br />
Thank you for purchasing the HELJAN Container Terminal. The crane is digitally controlled, but<br />
don’t be frightened as the operation is simple and no specific experience with digital systems is<br />
needed to achieve full enjoyment of the crane. The basic model consists of the complete crane,<br />
control unit and two containers. One control unit can control up to three cranes. The basic model<br />
measures 33 x 57 cm, but it can be extended with further base elements limited only by power loss<br />
and your space! Additional containers can be purchased seperately.<br />
BEFORE YOU START!<br />
Please be careful when unpacking. Start with the base elements that are placed in the special<br />
packaging at the bottom of the box. Do not unpack the crane until you have assembled the base<br />
element and installed the tracks where you want to place them.<br />
ASSEMBLING THE BASE ELEMENT<br />
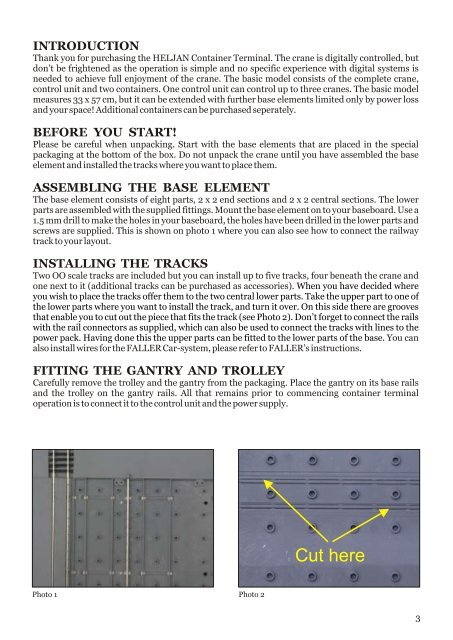
The base element consists of eight parts, 2 x 2 end sections and 2 x 2 central sections. The lower<br />
parts are assembled with the supplied fittings. Mount the base element on to your baseboard. Use a<br />
1.5 mm drill to make the holes in your baseboard, the holes have been drilled in the lower parts and<br />
screws are supplied. This is shown on photo 1 where you can also see how to connect the railway<br />
track to your layout.<br />
INSTALLING THE TRACKS<br />
Two OO scale tracks are included but you can install up to five tracks, four beneath the crane and<br />
one next to it (additional tracks can be purchased as accessories). When you have decided where<br />
you wish to place the tracks offer them to the two central lower parts. Take the upper part to one of<br />
the lower parts where you want to install the track, and turn it over. On this side there are grooves<br />
that enable you to cut out the piece that fits the track (see Photo 2). Don’t forget to connect the rails<br />
with the rail connectors as supplied, which can also be used to connect the tracks with lines to the<br />
power pack. Having done this the upper parts can be fitted to the lower parts of the base. You can<br />
also install wires for the FALLER Car-system, please refer to FALLER’s instructions.<br />
FITTING THE GANTRY AND TROLLEY<br />
Carefully remove the trolley and the gantry from the packaging. Place the gantry on its base rails<br />
and the trolley on the gantry rails. All that remains prior to commencing container terminal<br />
operation is to connect it to the control unit and the power supply.<br />
Photo 1 Photo 2<br />
Cut here<br />
3