You also want an ePaper? Increase the reach of your titles
YUMPU automatically turns print PDFs into web optimized ePapers that Google loves.
Turn the seat back over and fold up the center flap. It is held to the foam<br />
insert with hog rings, so cut them in the usual fashion and remove the insert.<br />
Each side bolster cover is attached to the seat likewise with several hog<br />
rings, and there are several rings up at the top of the center seat area.<br />
Finally, from inside the headrest, cut the three or four hog rings below the<br />
headrest speaker recesses. The seat back cover can now be pulled up and<br />
off the seat back. The cloth covers should now be off the seats.<br />
Step 4: Install the new seat covers on both the seat cushion and<br />
back.<br />
Important note: the driver's side seat cover is different from the passenger's<br />
side. Be sure you know which is which before you proceed. If you have<br />
trouble, match up the new seat covers to the ones you just removed. Look for<br />
which side of the seat bottom cover has a slit for the metal arm. The seat back<br />
is more difficult to differentiate. The only thing we could find is a small<br />
difference in the material at the seat bottom. Looking at it from the back on the<br />
bottom, the left side flap is slightly different from the right side flap. This is<br />
difficult to explain. You'll have to match them up to see.<br />
You will now install the new seat covers. Start by comparing each new piece<br />
with the corresponding original cloth piece. Start with the seat cushion. Each<br />
cushion is manufactured with a slit in the seat where the short metal arm of<br />
the seat pan will protrude. If the foam backing is not also split under the seat<br />
cover, then use a sharp blade to slit the foam so that the arm can later be slid<br />
through. Also notice that there are many holes and slits in the original cloth.<br />
These are not replicated in leather seats. However, later you will need to<br />
make a few holes in the leather to accommodate attachment bolts. You do<br />
not need to do that now.<br />
Each new piece of the cover also contains several types of attachment<br />
material, known as listing and welting. The outer exposed attachments<br />
generally consist of a strip of vinyl with a nylon cord along the edge. Many of<br />
the inner attachments consist of a folded fiber-cloth strip sewn lengthwise<br />
along the seam. These strips can be reinforced with the supplied wire.<br />
Start by placing the seat cushion cover loosely over the foam cushion.<br />
Straighten the cover on the foam. Leave the bolsters folded up for the<br />
moment. Press the seams on the butt of the seat into those parts of the<br />
cushion. Check the sides and the front and back of the center of the seat<br />
cushion area. Be sure everything is fit and straight. (Also be sure you have<br />
the correct cover for the seat you are working on!)<br />
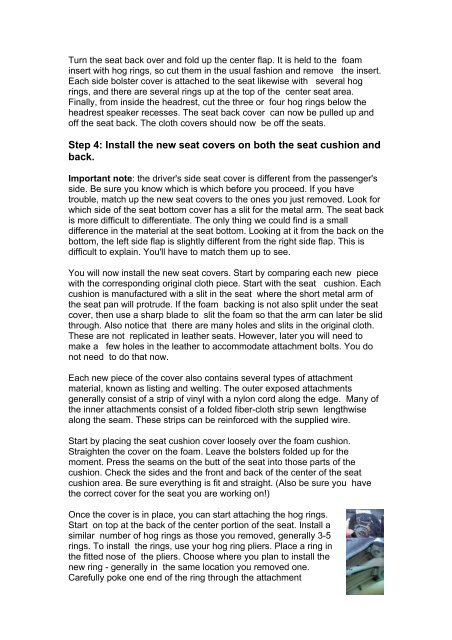
Once the cover is in place, you can start attaching the hog rings.<br />
Start on top at the back of the center portion of the seat. Install a<br />
similar number of hog rings as those you removed, generally 3-5<br />
rings. To install the rings, use your hog ring pliers. Place a ring in<br />
the fitted nose of the pliers. Choose where you plan to install the<br />
new ring - generally in the same location you removed one.<br />
Carefully poke one end of the ring through the attachment


