How to Scribe a Countertop - LE Smith
How to Scribe a Countertop - LE Smith
How to Scribe a Countertop - LE Smith

You also want an ePaper? Increase the reach of your titles
YUMPU automatically turns print PDFs into web optimized ePapers that Google loves.
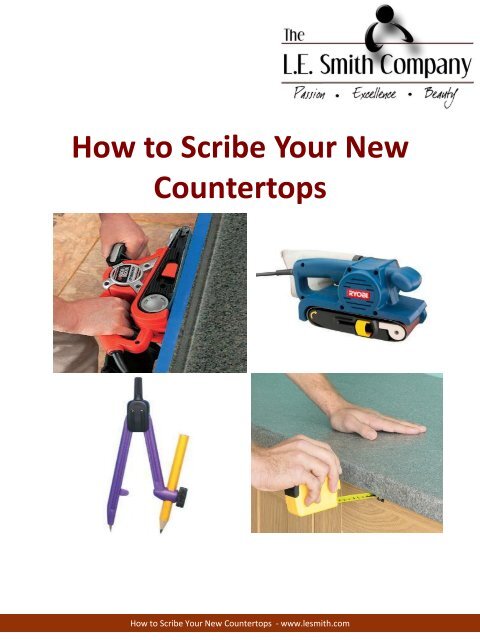
<strong>How</strong> <strong>to</strong> <strong>Scribe</strong> Your New<br />
Counter<strong>to</strong>ps<br />
<strong>How</strong> <strong>to</strong> <strong>Scribe</strong> Your New Counter<strong>to</strong>ps - www.lesmith.com
What is Scribing?<br />
Scribing is a simple and easy<br />
technique that allows you <strong>to</strong> fit your<br />
counter<strong>to</strong>ps <strong>to</strong> crooked walls, and<br />
enables you <strong>to</strong> easily transfer the<br />
profile of a wavy wall <strong>to</strong> your new<br />
counter<strong>to</strong>p.<br />
Why Might Scribing be Necessary?<br />
Scribing may be necessary<br />
because no wall is perfectly<br />
straight, and scribing allows your<br />
counter<strong>to</strong>p <strong>to</strong> fit neatly and<br />
perfectly along the wall. It also<br />
gives your counter<strong>to</strong>p a<br />
professional fit and eliminates<br />
gaps between the wall and the<br />
counter<strong>to</strong>p.<br />
<strong>How</strong> <strong>to</strong> <strong>Scribe</strong> Your New Counter<strong>to</strong>ps - www.lesmith.com
Materials Needed:<br />
Belt sander<br />
Pencil compass<br />
Sawhorses<br />
Tape measure<br />
Scribing Your Counter<strong>to</strong>p<br />
Step 1:<br />
Settle your counter<strong>to</strong>p on the sawhorses with the laminate side facing up<br />
Step 2:<br />
Using a belt sander, sand the wood stick <strong>to</strong> an exact 45° point. You are<br />
trying <strong>to</strong> have the backsplash come in contact with the wall by using the<br />
smallest possible amount of surface <strong>to</strong>uching.<br />
Step 3:<br />
Arrange a few loose build-up sticks on the cabinet <strong>to</strong> raise the<br />
counter<strong>to</strong>p <strong>to</strong> it’s installed height.<br />
Step 4:<br />
With your counter<strong>to</strong>p placed on the cabinet and against the wall, use<br />
your tape measure <strong>to</strong> measure the overhang on the front of the<br />
counter<strong>to</strong>p. Adjust the counter<strong>to</strong>p until the overhang is even on both<br />
sides.<br />
<strong>How</strong> <strong>to</strong> <strong>Scribe</strong> Your New Counter<strong>to</strong>ps - www.lesmith.com
Step 5:<br />
Set a pencil compass <strong>to</strong> it’s widest distance.<br />
Without moving the counter<strong>to</strong>p, place the point<br />
of the compass on the wall and the pencil on<br />
the backsplash. Run the compass along the<br />
entire length of the counter<strong>to</strong>p.<br />
Step 6:<br />
Place the counter<strong>to</strong>p back on<strong>to</strong> the saw horses, again with the laminate<br />
side facing up. Precisely sand the pine stick and laminate up <strong>to</strong> the line you<br />
drew with the compass, while conserving the angle you sanded previously<br />
in step two. Be sure you are sanding so that the belt on the sander is<br />
cutting <strong>to</strong>ward the pine stick. By doing this, you will avoid chipping the<br />
laminate surface.<br />
Step 7:<br />
Now that your scribing is complete, place the counter<strong>to</strong>p back on the<br />
cabinet. Look for any gaps. If there are gaps, fill them in with caulk that<br />
matches the color of your laminate counter<strong>to</strong>p.<br />
Your scribing is complete!<br />
You are now ready <strong>to</strong> install your brand new counter<strong>to</strong>p!<br />
<strong>How</strong> <strong>to</strong> <strong>Scribe</strong> Your New Counter<strong>to</strong>ps - www.lesmith.com