
You also want an ePaper? Increase the reach of your titles
YUMPU automatically turns print PDFs into web optimized ePapers that Google loves.
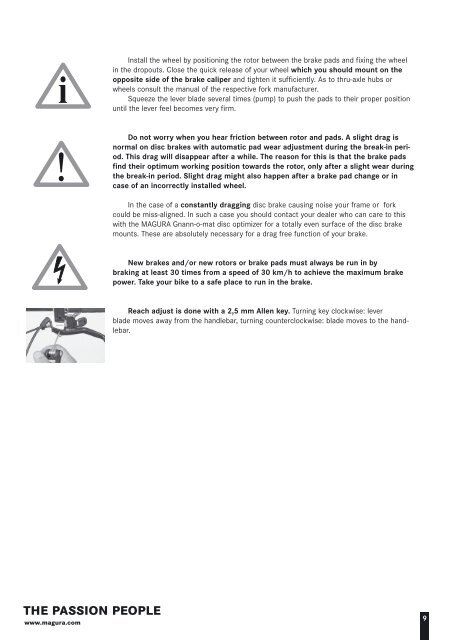
Install the wheel by positioning the rotor between the brake pads and fixing the wheelin the dropouts. Close the quick release of your wheel which you should mount on theopposite side of the brake caliper and tighten it sufficiently. As to thru-axle hubs orwheels consult the manual of the respective fork manufacturer.Squeeze the lever blade several times (pump) to push the pads to their proper positionuntil the lever feel becomes very firm.Do not worry when you hear friction between rotor and pads. A slight drag isnormal on disc brakes with automatic pad wear adjustment during the break-in period.This drag will disappear after a while. The reason for this is that the brake padsfind their optimum working position towards the rotor, only after a slight wear duringthe break-in period. Slight drag might also happen after a brake pad change or incase of an incorrectly installed wheel.In the case of a constantly dragging disc brake causing noise your frame or forkcould be miss-aligned. In such a case you should contact your dealer who can care to thiswith the MAGURA Gnann-o-mat disc optimizer for a totally even surface of the disc brakemounts. These are absolutely necessary for a drag free function of your brake.New brakes and/or new rotors or brake pads must always be run in bybraking at least 30 times from a speed of 30 km/h to achieve the maximum brakepower. Take your bike to a safe place to run in the brake.Reach adjust is done with a 2,5 mm Allen key. Turning key clockwise: leverblade moves away from the handlebar, turning counterclockwise: blade moves to the handlebar.THE PASSION PEOPLEwww.magura.com9