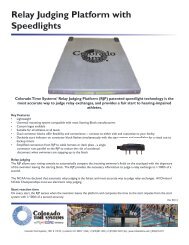
Flatwall Touchpad Caddy Assembly Instructions - Colorado Time ...
Flatwall Touchpad Caddy Assembly Instructions - Colorado Time ...
Flatwall Touchpad Caddy Assembly Instructions - Colorado Time ...
- No tags were found...

You also want an ePaper? Increase the reach of your titles
YUMPU automatically turns print PDFs into web optimized ePapers that Google loves.
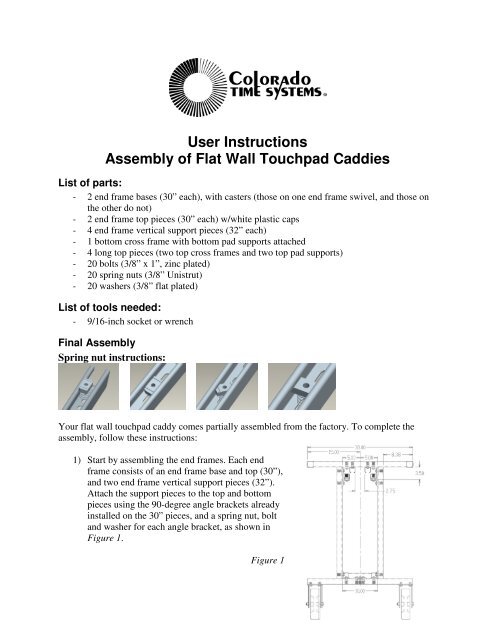
User <strong>Instructions</strong><strong>Assembly</strong> of Flat Wall <strong>Touchpad</strong> CaddiesList of parts:- 2 end frame bases (30” each), with casters (those on one end frame swivel, and those onthe other do not)- 2 end frame top pieces (30” each) w/white plastic caps- 4 end frame vertical support pieces (32” each)- 1 bottom cross frame with bottom pad supports attached- 4 long top pieces (two top cross frames and two top pad supports)- 20 bolts (3/8” x 1”, zinc plated)- 20 spring nuts (3/8” Unistrut)- 20 washers (3/8” flat plated)List of tools needed:- 9/16-inch socket or wrenchFinal <strong>Assembly</strong>Spring nut instructions:Your flat wall touchpad caddy comes partially assembled from the factory. To complete theassembly, follow these instructions:1) Start by assembling the end frames. Each endframe consists of an end frame base and top (30”),and two end frame vertical support pieces (32”).Attach the support pieces to the top and bottompieces using the 90-degree angle brackets alreadyinstalled on the 30” pieces, and a spring nut, boltand washer for each angle bracket, as shown inFigure 1.Figure 1
2) Install the bottom cross frame.a. The bottom cross frame has a flat plate attached to each end. Use this plate and 2spring nuts, 2 bolts and 2 washers to attach the bottom cross frame to one of theend frames, as shown in Figure 2. (Note that the wheel base extension should beoriented towards the inside of the caddy as shown)b. Repeat for the other end.Figure 23) Install the top pad supports to the end frames at the 90-degree angle brackets that wereinstalled on the end frame supports at the factory, using a spring nut, bolt and washer foreach angle bracket, as shown.4) Install the two top cross frames to the under side of the top of the end frames, using aspring nut, bolt and washer at each end, as shown. See dimensions in Figure 1 for properspacing.<strong>Colorado</strong> <strong>Time</strong> Systems1551 E. 11 th Street, Loveland, CO 80537Phone: 970-667-1000 x256 Fax: 970-667-1032 Toll free: 800-287-0653 ext. 256www.coloradotime.com E-mail: customerservice@coloradotime.comF907 Rev. 0307