
You also want an ePaper? Increase the reach of your titles
YUMPU automatically turns print PDFs into web optimized ePapers that Google loves.
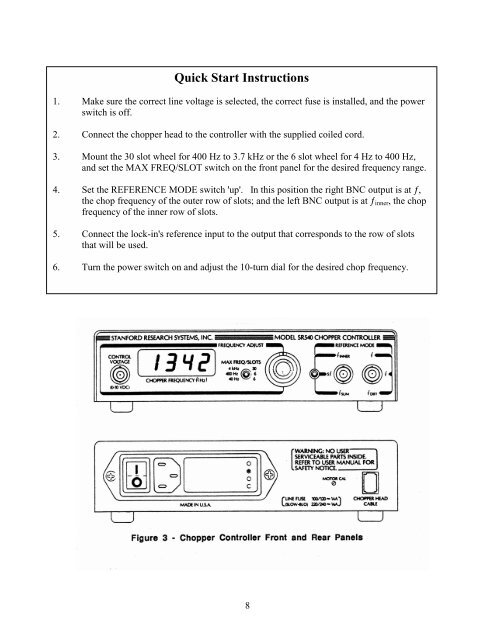
Quick Start Instructions1. Make sure the correct line voltage is selected, the correct fuse is installed, and the powerswitch is off.2. Connect the chopper head to the controller with the supplied coiled cord.3. Mount the 30 slot wheel for 400 Hz to 3.7 kHz or the 6 slot wheel for 4 Hz to 400 Hz,and set the MAX FREQ/SLOT switch on the front panel for the desired frequency range.4. Set the REFERENCE MODE switch 'up'. In this position the right BNC output is at ƒ,the chop frequency of the outer row of slots; and the left BNC output is at ƒ inner , the chopfrequency of the inner row of slots.5. Connect the lock-in's reference input to the output that corresponds to the row of slotsthat will be used.6. Turn the power switch on and adjust the 10-turn dial for the desired chop frequency.8