Boeing-Stearman Kaydet PT13/17 US Airforce / Navy Primary Trainer
Boeing-Stearman Kaydet PT13/17 US Airforce / Navy Primary Trainer
Boeing-Stearman Kaydet PT13/17 US Airforce / Navy Primary Trainer
You also want an ePaper? Increase the reach of your titles
YUMPU automatically turns print PDFs into web optimized ePapers that Google loves.
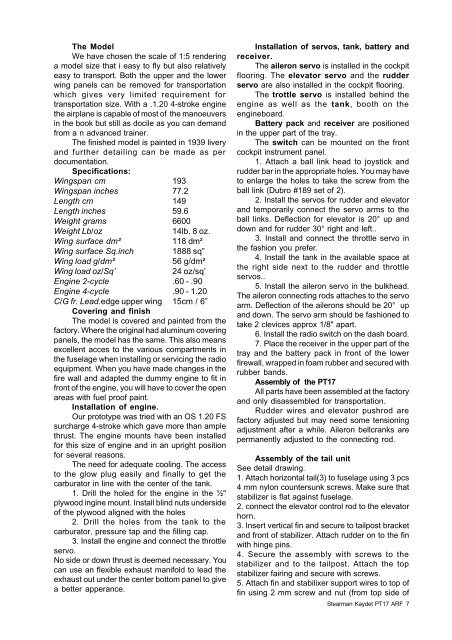
The Model<br />
We have chosen the scale of 1:5 rendering<br />
a model size that i easy to fly but also relatively<br />
easy to transport. Both the upper and the lower<br />
wing panels can be removed for transportation<br />
which gives very limited requirement for<br />
transportation size. With a .1.20 4-stroke engine<br />
the airplane is capable of most of the manoeuvers<br />
in the book but still as docile as you can demand<br />
from a n advanced trainer.<br />
The finished model is painted in 1939 livery<br />
and further detailing can be made as per<br />
documentation.<br />
Specifications:<br />
Wingspan cm 193<br />
Wingspan inches 77.2<br />
Length cm 149<br />
Length inches 59.6<br />
Weight grams 6600<br />
Weight Lb/oz 14lb. 8 oz.<br />
Wing surface dm² 118 dm²<br />
Wing surface Sq.inch 1888 sq”<br />
Wing load g/dm² 56 g/dm²<br />
Wing load oz/Sq’ 24 oz/sq’<br />
Engine 2-cycle .60 - .90<br />
Engine 4-cycle .90 - 1.20<br />
C/G fr. Lead.edge upper wing 15cm / 6”<br />
Covering and finish<br />
The model is covered and painted from the<br />
factory. Where the original had aluminum covering<br />
panels, the model has the same. This also means<br />
excellent acces to the various compartments in<br />
the fuselage when installing or servicing the radio<br />
equipment. When you have made changes in the<br />
fire wall and adapted the dummy engine to fit in<br />
front of the engine, you will have to cover the open<br />
areas with fuel proof paint.<br />
Installation of engine.<br />
Our prototype was tried with an OS 1.20 FS<br />
surcharge 4-stroke which gave more than ample<br />
thrust. The engine mounts have been installed<br />
for this size of engine and in an upright position<br />
for several reasons.<br />
The need for adequate cooling. The access<br />
to the glow plug easily and finally to get the<br />
carburator in line with the center of the tank.<br />
1. Drill the holed for the engine in the ½"<br />
plywood ingine mount. Install blind nuts underside<br />
of the plywood aligned with the holes<br />
2. Drill the holes from the tank to the<br />
carburator, pressure tap and the filling cap.<br />
3. Install the engine and connect the throttle<br />
servo.<br />
No side or down thrust is deemed necessary. You<br />
can use an flexible exhaust manifold to lead the<br />
exhaust out under the center bottom panel to give<br />
a better apperance.<br />
Installation of servos, tank, battery and<br />
receiver.<br />
The aileron servo is installed in the cockpit<br />
flooring. The elevator servo and the rudder<br />
servo are also installed in the cockpit flooring.<br />
The trottle servo is installed behind the<br />
engine as well as the tank, booth on the<br />
engineboard.<br />
Battery pack and receiver are positioned<br />
in the upper part of the tray.<br />
The switch can be mounted on the front<br />
cockpit instrument panel.<br />
1. Attach a ball link head to joystick and<br />
rudder bar in the appropriate holes. You may have<br />
to enlarge the holes to take the screw from the<br />
ball link (Dubro #189 set of 2).<br />
2. Install the servos for rudder and elevator<br />
and temporarily connect the servo arms to the<br />
ball links. Deflection for elevator is 20° up and<br />
down and for rudder 30° right and left..<br />
3. Install and connect the throttle servo in<br />
the fashion you prefer.<br />
4. Install the tank in the available space at<br />
the right side next to the rudder and throttle<br />
servos..<br />
5. Install the aileron servo in the bulkhead.<br />
The aileron connecting rods attaches to the servo<br />
arm. Deflection of the ailerons should be 20° up<br />
and down. The servo arm should be fashioned to<br />
take 2 clevices approx 1/8" apart.<br />
6. Install the radio switch on the dash board.<br />
7. Place the receiver in the upper part of the<br />
tray and the battery pack in front of the lower<br />
firewall, wrapped in foam rubber and secured with<br />
rubber bands.<br />
Assembly of the PT<strong>17</strong><br />
All parts have been assembled at the factory<br />
and only disassembled for transportation.<br />
Rudder wires and elevator pushrod are<br />
factory adjusted but may need some tensioning<br />
adjustment after a while. Aileron bellcranks are<br />
permanently adjusted to the connecting rod.<br />
Assembly of the tail unit<br />
See detail drawing.<br />
1. Attach horizontal tail(3) to fuselage using 3 pcs<br />
4 mm nylon countersunk screws. Make sure that<br />
stabilizer is flat against fuselage.<br />
2. connect the elevator control rod to the elevator<br />
horn.<br />
3. Insert vertical fin and secure to tailpost bracket<br />
and front of stabilizer. Attach rudder on to the fin<br />
with hinge pins.<br />
4. Secure the assembly with screws to the<br />
stabilizer and to the tailpost. Attach the top<br />
stabilizer fairing and secure with screws.<br />
5. Attach fin and stabilixer support wires to top of<br />
fin using 2 mm screw and nut (from top side of<br />
<strong>Stearman</strong> <strong>Kaydet</strong> PT<strong>17</strong> ARF 7


