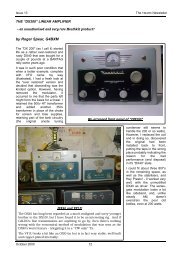
Refurbishing a Clansman Battery - VMARSmanuals
Refurbishing a Clansman Battery - VMARSmanuals
Refurbishing a Clansman Battery - VMARSmanuals
- No tags were found...

You also want an ePaper? Increase the reach of your titles
YUMPU automatically turns print PDFs into web optimized ePapers that Google loves.
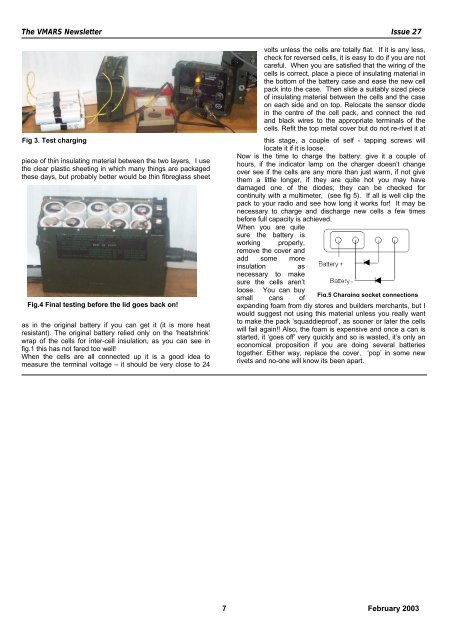
The VMARS Newsletter Issue 27Fig 3. Test chargingpiece of thin insulating material between the two layers, I usethe clear plastic sheeting in which many things are packagedthese days, but probably better would be thin fibreglass sheetFig.4 Final testing before the lid goes back on!as in the original battery if you can get it (it is more heatresistant). The original battery relied only on the ‘heatshrink’wrap of the cells for inter-cell insulation, as you can see infig.1 this has not fared too well!When the cells are all connected up it is a good idea tomeasure the terminal voltage – it should be very close to 24volts unless the cells are totally flat. If it is any less,check for reversed cells, it is easy to do if you are notcareful. When you are satisfied that the wiring of thecells is correct, place a piece of insulating material inthe bottom of the battery case and ease the new cellpack into the case. Then slide a suitably sized pieceof insulating material between the cells and the caseon each side and on top. Relocate the sensor diodein the centre of the cell pack, and connect the redand black wires to the appropriate terminals of thecells. Refit the top metal cover but do not re-rivet it atthis stage, a couple of self - tapping screws willlocate it if it is loose.Now is the time to charge the battery: give it a couple ofhours, if the indicator lamp on the charger doesn’t changeover see if the cells are any more than just warm, if not givethem a little longer, if they are quite hot you may havedamaged one of the diodes; they can be checked forcontinuity with a multimeter, (see fig 5). If all is well clip thepack to your radio and see how long it works for! It may benecessary to charge and discharge new cells a few timesbefore full capacity is achieved.When you are quitesure the battery isworking properly,remove the cover andadd some moreinsulation asnecessary to makesure the cells aren’tloose. You can buysmall cans ofFig.5 Charging socket connectionsexpanding foam from diy stores and builders merchants, but Iwould suggest not using this material unless you really wantto make the pack ‘squaddieproof’, as sooner or later the cellswill fail again!! Also, the foam is expensive and once a can isstarted, it ‘goes off’ very quickly and so is wasted, it’s only aneconomical proposition if you are doing several batteriestogether. Either way, replace the cover, ‘pop’ in some newrivets and no-one will know its been apart.7 February 2003