Virtual Box and CMG BioTools Installation Instructions
Virtual Box and CMG BioTools Installation Instructions
Virtual Box and CMG BioTools Installation Instructions

You also want an ePaper? Increase the reach of your titles
YUMPU automatically turns print PDFs into web optimized ePapers that Google loves.
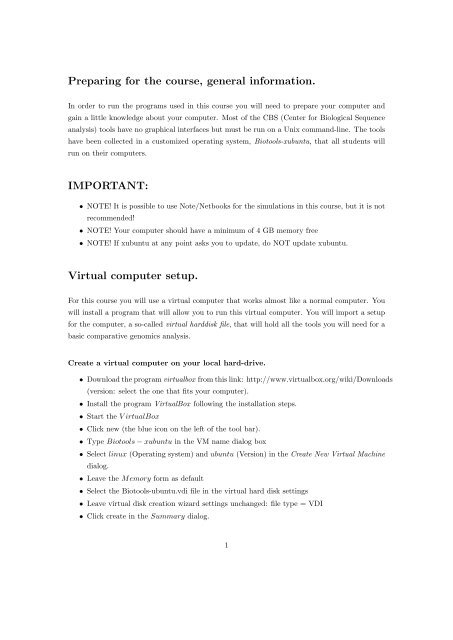
Preparing for the course, general information.<br />
In order to run the programs used in this course you will need to prepare your computer <strong>and</strong><br />
gain a little knowledge about your computer. Most of the CBS (Center for Biological Sequence<br />
analysis) tools have no graphical interfaces but must be run on a Unix comm<strong>and</strong>-line. The tools<br />
have been collected in a customized operating system, Biotools-xubuntu, that all students will<br />
run on their computers.<br />
IMPORTANT:<br />
• NOTE! It is possible to use Note/Netbooks for the simulations in this course, but it is not<br />
recommended!<br />
• NOTE! Your computer should have a minimum of 4 GB memory free<br />
• NOTE! If xubuntu at any point asks you to update, do NOT update xubuntu.<br />
<strong>Virtual</strong> computer setup.<br />
For this course you will use a virtual computer that works almost like a normal computer. You<br />
will install a program that will allow you to run this virtual computer. You will import a setup<br />
for the computer, a so-called virtual harddisk file, that will hold all the tools you will need for a<br />
basic comparative genomics analysis.<br />
Create a virtual computer on your local hard-drive.<br />
• Download the program virtualbox from this link: http://www.virtualbox.org/wiki/Downloads<br />
(version: select the one that fits your computer).<br />
• Install the program <strong>Virtual</strong><strong>Box</strong> following the installation steps.<br />
• Start the <strong>Virtual</strong><strong>Box</strong><br />
• Click new (the blue icon on the left of the tool bar).<br />
• Type Biotools − xubuntu in the VM name dialog box<br />
• Select linux (Operating system) <strong>and</strong> ubuntu (Version) in the Create New <strong>Virtual</strong> Machine<br />
dialog.<br />
• Leave the Memory form as default<br />
• Select the Biotools-ubuntu.vdi file in the virtual hard disk settings<br />
• Leave virtual disk creation wizard settings unchanged: file type = VDI<br />
• Click create in the Summary dialog.<br />
1
<strong>CMG</strong> biotools set up<br />
• Download <strong>CMG</strong> biotools version 1.3 from the following link;<br />
http://www.cbs.dtu.dk/staff/dave/<strong>CMG</strong>tools/<br />
• In <strong>Virtual</strong><strong>Box</strong> window, click on Settings (the orange icon on the tool bar)<br />
• Select storage on the dialog box<br />
• Click on the CD icon. It will show a CD/DVD Drive dropdown<br />
• Click the CD icon on the right of the dropdown<br />
• Select the iso file (<strong>CMG</strong>-biotools-1.3.iso) from where you have saved it<br />
on your computer<br />
• Click OK. The screen should show the iso file in the storage form<br />
• Click Start to start the virtual machine (The green arrow icon on the tool<br />
bar)<br />
• Select “install – start the installer directly” <strong>and</strong> follow the installation<br />
steps<br />
• Type user name <strong>and</strong> password (You need this password when you log<br />
on to the biotool)<br />
• Restart when it asks.