computerized unit for recovery, recycling, vacuum, charge - Wigam
computerized unit for recovery, recycling, vacuum, charge - Wigam
computerized unit for recovery, recycling, vacuum, charge - Wigam
- No tags were found...

Create successful ePaper yourself
Turn your PDF publications into a flip-book with our unique Google optimized e-Paper software.
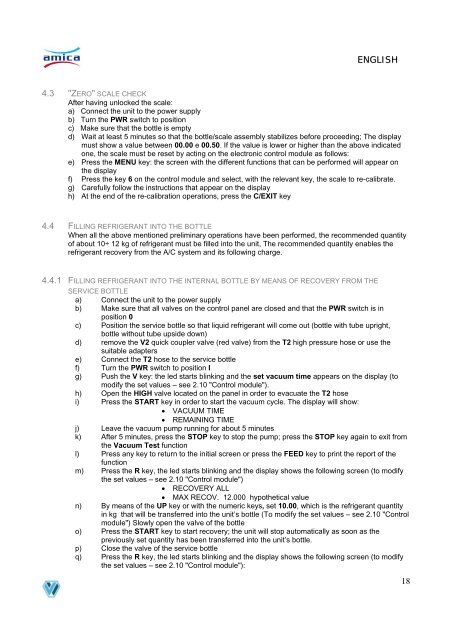
ITALIANENGLISH4.3 "ZERO" SCALE CHECKAfter having unlocked the scale:a) Connect the <strong>unit</strong> to the power supplyb) Turn the PWR switch to positionc) Make sure that the bottle is emptyd) Wait at least 5 minutes so that the bottle/scale assembly stabilizes be<strong>for</strong>e proceeding; The displaymust show a value between 00.00 e 00.50. If the value is lower or higher than the above indicatedone, the scale must be reset by acting on the electronic control module as follows:e) Press the MENU key: the screen with the different functions that can be per<strong>for</strong>med will appear onthe displayf) Press the key 6 on the control module and select, with the relevant key, the scale to re-calibrate.g) Carefully follow the instructions that appear on the displayh) At the end of the re-calibration operations, press the C/EXIT key4.4 FILLING REFRIGERANT INTO THE BOTTLEWhen all the above mentioned preliminary operations have been per<strong>for</strong>med, the recommended quantityof about 10÷ 12 kg of refrigerant must be filled into the <strong>unit</strong>, The recommended quantity enables therefrigerant <strong>recovery</strong> from the A/C system and its following <strong>charge</strong>.4.4.1 FILLING REFRIGERANT INTO THE INTERNAL BOTTLE BY MEANS OF RECOVERY FROM THESERVICE BOTTLEa) Connect the <strong>unit</strong> to the power supplyb) Make sure that all valves on the control panel are closed and that the PWR switch is inposition 0c) Position the service bottle so that liquid refrigerant will come out (bottle with tube upright,bottle without tube upside down)d) remove the V2 quick coupler valve (red valve) from the T2 high pressure hose or use thesuitable adapterse) Connect the T2 hose to the service bottlef) Turn the PWR switch to position Ig) Push the V key: the led starts blinking and the set <strong>vacuum</strong> time appears on the display (tomodify the set values – see 2.10 "Control module").h) Open the HIGH valve located on the panel in order to evacuate the T2 hosei) Press the START key in order to start the <strong>vacuum</strong> cycle. The display will show:• VACUUM TIME• REMAINING TIMEj) Leave the <strong>vacuum</strong> pump running <strong>for</strong> about 5 minutesk) After 5 minutes, press the STOP key to stop the pump; press the STOP key again to exit fromthe Vacuum Test functionl) Press any key to return to the initial screen or press the FEED key to print the report of thefunctionm) Press the R key, the led starts blinking and the display shows the following screen (to modifythe set values – see 2.10 "Control module")• RECOVERY ALL• MAX RECOV. 12.000 hypothetical valuen) By means of the UP key or with the numeric keys, set 10.00, which is the refrigerant quantityin kg that will be transferred into the <strong>unit</strong>’s bottle (To modify the set values – see 2.10 "Controlmodule") Slowly open the valve of the bottleo) Press the START key to start <strong>recovery</strong>; the <strong>unit</strong> will stop automatically as soon as thepreviously set quantity has been transferred into the <strong>unit</strong>’s bottle.p) Close the valve of the service bottleq) Press the R key, the led starts blinking and the display shows the following screen (to modifythe set values – see 2.10 "Control module"):18