90XL Monitoring Software Manual.pub - Mesa Labs
90XL Monitoring Software Manual.pub - Mesa Labs
90XL Monitoring Software Manual.pub - Mesa Labs

Create successful ePaper yourself
Turn your PDF publications into a flip-book with our unique Google optimized e-Paper software.
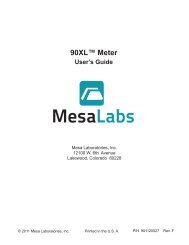
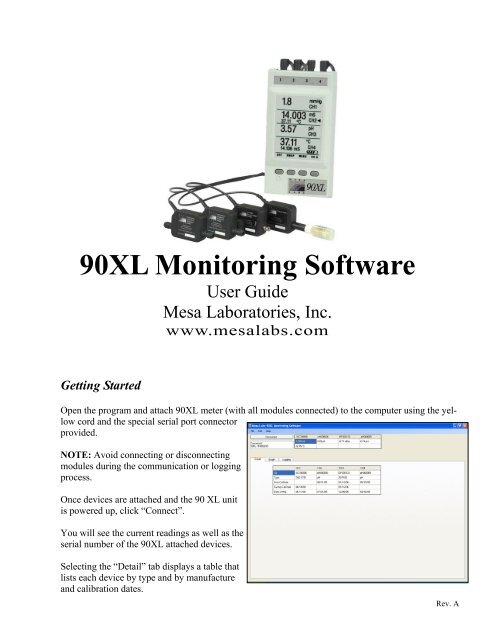
<strong>90XL</strong> <strong>Monitoring</strong> <strong>Software</strong>User Guide<strong>Mesa</strong> Laboratories, Inc.www.mesalabs.comGetting StartedOpen the program and attach <strong>90XL</strong> meter (with all modules connected) to the computer using the yellowcord and the special serial port connectorprovided.NOTE: Avoid connecting or disconnectingmodules during the communication or loggingprocess.Once devices are attached and the 90 XL unitis powered up, click “Connect”.You will see the current readings as well as theserial number of the <strong>90XL</strong> attached devices.Selecting the “Detail” tab displays a table thatlists each device by type and by manufactureand calibration dates.Rev. A
Logging TabBy selecting the “Logging” tab, you will beable to monitor and record the parameters ofthe <strong>90XL</strong>. Click “Start” on the Logging tab tobegin.See “Change Interval” to adjust report dataparameters.Change IntervalSelect “Change Interval” to adjust how frequently readings are logged. Enter preferred time intervalin seconds and click “OK”.Click Start. Readings are displayed at the selected interval.NOTE: This will require the program toclear out the current logged data (see below)so save the data if needed.
Graph tabBy Selecting the graph tab, you can view the datareal-time on a line graph. Each pod is representedby a different color.Graph can be saved and printed.Saving Log DataWhen you are ready to save areport, select “Save LoggedData” under the File menu.By default, the file will besaved in the “<strong>90XL</strong>” folderunless altered by the user.
Printing Log DataUnder the File menu, selectPrint → Log Data (see below)Printing Current DataUnder the File menu, selectPrint → Current Data (see below)
Edit Menu/Copying and Pasting DataTo copy the Current Data, Logged Data, the Configuration Data or a Graph so that it may be pastedinto another program (i.e. Microsoft Word, etc...), select Edit from the menu bar and select theappropriate function.“Copy Current Data” will copy the data at the top of the page next to the Connect/Disconnect button.“Copy Logged Data” will copy all the data under the Logging tab, if any.“Copy Configuration Data” will copy the data on the Detail tab.“Copy Graph” will copy exactly what is on the Graph tab.Contact us:<strong>Mesa</strong> Laboratories12100 W. 6th AvenueLakewood, Colorado 80228 USATelephone: (800) 992-6372, Fax: (303) 987-8989US Salesmedsales@mesalabs.comNon-US Sales (402) 593-0781crdwyer@mesalabs.comTechnical Support and Servicemedservice@mesalabs.comCustomer ServiceCustomerService@mesalabs.comwww.mesalabs.com<strong>Mesa</strong><strong>Labs</strong>This software is for investigational use only. The performance characteristics of this product have not beenestablished.