Michelin Truck Tire Data Book - Wanderlodge Owners Group
Michelin Truck Tire Data Book - Wanderlodge Owners Group
Michelin Truck Tire Data Book - Wanderlodge Owners Group
- No tags were found...
You also want an ePaper? Increase the reach of your titles
YUMPU automatically turns print PDFs into web optimized ePapers that Google loves.
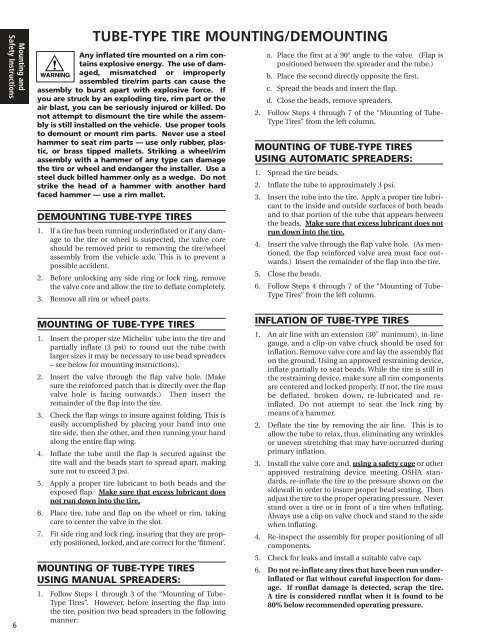
Mounting andSafety InstructionsTUBE-TYPE TIRE MOUNTING/DEMOUNTINGAny inflated tire mounted on a rim containsexplosive energy. The use of damaged,mismatched or improperlyassembled tire/rim parts can cause theassembly to burst apart with explosive force. Ifyou are struck by an exploding tire, rim part or theair blast, you can be seriously injured or killed. Donot attempt to dismount the tire while the assemblyis still installed on the vehicle. Use proper toolsto demount or mount rim parts. Never use a steelhammer to seat rim parts — use only rubber, plastic,or brass tipped mallets. Striking a wheel/rimassembly with a hammer of any type can damagethe tire or wheel and endanger the installer. Use asteel duck billed hammer only as a wedge. Do notstrike the head of a hammer with another hardfaced hammer — use a rim mallet.DEMOUNTING TUBE-TYPE TIRES1. If a tire has been running underinflated or if any damageto the tire or wheel is suspected, the valve coreshould be removed prior to removing the tire/wheelassembly from the vehicle axle. This is to prevent apossible accident.2. Before unlocking any side ring or lock ring, removethe valve core and allow the tire to deflate completely.3. Remove all rim or wheel parts.a. Place the first at a 90° angle to the valve. (Flap ispositioned between the spreader and the tube.)b. Place the second directly opposite the first.c. Spread the beads and insert the flap.d. Close the beads, remove spreaders.2. Follow Steps 4 through 7 of the “Mounting of Tube-Type <strong>Tire</strong>s” from the left column.MOUNTING OF TUBE-TYPE TIRESUSING AUTOMATIC SPREADERS:1. Spread the tire beads.2. Inflate the tube to approximately 3 psi.3. Insert the tube into the tire. Apply a proper tire lubricantto the inside and outside surfaces of both beadsand to that portion of the tube that appears betweenthe beads. Make sure that excess lubricant does notrun down into the tire.4. Insert the valve through the flap valve hole. (As mentioned,the flap reinforced valve area must face outwards.)Insert the remainder of the flap into the tire.5. Close the beads.6. Follow Steps 4 through 7 of the “Mounting of Tube-Type <strong>Tire</strong>s” from the left column.6MOUNTING OF TUBE-TYPE TIRES1. Insert the proper size <strong>Michelin</strong> ® tube into the tire andpartially inflate (3 psi) to round out the tube (withlarger sizes it may be necessary to use bead spreaders– see below for mounting instructions).2. Insert the valve through the flap valve hole. (Makesure the reinforced patch that is directly over the flapvalve hole is facing outwards.) Then insert theremainder of the flap into the tire.3. Check the flap wings to insure against folding. This iseasily accomplished by placing your hand into onetire side, then the other, and then running your handalong the entire flap wing.4. Inflate the tube until the flap is secured against thetire wall and the beads start to spread apart, makingsure not to exceed 3 psi.5. Apply a proper tire lubricant to both beads and theexposed flap. Make sure that excess lubricant doesnot run down into the tire.6. Place tire, tube and flap on the wheel or rim, takingcare to center the valve in the slot.7. Fit side ring and lock ring, insuring that they are properlypositioned, locked, and are correct for the ‘fitment’.MOUNTING OF TUBE-TYPE TIRESUSING MANUAL SPREADERS:1. Follow Steps 1 through 3 of the “Mounting of Tube-Type <strong>Tire</strong>s”. However, before inserting the flap intothe tire, position two bead spreaders in the followingmanner:INFLATION OF TUBE-TYPE TIRES1. An air line with an extension (30" minimum), in-linegauge, and a clip-on valve chuck should be used forinflation. Remove valve core and lay the assembly flaton the ground. Using an approved restraining device,inflate partially to seat beads. While the tire is still inthe restraining device, make sure all rim componentsare centered and locked properly. If not, the tire mustbe deflated, broken down, re-lubricated and reinflated.Do not attempt to seat the lock ring bymeans of a hammer.2. Deflate the tire by removing the air line. This is toallow the tube to relax, thus, eliminating any wrinklesor uneven stretching that may have occurred duringprimary inflation.3. Install the valve core and, using a safety cage or otherapproved restraining device meeting OSHA standards,re-inflate the tire to the pressure shown on thesidewall in order to insure proper bead seating. Thenadjust the tire to the proper operating pressure. Neverstand over a tire or in front of a tire when inflating.Always use a clip on valve chuck and stand to the sidewhen inflating.4. Re-inspect the assembly for proper positioning of allcomponents.5. Check for leaks and install a suitable valve cap.6. Do not re-inflate any tires that have been run underinflatedor flat without careful inspection for damage.If runflat damage is detected, scrap the tire.A tire is considered runflat when it is found to be80% below recommended operating pressure.


