User Manual UNO One-piece implant insertion tool ... - Mis Implants
User Manual UNO One-piece implant insertion tool ... - Mis Implants
User Manual UNO One-piece implant insertion tool ... - Mis Implants
- No tags were found...

Create successful ePaper yourself
Turn your PDF publications into a flip-book with our unique Google optimized e-Paper software.
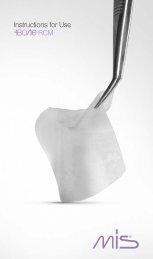
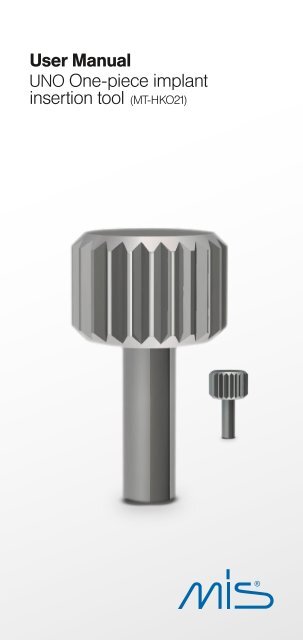
A definition of the product.The <strong>UNO</strong> one-<strong>piece</strong> <strong>implant</strong> <strong>insertion</strong> <strong>tool</strong> is designed toeasily remove the <strong>UNO</strong> <strong>implant</strong> from the packaging sleeveand enable steady <strong>implant</strong> <strong>insertion</strong>. The <strong>insertion</strong> <strong>tool</strong> iscapable of carrying the <strong>implant</strong> from the packaging tubeto the point of <strong>implant</strong> <strong>insertion</strong> and maintaining stability.The <strong>tool</strong> has a flat area corresponding to the flat portion ofthe abutment on the <strong>implant</strong>. This <strong>tool</strong> is specially designedfor <strong>UNO</strong> one-<strong>piece</strong> <strong>implant</strong>s and is intended for use in tightspaces, especially lateral incisors.The MT-HKO21 is for manual use only.Operating Procedure.1Open the Uno one-<strong>piece</strong> <strong>implant</strong> package and connectthe <strong>insertion</strong> <strong>tool</strong> MT-HKO21 to the <strong>UNO</strong> one-<strong>piece</strong><strong>implant</strong> by pressing the <strong>tool</strong> lightly into the <strong>implant</strong>.Remove the <strong>implant</strong> from the sterile package by pullingit out from the packaging.a. b.c. d.
2After site preparation, screw the <strong>UNO</strong> one-<strong>piece</strong><strong>implant</strong> into the <strong>implant</strong>ation site.It is recommended to use the <strong>insertion</strong> <strong>tool</strong>key until it is sliding.
3In order to extricate the <strong>insertion</strong> <strong>tool</strong> fromthe <strong>implant</strong>, remove the key with an easyupward motion.Correct extractionWrong extraction
4Connect the ratchet/motoradapter to the <strong>implant</strong> abutmenthead and add the ratchet tocontinue the procedure. Followthe <strong>implant</strong>ation process untildone. After <strong>insertion</strong> the <strong>implant</strong>should be sufficiently stable.* While inserting the <strong>implant</strong> using theMT-HK021, the user might experience slightslipping of the key from the <strong>implant</strong>. thiscan be encountered due to misalignmentof the key on one of the flat areas on<strong>implant</strong> abutment.5General Information.Instrument Maintenance for surgical <strong>tool</strong>s:Disinfection:Use approved agents only. Followmanufacturer’s recommendationregarding concentration/time/material compatibility.Cleaning:- Remove all residues- Use autoclave- Use an anticorrosivecleaning agent- Thoroughly rinse cleaning anddisinfecting agents underrunning water- Use distilled water to preventwater spotsDrying:- Dry only with: compressed air- Hot air- Absorbent paper tissueExamination:- Perform visual inspection- Dispose of damagedinstrumentsCheck for:- Breakouts in blades- Bent instruments- CorrosionSterilization:- All dental instruments canbe sterilized- Use only sterile packages- The device must besterilized before use byautoclave, at a temperature of134°C (273°F) at a pressure of~315 Kpa during 6 minutes.Storage:- Store in dry, dust-proof area- Keep instruments separatedfrom chemicalsCatalogue NumberBatch CodeManufacturer
© MIS Corporation. All rights Reserved.MP-UI028 Rev.3MIS <strong>Implants</strong> Technologies Ltd.P.O.Box 7, Bar Lev Industrial Park20156, ISRAEL®ECREP0483MIS <strong>Implants</strong> Technologies GmbHPaulinenstr. 12 A, 32427 Minden, GermanyTel: +49 571-972-7690Email: service@mis-<strong>implant</strong>s.de