Instructions for Software Upgrade - Mitsubishi Digital Electronics ...
Instructions for Software Upgrade - Mitsubishi Digital Electronics ...
Instructions for Software Upgrade - Mitsubishi Digital Electronics ...

Create successful ePaper yourself
Turn your PDF publications into a flip-book with our unique Google optimized e-Paper software.
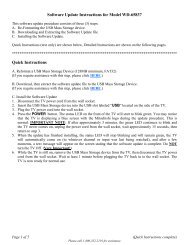
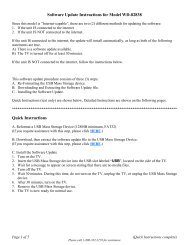
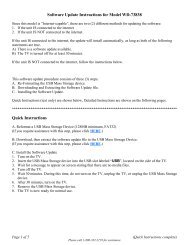
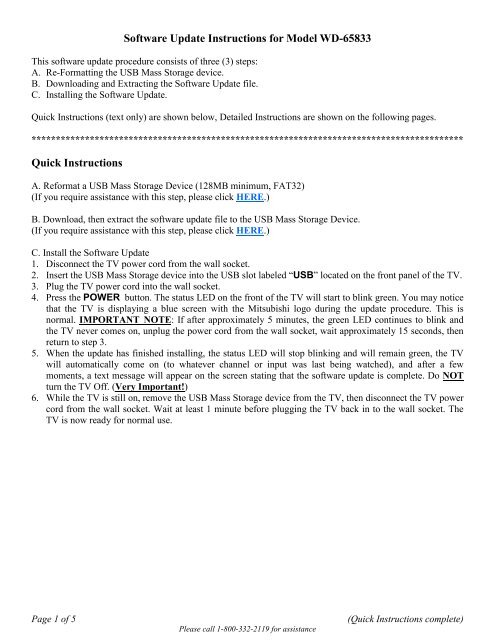
<strong>Software</strong> Update <strong>Instructions</strong> <strong>for</strong> Model WD-65833This software update procedure consists of three (3) steps:A. Re-Formatting the USB Mass Storage device.B. Downloading and Extracting the <strong>Software</strong> Update file.C. Installing the <strong>Software</strong> Update.Quick <strong>Instructions</strong> (text only) are shown below, Detailed <strong>Instructions</strong> are shown on the following pages.*****************************************************************************************Quick <strong>Instructions</strong>A. Re<strong>for</strong>mat a USB Mass Storage Device (128MB minimum, FAT32)(If you require assistance with this step, please click HERE.)B. Download, then extract the software update file to the USB Mass Storage Device.(If you require assistance with this step, please click HERE.)C. Install the <strong>Software</strong> Update1. Disconnect the TV power cord from the wall socket.2. Insert the USB Mass Storage device into the USB slot labeled “USB” located on the front panel of the TV.3. Plug the TV power cord into the wall socket.4. Press the POWER button. The status LED on the front of the TV will start to blink green. You may noticethat the TV is displaying a blue screen with the <strong>Mitsubishi</strong> logo during the update procedure. This isnormal. IMPORTANT NOTE: If after approximately 5 minutes, the green LED continues to blink andthe TV never comes on, unplug the power cord from the wall socket, wait approximately 15 seconds, thenreturn to step 3.5. When the update has finished installing, the status LED will stop blinking and will remain green, the TVwill automatically come on (to whatever channel or input was last being watched), and after a fewmoments, a text message will appear on the screen stating that the software update is complete. Do NOTturn the TV Off. (Very Important!)6. While the TV is still on, remove the USB Mass Storage device from the TV, then disconnect the TV powercord from the wall socket. Wait at least 1 minute be<strong>for</strong>e plugging the TV back in to the wall socket. TheTV is now ready <strong>for</strong> normal use.Page 1 of 5Please call 1-800-332-2119 <strong>for</strong> assistance(Quick <strong>Instructions</strong> complete)
Detailed <strong>Instructions</strong>A. Re-Formatting the USB Mass Storage deviceTo per<strong>for</strong>m this software update, you must have a FAT32 <strong>for</strong>matted (MS-DOS <strong>for</strong> Macintosh users) USBMass Storage device with 128MB or higher capacity. The USB Mass Storage device must be re-<strong>for</strong>mattedprior to use. WARNING: All files that exist on the USB Mass Storage device will be deleted. Transferany files that you want to keep to your hard drive be<strong>for</strong>e proceeding. <strong>Mitsubishi</strong> <strong>Digital</strong> <strong>Electronics</strong>America is not responsible <strong>for</strong> any loss of personal files.1. Plug the USB Mass Storage device into your computers USB port.2. Open “My Computer”. This will open a window showing all current drives on your computer.3. Right-click on the drive letter associated with the USB Mass Storage device. Select “Format...”.Step 2 - My ComputerStep 3 - Right-click on “Removable Disk”4. A <strong>for</strong>matting dialog box will appear; under the “File system” option, make sure that “FAT32” is selected,then click on the “Start” button. All other options are user definable and do not matter.5. You will receive a warning message; click on the “OK” button.6. After a few moments, you will receive a message stating that the <strong>for</strong>matting is complete. Click on the“OK” button.7. Close the <strong>for</strong>matting dialog box by clicking on the “Close” button. Re-<strong>for</strong>matting is complete.Step 5Step 4Step 6 Step 7Page 2 of 5Please call 1-800-332-2119 <strong>for</strong> assistance(Re-Formatting complete)
Detailed <strong>Instructions</strong>B. Downloading and Extracting the <strong>Software</strong> Update fileYou must have a de-compression (un-zipping) utility application (such as WinZip) installed on your computer.1. Double-click on the software update file link; Depending on the internet browser in use, you will beprompted to open or save the file. Select “Open”, then click on “OK” if using Firefox. A downloadingprogress box will appear, again based on your internet browser.Step 1 - Using Windows Internet ExplorerStep 1 - Using Firefox2. A message box (based on your computer’s un-zipping utility application) will appear. Select “Extract”.Page 3 of 5Please call 1-800-332-2119 <strong>for</strong> assistance(Downloading and Extracting continued)
Detailed <strong>Instructions</strong>B. Downloading and Extracting the <strong>Software</strong> Update file (continued)3. High-light the drive letter location <strong>for</strong> your USB Mass Storage device (it is normally referred to as a“Removable Disk”), then select “Extract”.4. An extraction progress box will appear; when it has completed, a window will open showing the contentsof the USB Mass Storage device.Extraction Progress BoxContents of USB Mass Storage device5. You may remove the USB Mass Storage device from the USB port at this time. Some operating systemssuch as Windows 98 or Windows 2000 may require that you stop the USB Mass Storage device prior toremoval from the USB port. Downloading and Extracting is complete.Page 4 of 5Please call 1-800-332-2119 <strong>for</strong> assistance(Downloading and Extracting complete)
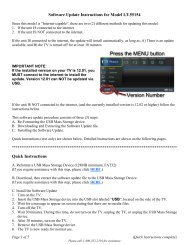
C. Installing the <strong>Software</strong> Update1. Disconnect the TV power cord from the wall socket.2. Insert the USB Mass Storage device into the USB slot labeled “USB” located on the front panel of the TV,as shown in Figure 1.3. Plug the TV power cord into the wall socket.4. Press the POWER button. The status LED on the front of the TV will start to blink green. You may noticethat the TV is displaying a blue screen with the <strong>Mitsubishi</strong> logo during the update procedure. This is normal.IMPORTANT NOTE: If after approximately 5 minutes, the green LED continues to blink and theTV never comes on, unplug the power cord from the wall socket, wait approximately 15 seconds, then returnto step C.3.5. When the update has finished installing, the status LED will stop blinking and will remain green, the TVwill automatically come on (to whatever channel or input was last being watched), and after a few moments,a text message (see Figure 2) will appear on the screen stating that the software update is complete.Do NOT turn the TV Off. (Very Important!)Figure 26. While the TV is still on, remove the USB Mass Storage device from the TV, then disconnect the TV powercord from the wall socket. Wait at least 1 minute be<strong>for</strong>e plugging the TV back in to the wall socket. TheTV is now ready <strong>for</strong> normal use.Page 5 of 5Please call 1-800-332-2119 <strong>for</strong> assistance(<strong>Software</strong> Update complete)