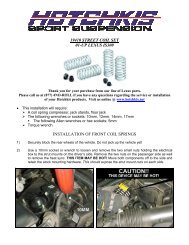
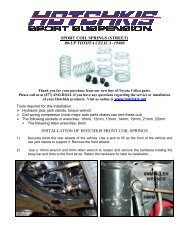
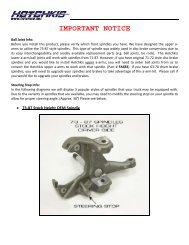
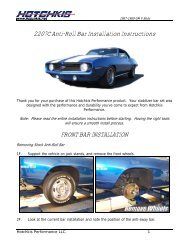
Installation Instructions - Hotchkis Sport Suspension
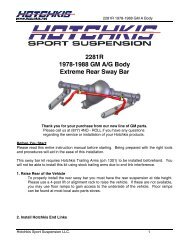
Installation Instructions - Hotchkis Sport Suspension
Installation Instructions - Hotchkis Sport Suspension

You also want an ePaper? Increase the reach of your titles
YUMPU automatically turns print PDFs into web optimized ePapers that Google loves.
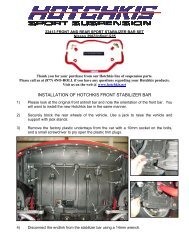
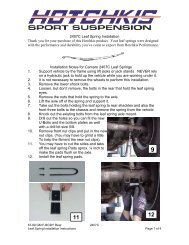
6FRemove Stock BarFish the stock bar towards the driver side until it’s completely out. If you need more clearance, carefully raise theengine more until the bar can be removed.7FReinstall the <strong>Hotchkis</strong> Sway BarReinstall the <strong>Hotchkis</strong> Sway Bar in the same manner as stock removal. Your kit comes with new bushings andbrackets. Apply the provided silicone grease in the inside area of each bushing. Install the bushings onto the bar.When reinstalling the stock bushing bracket nuts, please use the provided washers from your hardware kit. Youshould use one washer for each nut totaling 4 for the front installation. Apply a small amount of lock threadingcompound (included in your kit) on each nut. Make sure to use the brackets that have the 90° grease fittingattached. You may choose to point the fitting towards the outside or inside depending on which direction is easiestfor you to regrease in the future.