Control Valve Drive Parts List - Clean My Water
Control Valve Drive Parts List - Clean My Water
Control Valve Drive Parts List - Clean My Water
You also want an ePaper? Increase the reach of your titles
YUMPU automatically turns print PDFs into web optimized ePapers that Google loves.
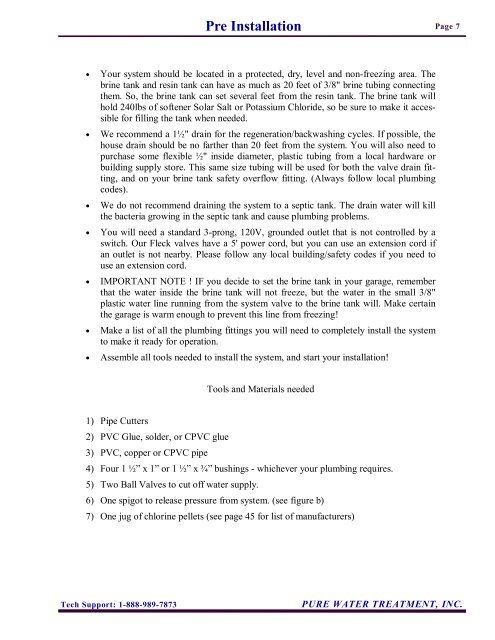
Pre InstallationPage 7• Your system should be located in a protected, dry, level and non-freezing area. Thebrine tank and resin tank can have as much as 20 feet of 3/8" brine tubing connectingthem. So, the brine tank can set several feet from the resin tank. The brine tank willhold 240lbs of softener Solar Salt or Potassium Chloride, so be sure to make it accessiblefor filling the tank when needed.• We recommend a 1½" drain for the regeneration/backwashing cycles. If possible, thehouse drain should be no farther than 20 feet from the system. You will also need topurchase some flexible ½" inside diameter, plastic tubing from a local hardware orbuilding supply store. This same size tubing will be used for both the valve drain fitting,and on your brine tank safety overflow fitting. (Always follow local plumbingcodes).• We do not recommend draining the system to a septic tank. The drain water will killthe bacteria growing in the septic tank and cause plumbing problems.• You will need a standard 3-prong, 120V, grounded outlet that is not controlled by aswitch. Our Fleck valves have a 5' power cord, but you can use an extension cord ifan outlet is not nearby. Please follow any local building/safety codes if you need touse an extension cord.• IMPORTANT NOTE ! IF you decide to set the brine tank in your garage, rememberthat the water inside the brine tank will not freeze, but the water in the small 3/8"plastic water line running from the system valve to the brine tank will. Make certainthe garage is warm enough to prevent this line from freezing!• Make a list of all the plumbing fittings you will need to completely install the systemto make it ready for operation.• Assemble all tools needed to install the system, and start your installation!Tools and Materials needed1) Pipe Cutters2) PVC Glue, solder, or CPVC glue3) PVC, copper or CPVC pipe4) Four 1 ½” x 1” or 1 ½” x ¾” bushings - whichever your plumbing requires.5) Two Ball <strong>Valve</strong>s to cut off water supply.6) One spigot to release pressure from system. (see figure b)7) One jug of chlorine pellets (see page 45 for list of manufacturers)Tech Support: 1-888-989-7873PURE WATER TREATMENT, INC.


