gcf drive assembly gcf41-61 - Gearmore, Inc.
gcf drive assembly gcf41-61 - Gearmore, Inc.
gcf drive assembly gcf41-61 - Gearmore, Inc.
- No tags were found...

Create successful ePaper yourself
Turn your PDF publications into a flip-book with our unique Google optimized e-Paper software.
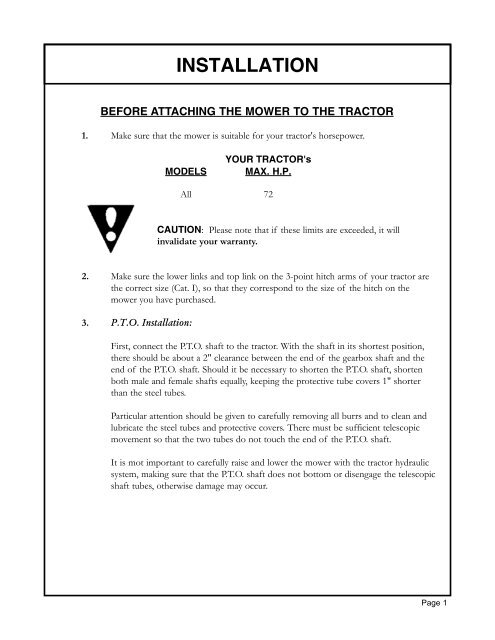
INSTALLATIONBEFORE ATTACHING THE MOWER TO THE TRACTOR1. Make sure that the mower is suitable for your tractor's horsepower.MODELSYOUR TRACTOR'sMAX. H.P.All 72CAUTION: Please note that if these limits are exceeded, it willinvalidate your warranty.2. Make sure the lower links and top link on the 3-point hitch arms of your tractor arethe correct size (Cat. I), so that they correspond to the size of the hitch on themower you have purchased.3. P.T.O. Installation:First, connect the P.T.O. shaft to the tractor. With the shaft in its shortest position,there should be about a 2" clearance between the end of the gearbox shaft and theend of the P.T.O. shaft. Should it be necessary to shorten the P.T.O. shaft, shortenboth male and female shafts equally, keeping the protective tube covers 1" shorterthan the steel tubes.Particular attention should be given to carefully removing all burrs and to clean andlubricate the steel tubes and protective covers. There must be sufficient telescopicmovement so that the two tubes do not touch the end of the P.T.O. shaft.It is mot important to carefully raise and lower the mower with the tractor hydraulicsystem, making sure that the P.T.O. shaft does not bottom or disengage the telescopicshaft tubes, otherwise damage may occur.Page 1