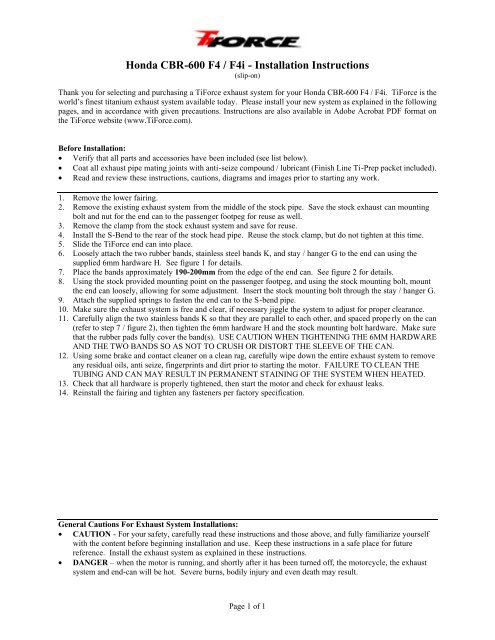
Honda CBR-600 F4 / F4i - Installation Instructions - Star Racing
Honda CBR-600 F4 / F4i - Installation Instructions - Star Racing
Honda CBR-600 F4 / F4i - Installation Instructions - Star Racing

Create successful ePaper yourself
Turn your PDF publications into a flip-book with our unique Google optimized e-Paper software.
<strong>Honda</strong> <strong>CBR</strong>-<strong>600</strong> <strong>F4</strong> / <strong>F4</strong>i - <strong>Installation</strong> <strong>Instructions</strong>(slip-on)Thank you for selecting and purchasing a TiForce exhaust system for your <strong>Honda</strong> <strong>CBR</strong>-<strong>600</strong> <strong>F4</strong> / <strong>F4</strong>i. TiForce is theworld’s finest titanium exhaust system available today. Please install your new system as explained in the followingpages, and in accordance with given precautions. <strong>Instructions</strong> are also available in Adobe Acrobat PDF format onthe TiForce website (www.TiForce.com).Before <strong>Installation</strong>:• Verify that all parts and accessories have been included (see list below).• Coat all exhaust pipe mating joints with anti-seize compound / lubricant (Finish Line Ti-Prep packet included).• Read and review these instructions, cautions, diagrams and images prior to starting any work.1. Remove the lower fairing.2. Remove the existing exhaust system from the middle of the stock pipe. Save the stock exhaust can mountingbolt and nut for the end can to the passenger footpeg for reuse as well.3. Remove the clamp from the stock exhaust system and save for reuse.4. Install the S-Bend to the rear of the stock head pipe. Reuse the stock clamp, but do not tighten at this time.5. Slide the TiForce end can into place.6. Loosely attach the two rubber bands, stainless steel bands K, and stay / hanger G to the end can using thesupplied 6mm hardware H. See figure 1 for details.7. Place the bands approximately 190-200mm from the edge of the end can. See figure 2 for details.8. Using the stock provided mounting point on the passenger footpeg, and using the stock mounting bolt, mountthe end can loosely, allowing for some adjustment. Insert the stock mounting bolt through the stay / hanger G.9. Attach the supplied springs to fasten the end can to the S-bend pipe.10. Make sure the exhaust system is free and clear, if necessary jiggle the system to adjust for proper clearance.11. Carefully align the two stainless bands K so that they are parallel to each other, and spaced prope rly on the can(refer to step 7 / figure 2), then tighten the 6mm hardware H and the stock mounting bolt hardware. Make surethat the rubber pads fully cover the band(s). USE CAUTION WHEN TIGHTENING THE 6MM HARDWAREAND THE TWO BANDS SO AS NOT TO CRUSH OR DISTORT THE SLEEVE OF THE CAN.12. Using some brake and contact cleaner on a clean rag, carefully wipe down the entire exhaust system to removeany residual oils, anti seize, fingerprints and dirt prior to starting the motor. FAILURE TO CLEAN THETUBING AND CAN MAY RESULT IN PERMANENT STAINING OF THE SYSTEM WHEN HEATED.13. Check that all hardware is properly tightened, then start the motor and check for exhaust leaks.14. Reinstall the fairing and tighten any fasteners per factory specification.General Cautions For Exhaust System <strong>Installation</strong>s:• CAUTION - For your safety, carefully read these instructions and those above, and fully familiarize yourselfwith the content before beginning installation and use. Keep these instructions in a safe place for futurereference. Install the exhaust system as explained in these instructions.• DANGER – when the motor is running, and shortly after it has been turned off, the motorcycle, the exhaustsystem and end-can will be hot. Severe burns, bodily injury and even death may result.Page 1 of 1
• DANGER - Keep gasoline and other flammable materials away from the exhaust system at all times. Exposureof gasoline and to heat can lead to fire.• CAUTION - Stop the motorcycle should the exhaust system come in contact with people or animals. Nevertouch the exhaust system when hot. Direct contact with the system can cause burns.• DANGER - Allow the motor to cool before installing or removing the exhaust system. Working with a hotmotor can lead to burns.• CAUTION - Stand the motorcycle on a flat and level surface and ensure that the motorcycle is stable beforeinstalling the exhaust system. Bodily injury and / or death could result to you or others if the motorcycle fallsover. Damage may also result to the motorcycle or nearby property or equipment.• DANGER - <strong>Star</strong>t and run the motorcycle in a well-ventilated area. With prolonged exposure to exhaust gasyou run the risk of severe oxygen deficiencies, bodily injury or death may result.• CAUTION – Install the muffler only on the specified model of motorcycle. Improper installation will lead toloss of performance and or damage to the motorcycle.• CAUTION – Do not disassemble, modify or remodel this exhaust system.TiForce high performance exhaust systems are distributed exclusively by Orient Express Powersports. Please haveyour dealer contact Orient Express for technical assistance, information, and parts if needed.TiForce / Orient Express81 Hanse AveFreeport, NY 11520800.645.6521516.546.5232 tel516.546.5247 faxwww.orientexpress.comwww.tiforce.comsales@tiforce.comPage 2 of 2
PARTS LIST (Slip-on <strong>Honda</strong> <strong>CBR</strong>-<strong>600</strong> <strong>F4</strong>/<strong>F4</strong>i)• Exhaust S-bend pipe – 1x• End can – 1x• End can stay / hanger G – 1x• Stainless steel silencer band K – 2x• Rubber pad – 2x• M8x45mm Bolt – 1x• M8 nut – 1x• M8 washer – 1x• Exhaust springs – 2x• M6 x 20mm allen bolt H – 2x• M6 nut – 2x• M6 washer – 4x• Center stand stop plate• Finish Line TiPrep Anti-Seize – 1 packetPage 3 of 3