Instructions for Seminar Notebook (laptop)
Instructions for Seminar Notebook (laptop)
Instructions for Seminar Notebook (laptop)

You also want an ePaper? Increase the reach of your titles
YUMPU automatically turns print PDFs into web optimized ePapers that Google loves.
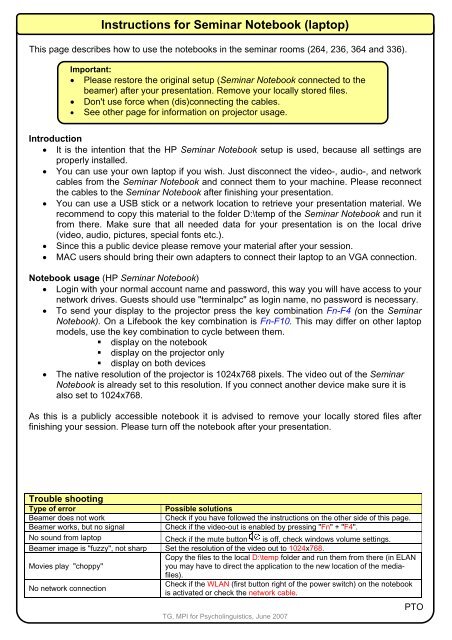
<strong>Instructions</strong> <strong>for</strong> <strong>Seminar</strong> <strong>Notebook</strong> (<strong>laptop</strong>)This page describes how to use the notebooks in the seminar rooms (264, 236, 364 and 336).Important:• Please restore the original setup (<strong>Seminar</strong> <strong>Notebook</strong> connected to thebeamer) after your presentation. Remove your locally stored files.• Don't use <strong>for</strong>ce when (dis)connecting the cables.• See other page <strong>for</strong> in<strong>for</strong>mation on projector usage.Introduction• It is the intention that the HP <strong>Seminar</strong> <strong>Notebook</strong> setup is used, because all settings areproperly installed.• You can use your own <strong>laptop</strong> if you wish. Just disconnect the video-, audio-, and networkcables from the <strong>Seminar</strong> <strong>Notebook</strong> and connect them to your machine. Please reconnectthe cables to the <strong>Seminar</strong> <strong>Notebook</strong> after finishing your presentation.• You can use a USB stick or a network location to retrieve your presentation material. Werecommend to copy this material to the folder D:\temp of the <strong>Seminar</strong> <strong>Notebook</strong> and run itfrom there. Make sure that all needed data <strong>for</strong> your presentation is on the local drive(video, audio, pictures, special fonts etc.).• Since this a public device please remove your material after your session.• MAC users should bring their own adapters to connect their <strong>laptop</strong> to an VGA connection.<strong>Notebook</strong> usage (HP <strong>Seminar</strong> <strong>Notebook</strong>)• Login with your normal account name and password, this way you will have access to yournetwork drives. Guests should use "terminalpc" as login name, no password is necessary.• To send your display to the projector press the key combination Fn-F4 (on the <strong>Seminar</strong><strong>Notebook</strong>). On a Lifebook the key combination is Fn-F10. This may differ on other <strong>laptop</strong>models, use the key combination to cycle between them.• display on the notebook• display on the projector only• display on both devices• The native resolution of the projector is 1024x768 pixels. The video out of the <strong>Seminar</strong><strong>Notebook</strong> is already set to this resolution. If you connect another device make sure it isalso set to 1024x768.As this is a publicly accessible notebook it is advised to remove your locally stored files afterfinishing your session. Please turn off the notebook after your presentation.Trouble shootingType of errorPossible solutionsBeamer does not workCheck if you have followed the instructions on the other side of this page.Beamer works, but no signalCheck if the video-out is enabled by pressing "Fn" + "F4".No sound from <strong>laptop</strong> Check if the mute button is off, check windows volume settings.Beamer image is "fuzzy", not sharp Set the resolution of the video out to 1024x768.Copy the files to the local D:\temp folder and run them from there (in ELANMovies play "choppy"you may have to direct the application to the new location of the mediafiles).No network connectionCheck if the WLAN (first button right of the power switch) on the notebookis activated or check the network cable.TG, MPI <strong>for</strong> Psycholinguistics, June 2007PTO
<strong>Instructions</strong> <strong>for</strong> the presentation installationThis page describes how to use the presentation installation (audio and projector) in the seminarrooms (264, 236, 364, 336).Important• Get familiar with this installation be<strong>for</strong>e you do a real presentation.• Read the back side of this sheet <strong>for</strong> instructions to operate and/or connect anotebook.• Switch off/shutdown the system if you do not need it any more.Start up the <strong>Seminar</strong> <strong>Notebook</strong> (or your own computer) with the available video-, audio-,and network cables connected. Make sure that your presentation device delivers a pictureon the VGA outlet. See other side <strong>for</strong> more in<strong>for</strong>mation.Switch on procedure• Use the red power switch next to the projection screen to operate the installation.• If the red indicator lamp - just above the switch - is lit, the installation is powered on.• The projector needs some time to reach full brightness. During startup all available inputlines will be checked <strong>for</strong> an incoming signal from a computer or video device.Usage and the functions of the remote control• If the projector does not receive an input signal from the connected device a messagereading ‘No signal’ will be shown on the screen. If the signal is not available <strong>for</strong> morethen 1 hour, the ‘standby mode’ will be activated.• Reactivation from the ‘standby mode’ is only possible with the use of the remotecontrol. Press the red ‘ON/STANDBY’ button at the upper right side of the remotecontrol. The remote control itself can switched on/off with a switch at the bottom of thefront.• The built in laser pointer is activated by pressing the yellow button.• The ‘AUTO SET’ button will synchronize the projector image with the used presentationdevice. This function should be activated every time another device is used.• Please, do not change any other internal settings of the beamer!• The volume <strong>for</strong> the speakers is set by controlling the volume slider on your device (hardand/orsoftware). It can also be adjusted at the rear side of one of the speakers. In mostcases this will not be necessary..When finished the system has to be switched off!Switch off procedure.• Use the remote control and press the red button twice. The shut down procedure ofthe projector will be executed. You cannot restart the beamer in this phase.• Turn off the main switch next to the projection screen. The indicator lamp above theswitch must be off.• Do not <strong>for</strong>get to switch off the remote control.• The beamer is now busy with cooling down. This can take another 10 minutes be<strong>for</strong>e theprojector has cooled down enough to switch off by itself. During this period the projectorcannot be switched on again.Technical assistanceContact Telephone RoomBeamer Gerd Klaas - Ad Verbunt 111 - 107 111 - 107Software/network Alex Dukers - Ad Verbunt 114/115 - 107 114/115 - 107TG, MPI <strong>for</strong> Psycholinguistics, June 2007PTO