Assembly and owner's manual - Smoke Hollow Smokers by Outdoor ...
Assembly and owner's manual - Smoke Hollow Smokers by Outdoor ...
Assembly and owner's manual - Smoke Hollow Smokers by Outdoor ...

You also want an ePaper? Increase the reach of your titles
YUMPU automatically turns print PDFs into web optimized ePapers that Google loves.
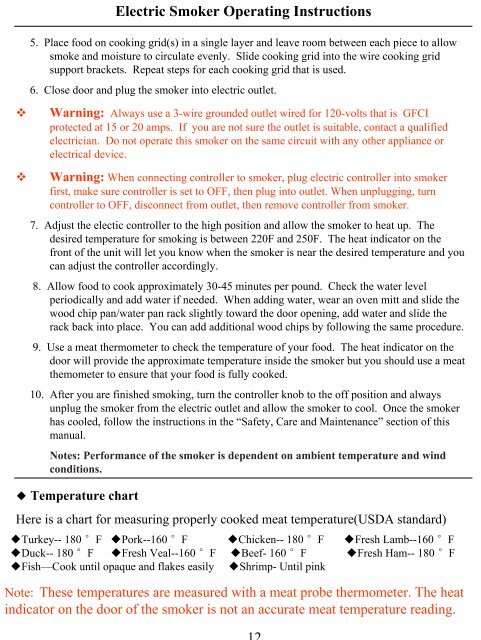
Electric <strong>Smoke</strong>r Operating Instructions5. Place food on cooking grid(s) in a single layer <strong>and</strong> leave room between each piece to allowsmoke <strong>and</strong> moisture to circulate evenly. Slide cooking grid into the wire cooking gridsupport brackets. Repeat steps for each cooking grid that is used.6. Close door <strong>and</strong> plug the smoker into electric outlet.Warning: Always use a 3-wire grounded outlet wired for 120-volts that is GFCIprotected at 15 or 20 amps. If you are not sure the outlet is suitable, contact a qualifiedelectrician. Do not operate this smoker on the same circuit with any other appliance orelectrical device.Warning: When connecting controller to smoker, plug electric controller into smokerfirst, make sure controller is set to OFF, then plug into outlet. When unplugging, turncontroller to OFF, disconnect from outlet, then remove controller from smoker.7. Adjust the electic controller to the high position <strong>and</strong> allow the smoker to heat up. Thedesired temperature for smoking is between 220F <strong>and</strong> 250F. The heat indicator on thefront of the unit will let you know when the smoker is near the desired temperature <strong>and</strong> youcan adjust the controller accordingly.8. Allow food to cook approximately 30-45 minutes per pound. Check the water levelperiodically <strong>and</strong> add water if needed. When adding water, wear an oven mitt <strong>and</strong> slide thewood chip pan/water pan rack slightly toward the door opening, add water <strong>and</strong> slide therack back into place. You can add additional wood chips <strong>by</strong> following the same procedure.9. Use a meat thermometer to check the temperature of your food. The heat indicator on thedoor will provide the approximate temperature inside the smoker but you should use a meatthemometer to ensure that your food is fully cooked.10. After you are finished smoking, turn the controller knob to the off position <strong>and</strong> alwaysunplug the smoker from the electric outlet <strong>and</strong> allow the smoker to cool. Once the smokerhas cooled, follow the instructions in the “Safety, Care <strong>and</strong> Maintenance” section of this<strong>manual</strong>.Notes: Performance of the smoker is dependent on ambient temperature <strong>and</strong> windconditions.◆ Temperature chartHere is a chart for measuring properly cooked meat temperature(USDA st<strong>and</strong>ard)◆Turkey-- 180 °F ◆Pork--160 °F ◆Chicken-- 180 °F ◆Fresh Lamb--160 °F◆Duck-- 180 °F ◆Fresh Veal--160 °F ◆Beef- 160 °F ◆Fresh Ham-- 180 °F◆Fish—Cook until opaque <strong>and</strong> flakes easily ◆Shrimp- Until pinkNote: These temperatures are measured with a meat probe thermometer. The heatindicator on the door of the smoker is not an accurate meat temperature reading.