Easy Way To Clean an HP Deskjet Printer

You also want an ePaper? Increase the reach of your titles
YUMPU automatically turns print PDFs into web optimized ePapers that Google loves.
<strong>Easy</strong> <strong>Way</strong> <strong>To</strong> <strong>Cle<strong>an</strong></strong> <strong>an</strong> <strong>HP</strong> <strong>Deskjet</strong> <strong>Printer</strong><br />
If you regularly print documents for your printer then you will need to perform <strong>an</strong><br />
immediate mainten<strong>an</strong>ce to keep printout sharp <strong>an</strong>d clear. Over time, the dried<br />
ink <strong>an</strong>d dust c<strong>an</strong> block the ink outlets <strong>an</strong>d directly leads to cause streaks or bl<strong>an</strong>k<br />
spaces on the paper. <strong>HP</strong> <strong>Deskjet</strong> printer's cle<strong>an</strong> dried ink from inside as it is<br />
default process. The process eliminates missing lines or dots on your printouts<br />
that eliminate the cartridge. If you notice ink streaks after printing, you'll need to<br />
m<strong>an</strong>ually cle<strong>an</strong> the cartridges to remove <strong>an</strong>y external debris. Most of the time as<br />
a user, you might face some issues while cle<strong>an</strong>ing, for such unfortunate situation,<br />
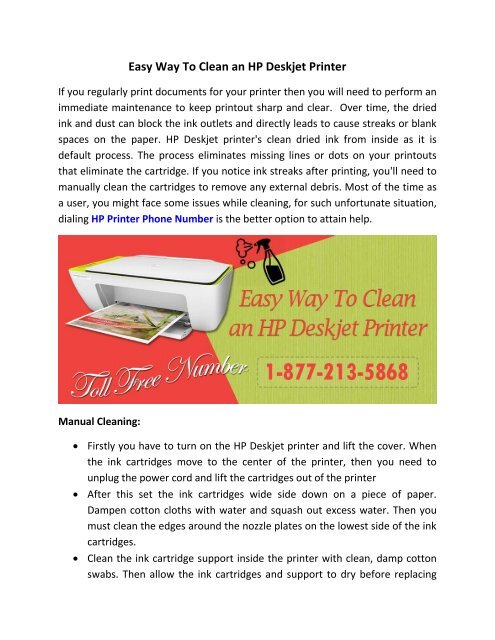
dialing <strong>HP</strong> <strong>Printer</strong> Phone Number is the better option to attain help.<br />
M<strong>an</strong>ual <strong>Cle<strong>an</strong></strong>ing:<br />
Firstly you have to turn on the <strong>HP</strong> <strong>Deskjet</strong> printer <strong>an</strong>d lift the cover. When<br />
the ink cartridges move to the center of the printer, then you need to<br />
unplug the power cord <strong>an</strong>d lift the cartridges out of the printer<br />
After this set the ink cartridges wide side down on a piece of paper.<br />
Dampen cotton cloths with water <strong>an</strong>d squash out excess water. Then you<br />
must cle<strong>an</strong> the edges around the nozzle plates on the lowest side of the ink<br />
cartridges.<br />
<strong>Cle<strong>an</strong></strong> the ink cartridge support inside the printer with cle<strong>an</strong>, damp cotton<br />
swabs. Then allow the ink cartridges <strong>an</strong>d support to dry before replacing
the cartridges. Then you have to simply close the printer cover <strong>an</strong>d plug in<br />
the power cord<br />
At last print a test page to make sure that the cartridges were reinstalled<br />
properly<br />
In case you encounter <strong>an</strong>y sort of issues with the above-stated content, feel free<br />
to call our <strong>HP</strong> <strong>Printer</strong> Online Technical Support – (1-877-213-5868). We are<br />
adapted to provide service <strong>an</strong>d support benefits to medium <strong>an</strong>d large-sized<br />
org<strong>an</strong>izations that own large qu<strong>an</strong>tities <strong>HP</strong> products. Our service programs are<br />
designed to provide complete online support even to h<strong>an</strong>dle the most critical<br />
uptime requirements <strong>an</strong>d high priority needs <strong>an</strong>d provide extensive service <strong>an</strong>d<br />
support benefits to keep your business up <strong>an</strong>d printer perform<strong>an</strong>ce running up.