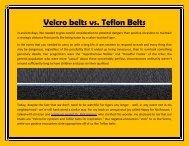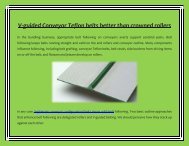
Garments Dryer belts Repair Guide and dryer dismantling
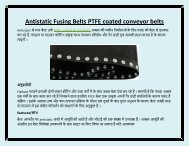
Dryer dismantling is marginally unique relying upon where the buildup filter is found, however whichever way most repairs to gas dryers requires that you expel the best and front (not the back or sides) to get to the parts. Garments Dryer Belts - http://www.bombinobelts.com/product/dryer-belts
Dryer dismantling is marginally unique relying upon where the buildup filter is found, however whichever way most repairs to gas dryers requires that you expel the best and front (not the back or sides) to get to the parts. Garments Dryer Belts - http://www.bombinobelts.com/product/dryer-belts

Create successful ePaper yourself
Turn your PDF publications into a flip-book with our unique Google optimized e-Paper software.
<strong>Garments</strong> <strong>Dryer</strong> Belts <strong>Repair</strong> <strong>Guide</strong> <strong>and</strong> <strong>Dryer</strong> Dismantling<br />
On the off chance that your <strong>dryer</strong> separates<br />
Here's the principal thing to know: You can underst<strong>and</strong> <strong>dryer</strong> inconveniences yourself. There's no compelling<br />
reason to discover a professional, plan an administration call or pay hundreds dollars for repairs.<br />
The fixes we appear in this article rectify around 90 percent of <strong>dryer</strong> <strong>belts</strong> breakdowns. Most repairs take around<br />
60 minutes, however put aside additional opportunity to find new parts. To discover parts, check the business<br />
directory or look online for "machine parts." Most parts are moderately modest. Beside essential devices like an<br />
attachment set <strong>and</strong> screwdrivers, you may require a progression analyzer or millimeter to analyze the issue.<br />
Tip: The initial phase in any machine repair is to ensure its getting power. Unplugged lines <strong>and</strong> stumbled breakers<br />
are a main source of machine "breakdowns."
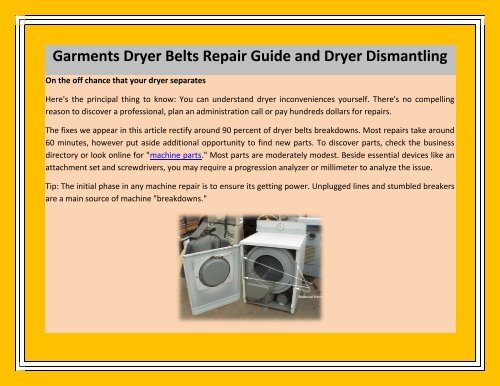
Disassembling a <strong>Dryer</strong> Belts<br />
<strong>Dryer</strong> <strong>dismantling</strong> is marginally unique relying upon where the buildup filter is found, however whichever way<br />
most repairs to gas <strong>dryer</strong>s requires that you expel the best <strong>and</strong> front (not the back or sides) to get to the parts.<br />
Try not to get stunned! Unplug the <strong>dryer</strong> before you do any <strong>dismantling</strong>, demonstrative or repair work. On a gas<br />
<strong>dryer</strong>, likewise kill the gas supply shutoff valve.<br />
<strong>Dryer</strong> disassembly<br />
<strong>Dryer</strong> repairs require some <strong>dismantling</strong> of the external bureau so you can get at the parts inside. On the off<br />
chance that your <strong>dryer</strong>'s build up filter is inside the front entryway, dismantle it along these lines: First, evacuate<br />
the screws at each side of the control board. Flip the board up <strong>and</strong> back to uncover the sinks the best board.<br />
Expel the screws, at that point pull the finish toward you <strong>and</strong> lift it off. To open the base board, discharge the
spring finds by pushing putty cut into the space simply above them. With the base board open, you can evacuate<br />
the front board by expelling two screws at the best <strong>and</strong> two at the base.<br />
In the event that your filter slides into the highest point of the <strong>dryer</strong> <strong>belts</strong>, expel the screws close by the filter<br />
opening. Utilizing a putty cut, discharge the two springs gets situated under the best board at the front. Tilt the<br />
best board up like an auto hood <strong>and</strong> evacuate the screws that hold the front board set up.