Mistral Aufbauanleitung English neu - Herzog
Mistral Aufbauanleitung English neu - Herzog
Mistral Aufbauanleitung English neu - Herzog

Create successful ePaper yourself
Turn your PDF publications into a flip-book with our unique Google optimized e-Paper software.
Z E L T F A B R I K<br />
__________________________________________________________________________________________<br />
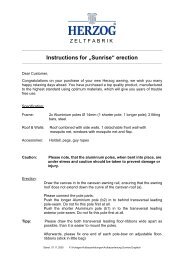
Instructions for „<strong>Mistral</strong>“ erection<br />
_________________________________________________________________________________________________________________<br />
Dear Customer,<br />
Congratulations on your purchase of your new <strong>Herzog</strong> awning, we wish you many happy<br />
relaxing days ahead. You have purchased a top quality product, manufactured to the highest<br />
standard using optimum materials, which will give you many years of trouble free use.<br />
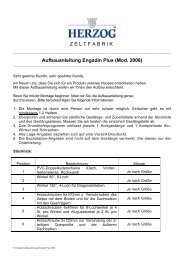
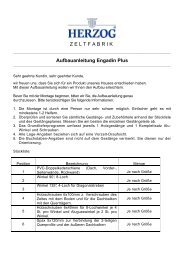
Specification:<br />
Frame: 2 x Long fibreglass poles (11,0 mm diameter)<br />
1 x Short fibreglass poles (9,5 mm diameter)<br />
Roof & Walls: Roof<br />
2 x Side walls with ventilated window & cover<br />
1 x Front Wall<br />
Accessories: Tent pegs, guy ropes<br />
Caution: Please note that the fibreglass poles, when bent into place, are under<br />
Stress and caution should be taken to prevent damage or injury.<br />
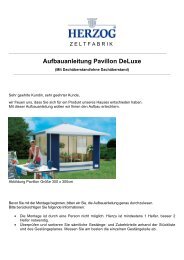
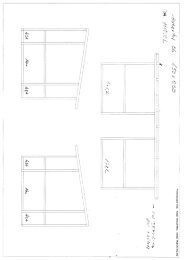
Erection: Draw the canvas in to the caravan awning rail, ensuring that the awning roof<br />
does not extend down the curve of the caravan roof (a).<br />
Push one of the long fibreglass poles (Ø 11 mm) from the bottom of one of the<br />
transverse pockets (b) until the caravan side is reached. Repeat for second<br />
long pole. Secure the ends of the poles to the adjustable floor tapes (c). The<br />
poles will bend to create a tunnel effect (force is necessary to form the bend).<br />
The ends of the short pole should now be located into the pockets on each<br />
side of the awning near the caravan wall (d). This pole is then fixed to the<br />
awning using the rubber cord, as illustrated below.<br />
Stand 01.03.05 F:\Vorlagen\<strong>Aufbauanleitung</strong>en/<strong>Mistral</strong> <strong>Aufbauanleitung</strong> <strong>English</strong> <strong>neu</strong>
The rubber cord is pulled over the bent pole and hooked<br />
onto the small hooks. Take care as this results in high<br />
Tipp: Start at the centre, above the door, and work towards each side.<br />
(a)<br />
(b) (b)<br />
Note: The <strong>Mistral</strong> is designed as a lightweight awning, it is not constructed for<br />
permanent use all round.<br />
<strong>Herzog</strong> GmbH & Co KG<br />
Planen- + Zelte-Fabrik, Camping + Freizeit<br />
Max-Eyth-Str.8 · 74366 Kirchheim/Neckar · Telefon ++49 7143/8944-0<br />
Telefax ++49 7143/92950 · e-mail: herzog.info@herzog-freizeit.de<br />
Internet: http:/www.herzog-freizeit.de<br />
Stand 01.03.05 F:\Vorlagen\<strong>Aufbauanleitung</strong>en/<strong>Mistral</strong> <strong>Aufbauanleitung</strong> <strong>English</strong> <strong>neu</strong><br />
(c)<br />
(d)