Motorola IHF1000 Bluetooth Car Kit Installation tutorial.
Motorola IHF1000 Bluetooth Car Kit Installation tutorial.
Motorola IHF1000 Bluetooth Car Kit Installation tutorial.

Create successful ePaper yourself
Turn your PDF publications into a flip-book with our unique Google optimized e-Paper software.
Discountcarstereo.com<br />
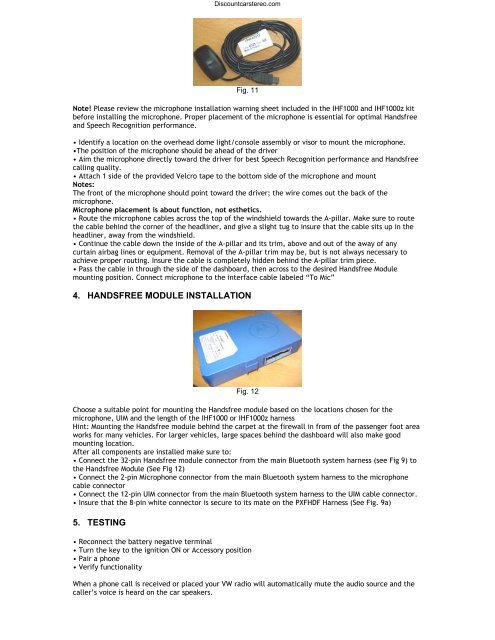
Fig. 11<br />
Note! Please review the microphone installation warning sheet included in the <strong>IHF1000</strong> and <strong>IHF1000</strong>z kit<br />
before installing the microphone. Proper placement of the microphone is essential for optimal Handsfree<br />
and Speech Recognition performance.<br />
• Identify a location on the overhead dome light/console assembly or visor to mount the microphone.<br />
•The position of the microphone should be ahead of the driver<br />
• Aim the microphone directly toward the driver for best Speech Recognition performance and Handsfree<br />
calling quality.<br />
• Attach 1 side of the provided Velcro tape to the bottom side of the microphone and mount<br />
Notes:<br />
The front of the microphone should point toward the driver; the wire comes out the back of the<br />
microphone.<br />
Microphone placement is about function, not esthetics.<br />
• Route the microphone cables across the top of the windshield towards the A-pillar. Make sure to route<br />
the cable behind the corner of the headliner, and give a slight tug to insure that the cable sits up in the<br />
headliner, away from the windshield.<br />
• Continue the cable down the inside of the A-pillar and its trim, above and out of the away of any<br />
curtain airbag lines or equipment. Removal of the A-pillar trim may be, but is not always necessary to<br />
achieve proper routing. Insure the cable is completely hidden behind the A-pillar trim piece.<br />
• Pass the cable in through the side of the dashboard, then across to the desired Handsfree Module<br />
mounting position. Connect microphone to the interface cable labeled “To Mic”<br />
4. HANDSFREE MODULE INSTALLATION<br />
Fig. 12<br />
Choose a suitable point for mounting the Handsfree module based on the locations chosen for the<br />
microphone, UIM and the length of the <strong>IHF1000</strong> or <strong>IHF1000</strong>z harness<br />
Hint: Mounting the Handsfree module behind the carpet at the firewall in from of the passenger foot area<br />
works for many vehicles. For larger vehicles, large spaces behind the dashboard will also make good<br />
mounting location.<br />
After all components are installed make sure to:<br />
• Connect the 32-pin Handsfree module connector from the main <strong>Bluetooth</strong> system harness (see Fig 9) to<br />
the Handsfree Module (See Fig 12)<br />
• Connect the 2-pin Microphone connector from the main <strong>Bluetooth</strong> system harness to the microphone<br />
cable connector<br />
• Connect the 12-pin UIM connector from the main <strong>Bluetooth</strong> system harness to the UIM cable connector.<br />
• Insure that the 8-pin white connector is secure to its mate on the PXFHDF Harness (See Fig. 9a)<br />
5. TESTING<br />
• Reconnect the battery negative terminal<br />
• Turn the key to the ignition ON or Accessory position<br />
• Pair a phone<br />
• Verify functionality<br />
When a phone call is received or placed your VW radio will automatically mute the audio source and the<br />
caller’s voice is heard on the car speakers.