MFJ-442 Keyer/Bencher Combo Manual - Thiecom
MFJ-442 Keyer/Bencher Combo Manual - Thiecom
MFJ-442 Keyer/Bencher Combo Manual - Thiecom

Create successful ePaper yourself
Turn your PDF publications into a flip-book with our unique Google optimized e-Paper software.
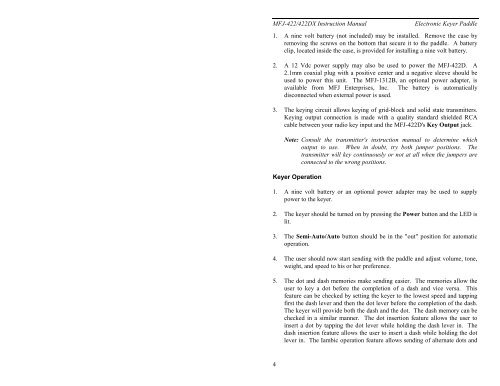
<strong>MFJ</strong>-422/422DX Instruction <strong>Manual</strong> Electronic <strong>Keyer</strong> Paddle<br />
1. A nine volt battery (not included) may be installed. Remove the case by<br />
removing the screws on the bottom that secure it to the paddle. A battery<br />
clip, located inside the case, is provided for installing a nine volt battery.<br />
2. A 12 Vdc power supply may also be used to power the <strong>MFJ</strong>-422D. A<br />
2.1mm coaxial plug with a positive center and a negative sleeve should be<br />
used to power this unit. The <strong>MFJ</strong>-1312B, an optional power adapter, is<br />
available from <strong>MFJ</strong> Enterprises, Inc. The battery is automatically<br />
disconnected when external power is used.<br />
3. The keying circuit allows keying of grid-block and solid state transmitters.<br />
Keying output connection is made with a quality standard shielded RCA<br />
cable between your radio key input and the <strong>MFJ</strong>-422D's Key Output jack.<br />
4<br />
Note: Consult the transmitter's instruction manual to determine which<br />
output to use. When in doubt, try both jumper positions. The<br />
transmitter will key continuously or not at all when the jumpers are<br />
connected to the wrong positions.<br />
<strong>Keyer</strong> Operation<br />
1. A nine volt battery or an optional power adapter may be used to supply<br />
power to the keyer.<br />
2. The keyer should be turned on by pressing the Power button and the LED is<br />
lit.<br />
3. The Semi-Auto/Auto button should be in the "out" position for automatic<br />
operation.<br />
4. The user should now start sending with the paddle and adjust volume, tone,<br />
weight, and speed to his or her preference.<br />
5. The dot and dash memories make sending easier. The memories allow the<br />
user to key a dot before the completion of a dash and vice versa. This<br />
feature can be checked by setting the keyer to the lowest speed and tapping<br />
first the dash lever and then the dot lever before the completion of the dash.<br />
The keyer will provide both the dash and the dot. The dash memory can be<br />
checked in a similar manner. The dot insertion feature allows the user to<br />
insert a dot by tapping the dot lever while holding the dash lever in. The<br />
dash insertion feature allows the user to insert a dash while holding the dot<br />
lever in. The Iambic operation feature allows sending of alternate dots and