Istruzioni per l'uso - Indesit.at
Istruzioni per l'uso - Indesit.at
Istruzioni per l'uso - Indesit.at

You also want an ePaper? Increase the reach of your titles
YUMPU automatically turns print PDFs into web optimized ePapers that Google loves.
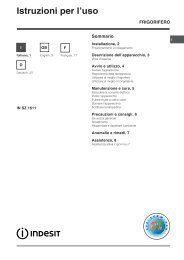
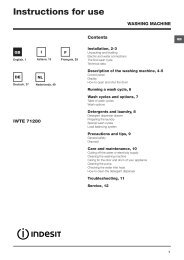
Hob<br />
Type of hob<br />
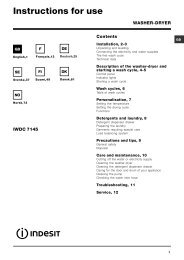
diagram 1<br />
The oven is combined with a hob th<strong>at</strong> can<br />
be made up of two types of he<strong>at</strong>ing<br />
elements: cast-iron electric pl<strong>at</strong>es (see<br />
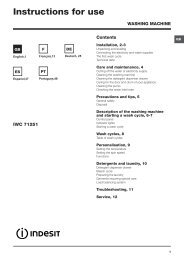
diagram 1) or glass ceramic hobs, which<br />
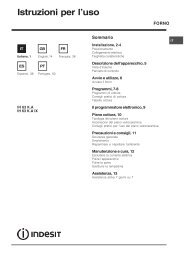
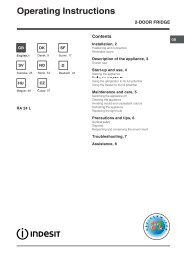
may be traditional (see diagram 2) or with<br />
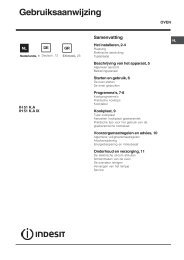
extendable cooking zones (see diagram 3).<br />
elimin<strong>at</strong>e these with a special non-abrasive cleaning product. During<br />
the first few hours of use there may be a smell of rubber which will<br />
disappear very quickly.<br />
To obtain the best results with your hob:<br />
• Use fl<strong>at</strong>-bottomed pans to ensure th<strong>at</strong> they adhere to the cooking<br />
zone <strong>per</strong>fectly.<br />
GB<br />
A<br />
A<br />
A<br />
B<br />
diagram 2<br />
A<br />
C<br />
A<br />
diagram 3<br />
B<br />
C<br />
A<br />
• Always use pans with a diameter th<strong>at</strong> is large enough to cover the<br />
hotpl<strong>at</strong>e fully, in order to use all the available he<strong>at</strong>.<br />
Switching on the glass ceramic hob<br />
Traditional cooking zones<br />
Traditional cooking zones are made up of circular he<strong>at</strong>ing elements.<br />
They turn red approxim<strong>at</strong>ely ten seconds after they have been turned<br />
on.<br />
Each cooking zone is fitted with a control knob allowing you to select<br />
from 12 different tem<strong>per</strong><strong>at</strong>ure settings from a minimum of 1 to a<br />
maximum of 12.<br />
Extendable cooking zones<br />
The extendable radiant elements (B) are recognisable by the fact th<strong>at</strong><br />
they have a double he<strong>at</strong>ing zone. You can turn on only the smaller<br />
internal cooking zone or both the external and internal zones.<br />
The control knob allows you to choose between two power levels,<br />
which are both adjustable between a minimum value of 1 to a<br />
maximum of 12:<br />
• The lowest power level can be set by turning the knob clockwise<br />
from 1 to 12.<br />
• Turn the knob to completely (A) until you hear a slight click, to<br />
enable the maximum power level, which in turn can be adjusted<br />
between 12 and 1 by turning the knob anticlockwise. To restore<br />
the minimum power level, turn the knob and set it back to position<br />
0.<br />
or double cooking zones, the first part of the knob movement<br />
activ<strong>at</strong>es the smaller cooking zone (internal). To activ<strong>at</strong>e both<br />
(internal and external), it is necessary to turn the knob completely<br />
(A) and then select the desired power level between 12 and 1.<br />
Residual he<strong>at</strong> indic<strong>at</strong>or lights (only available on certain<br />
models)<br />
The indic<strong>at</strong>or lights (C) indic<strong>at</strong>e th<strong>at</strong> the tem<strong>per</strong><strong>at</strong>ure of the<br />
corresponding cooking zones have exceeded 60°C, even after the<br />
he<strong>at</strong>ing element has been switched off.<br />
Practical advice on using the glass<br />
ceramic hob<br />
• Make sure th<strong>at</strong> the bottom of the cookware is always dry and<br />
clean to guarantee correct adherence and long life, not only for<br />
the cooking zones but also for the cookware itself.<br />
• Avoid using the same cookware th<strong>at</strong> is used on gas burners: the<br />
he<strong>at</strong> concentr<strong>at</strong>ion on gas burners may deform the base of the<br />
pan, causing it not to adhere correctly.<br />
• Never leave a cooking zone on without cookware on it because as<br />
it he<strong>at</strong>s up and rapidly reaches the maximum level, it could<br />
damage the he<strong>at</strong>ing elements.<br />
Recommended power levels for various types<br />
of cooking:<br />
Set. Radiant Burner<br />
0 Off<br />
1 To melt butter and chocol<strong>at</strong>e.<br />
2<br />
3<br />
4<br />
5<br />
6<br />
7<br />
8<br />
9<br />
To he<strong>at</strong> liquids.<br />
For creams and sauces.<br />
For cooking <strong>at</strong> the boiling point.<br />
For roasts.<br />
10<br />
For boiling large pieces of me<strong>at</strong>.<br />
11<br />
12 For frying.<br />
A<br />
For utilising both cooking areas.<br />
! The glue th<strong>at</strong> is applied on the gaskets leaves some traces of<br />
grease on the glass. Before using the appliance, we recommend you<br />
21