Anleitung für Montage, Betrieb und Wartung Installation ... - Hormann
Anleitung für Montage, Betrieb und Wartung Installation ... - Hormann
Anleitung für Montage, Betrieb und Wartung Installation ... - Hormann
Create successful ePaper yourself
Turn your PDF publications into a flip-book with our unique Google optimized e-Paper software.
ENGLISH<br />
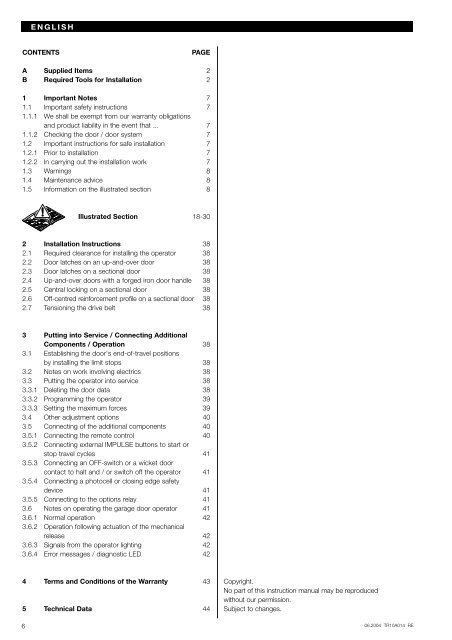
CONTENTS PAGE<br />
A Supplied Items 2<br />
B Required Tools for <strong>Installation</strong> 2<br />
1 Important Notes 7<br />
1.1 Important safety instructions 7<br />
1.1.1 We shall be exempt from our warranty obligations<br />
and product liability in the event that ... 7<br />
1.1.2 Checking the door / door system 7<br />
1.2 Important instructions for safe installation 7<br />
1.2.1 Prior to installation 7<br />
1.2.2 In carrying out the installation work 7<br />
1.3 Warnings 8<br />
1.4 Maintenance advice 8<br />
1.5 Information on the illustrated section 8<br />
Illustrated Section 18-30<br />
2 <strong>Installation</strong> Instructions 38<br />
2.1 Required clearance for installing the operator 38<br />
2.2 Door latches on an up-and-over door 38<br />
2.3 Door latches on a sectional door 38<br />
2.4 Up-and-over doors with a forged iron door handle 38<br />
2.5 Central locking on a sectional door 38<br />
2.6 Off-centred reinforcement profile on a sectional door 38<br />
2.7 Tensioning the drive belt 38<br />
3 Putting into Service / Connecting Additional<br />
Components / Operation 38<br />
3.1 Establishing the door's end-of-travel positions<br />
by installing the limit stops 38<br />
3.2 Notes on work involving electrics 38<br />
3.3 Putting the operator into service 38<br />
3.3.1 Deleting the door data 38<br />
3.3.2 Programming the operator 39<br />
3.3.3 Setting the maximum forces 39<br />
3.4 Other adjustment options 40<br />
3.5 Connecting of the additional components 40<br />
3.5.1 Connecting the remote control 40<br />
3.5.2 Connecting external IMPULSE buttons to start or<br />
stop travel cycles 41<br />
3.5.3 Connecting an OFF-switch or a wicket door<br />
contact to halt and / or switch off the operator 41<br />
3.5.4 Connecting a photocell or closing edge safety<br />
device 41<br />
3.5.5 Connecting to the options relay 41<br />
3.6 Notes on operating the garage door operator 41<br />
3.6.1 Normal operation 42<br />
3.6.2 Operation following actuation of the mechanical<br />
release 42<br />
3.6.3 Signals from the operator lighting 42<br />
3.6.4 Error messages / diagnostic LED 42<br />
4 Terms and Conditions of the Warranty 43<br />
5 Technical Data 44<br />
6<br />
Copyright.<br />
No part of this instruction manual may be reproduced<br />
without our permission.<br />
Subject to changes.<br />
06.2004 TR10A014 RE


