Пароочиститель Клатроник CLATRONIC DR 2930 - SotMarket.ru ...
Пароочиститель Клатроник CLATRONIC DR 2930 - SotMarket.ru ...
Пароочиститель Клатроник CLATRONIC DR 2930 - SotMarket.ru ...
Create successful ePaper yourself
Turn your PDF publications into a flip-book with our unique Google optimized e-Paper software.
<strong>Пароочиститель</strong> <strong>Клатроник</strong> <strong>CLATRONIC</strong> <strong>DR</strong> <strong>2930</strong><br />
Купить пароочистители <strong>Клатроник</strong> в интернет-магазине http://clatronic-shop.com.ua<br />
ENGLISH<br />
26<br />
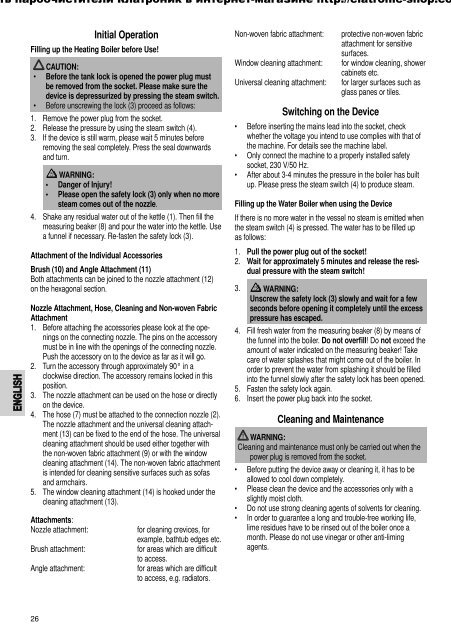
Initial Operation<br />
Filling up the Heating Boiler before Use!<br />
CAUTION:<br />
• Before the tank lock is opened the power plug must<br />
be removed from the socket. Please make sure the<br />
device is depressurized by pressing the steam switch.<br />
• Before unscrewing the lock (3) proceed as follows:<br />
1. Remove the power plug from the socket.<br />
2. Release the pressure by using the steam switch (4).<br />
3. If the device is still warm, please wait 5 minutes before<br />
removing the seal completely. Press the seal downwards<br />
and turn.<br />
WARNING:<br />
• Danger of Injury!<br />
• Please open the safety lock (3) only when no more<br />
steam comes out of the nozzle.<br />
4. Shake any residual water out of the kettle (1). Then fi ll the<br />
measuring beaker (8) and pour the water into the kettle. Use<br />
a funnel if necessary. Re-fasten the safety lock (3).<br />
Attachment of the Individual Accessories<br />
B<strong>ru</strong>sh (10) and Angle Attachment (11)<br />
Both attachments can be joined to the nozzle attachment (12)<br />
on the hexagonal section.<br />
Nozzle Attachment, Hose, Cleaning and Non-woven Fabric<br />
Attachment<br />
1. Before attaching the accessories please look at the openings<br />
on the connecting nozzle. The pins on the accessory<br />
must be in line with the openings of the connecting nozzle.<br />
Push the accessory on to the device as far as it will go.<br />
2. Turn the accessory through approximately 90° in a<br />
clockwise direction. The accessory remains locked in this<br />
position.<br />
3. The nozzle attachment can be used on the hose or directly<br />
on the device.<br />
4. The hose (7) must be attached to the connection nozzle (2).<br />
The nozzle attachment and the universal cleaning attachment<br />
(13) can be fi xed to the end of the hose. The universal<br />
cleaning attachment should be used either together with<br />
the non-woven fabric attachment (9) or with the window<br />
cleaning attachment (14). The non-woven fabric attachment<br />
is intended for cleaning sensitive surfaces such as sofas<br />
and armchairs.<br />
5. The window cleaning attachment (14) is hooked under the<br />
cleaning attachment (13).<br />
Attachments:<br />
Nozzle attachment: for cleaning crevices, for<br />
example, bathtub edges etc.<br />
B<strong>ru</strong>sh attachment: for areas which are diffi cult<br />
to access.<br />
Angle attachment: for areas which are diffi cult<br />
to access, e.g. radiators.<br />
Non-woven fabric attachment: protective non-woven fabric<br />
attachment for sensitive<br />
surfaces.<br />
Window cleaning attachment: for window cleaning, shower<br />
cabinets etc.<br />
Universal cleaning attachment: for larger surfaces such as<br />
glass panes or tiles.<br />
Switching on the Device<br />
• Before inserting the mains lead into the socket, check<br />
whether the voltage you intend to use complies with that of<br />
the machine. For details see the machine label.<br />
• Only connect the machine to a properly installed safety<br />
socket, 230 V/50 Hz.<br />
• After about 3-4 minutes the pressure in the boiler has built<br />
up. Please press the steam switch (4) to produce steam.<br />
Filling up the Water Boiler when using the Device<br />
If there is no more water in the vessel no steam is emitted when<br />
the steam switch (4) is pressed. The water has to be fi lled up<br />
as follows:<br />
1. Pull the power plug out of the socket!<br />
2. Wait for approximately 5 minutes and release the residual<br />
pressure with the steam switch!<br />
3. WARNING:<br />
Unscrew the safety lock (3) slowly and wait for a few<br />
seconds before opening it completely until the excess<br />
pressure has escaped.<br />
4. Fill fresh water from the measuring beaker (8) by means of<br />
the funnel into the boiler. Do not overfi ll! Do not exceed the<br />
amount of water indicated on the measuring beaker! Take<br />
care of water splashes that might come out of the boiler. In<br />
order to prevent the water from splashing it should be fi lled<br />
into the funnel slowly after the safety lock has been opened.<br />
5. Fasten the safety lock again.<br />
6. Insert the power plug back into the socket.<br />
Cleaning and Maintenance<br />
WARNING:<br />
Cleaning and maintenance must only be carried out when the<br />
power plug is removed from the socket.<br />
• Before putting the device away or cleaning it, it has to be<br />
allowed to cool down completely.<br />
• Please clean the device and the accessories only with a<br />
slightly moist cloth.<br />
• Do not use strong cleaning agents of solvents for cleaning.<br />
• In order to guarantee a long and trouble-free working life,<br />
lime residues have to be rinsed out of the boiler once a<br />
month. Please do not use vinegar or other anti-liming<br />
agents.<br />
05-<strong>DR</strong> <strong>2930</strong> NEU.indd 26 25.02.2009 16:19:53 Uhr


