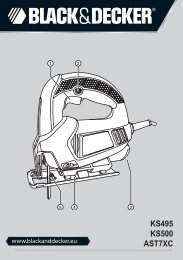
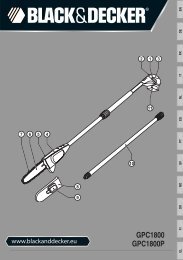
Instruction Manual - Service - Black & Decker
Instruction Manual - Service - Black & Decker
Instruction Manual - Service - Black & Decker

Create successful ePaper yourself
Turn your PDF publications into a flip-book with our unique Google optimized e-Paper software.
Fitting a router bit (fig. A)<br />
• Remove the chip deflector (10) by pulling it<br />
straight up from the router base.<br />
Warning! Beware not to bend the chip deflector.<br />
• Keep the spindle lock button (6) depressed<br />
and rotate the spindle until the spindle lock<br />
fully engages.<br />
• Loosen the collet nut (17) using the spanner<br />
provided.<br />
• Insert the shank of the router bit (18) into the<br />
collet (7). Make sure that the shank<br />
protrudes at least 3 mm from the collet as<br />
shown.<br />
• Keep the spindle lock button (6) depressed<br />
and tighten the collet nut (17) using the<br />
spanner provided.<br />
Fitting the edge guide (fig. B)<br />
The edge guide (12) helps to guide the tool<br />
parallel to an edge.<br />
• Insert the bars (19) into the router base as<br />
shown.<br />
• Set the edge guide to the required distance.<br />
• Tighten the fixing screws (20).<br />
Fitting the dust extraction<br />
adaptor (fig. C)<br />
The dust extraction adaptor allows you to<br />
connect a vacuum cleaner to the tool.<br />
• Place the dust extraction adaptor (11) onto<br />
the dust extraction outlet as shown.<br />
• Connect the hose (23) of the vacuum cleaner<br />
to the adaptor (11).<br />
ENGLISH<br />
Fitting the template guide<br />
(fig. D)<br />
• Fit the template guide (13) to the base of the<br />
router, with the flange to the bottom<br />
(workpiece) side.<br />
• Insert the two long screws (24) from the<br />
bottom side through the template guide and<br />
the holes in the base.<br />
• Place a nut onto each of the screws and<br />
securely tighten the nuts.<br />
Fitting the distance piece (fig. E)<br />
• Fit the distance piece (14) to the base of the<br />
router using the screws provided.<br />
Fitting the centring pin (fig. F)<br />
• Fit the edge guide to the router as shown in<br />
fig. B, but upside down.<br />
• Fit the centring pin (15) to the workpiece side<br />
of the edge guide with the screw (25)<br />
provided.<br />
Fitting the copy follower (fig. G)<br />
• Fit the edge guide to the router as shown in<br />
fig. B.<br />
• Fit the ‘L' bar (16) to the upper side of the<br />
edge guide using the two screws and nuts<br />
provided.<br />
• Adjust the rotating attachment (26) on the ‘L'<br />
bar with the wing knob (27).<br />
Fitting the additional edge guide<br />
(fig. H)<br />
The additional guide (21) is designed to allow<br />
routing of a thin piece of wood (e.g. the edge of a<br />
door).<br />
• Adjust the edge guide (12) as necessary.<br />
11