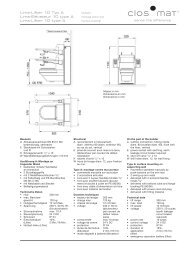
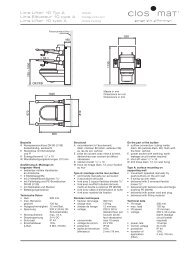
Wichtige Voraussetzungen für die erfolgreiche Montage - Closomat
Wichtige Voraussetzungen für die erfolgreiche Montage - Closomat
Wichtige Voraussetzungen für die erfolgreiche Montage - Closomat

Create successful ePaper yourself
Turn your PDF publications into a flip-book with our unique Google optimized e-Paper software.
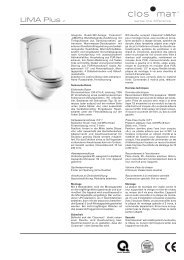
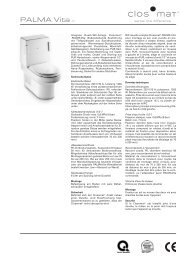
Installing<br />
• Clean outflow sleeve in the floor, wipe it dry and degrease it thoroughly so that the mastic sticks properly<br />
(Fig. 19).<br />
• Raise the fixing bow (Fig. 20).<br />
• Fit the prepared outflow connection on the unit.<br />
• Lower the fixing bow again and tighten it by hand only with the wing nuts (Fig. 21).<br />
• Carry the unit with the outflow bend preassembled to the site.<br />
• Insert the outflow connection into the floor connection and lower it carefully pressing lightly, at the same<br />
time making sure that the frame holes are aligned on the floor fixing bolts (Fig. 22).<br />
• Check the fit of the outflow bend on the unit and in the floor:<br />
If mastic has been used: Press around the mastic strongly by hand.<br />
Important: Absolute sealing is essential to prevent objectionable odours and corrosion<br />
damage.<br />
• Fit spacer blocks, washers and nuts to fixing bolts. Screw the unit secures come loose.<br />
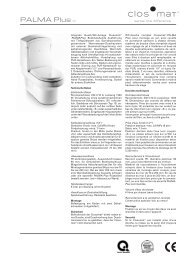
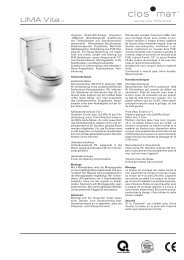
Shutoff valve<br />
If the shutoff valve can be turned straight into the wall connection or the offset:<br />
• Screw in the shutoff valve (Fig. 23).<br />
• Provide connection between filling valve and shutoff valve (Fig. 24).<br />
If a copper pipe or flexible hose has had to be fitted after the shutoff valve:<br />
• Provide connection between copper tube (crimped) or long flexible hose.<br />
• Flush out the cold water pipe if necessary, to prevent the filling pipe of the unit getting clogged with dirt<br />
particles.<br />
Carefully open the shutoff valve and divert the water jet by hand into the cistern, so that the electronics<br />
stay dry.<br />
29