Wichtige Voraussetzungen für die erfolgreiche Montage - Closomat
Wichtige Voraussetzungen für die erfolgreiche Montage - Closomat
Wichtige Voraussetzungen für die erfolgreiche Montage - Closomat

Create successful ePaper yourself
Turn your PDF publications into a flip-book with our unique Google optimized e-Paper software.
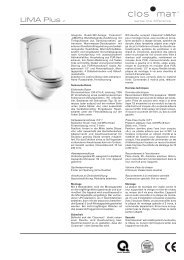
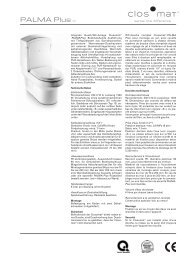
Mounting the casing<br />
• Carefully push in the lower casing from front to rear and position it properly. The rear dogs at the right and<br />
left sides must engage the frame (Fig. 40).<br />
Important: The casing sections are susceptible to impacts.<br />
• Fully lower the two left and right holding clips at the back again (Fig. 41).<br />
• Insert the screw and tighten it only moderately (Fig. 42).<br />
• Carefully introduce the cistern casing from the front and position it properly (Fig. 43).<br />
• Insert screw and tighten moderately (Fig. 44).<br />
• Replace cover cap (position it to the notch) (Fig. 45).<br />
• Fit and secure seat and cover so that the pins of the hinge heads enter the bushes completely (Fig. 46).<br />
Function check<br />
Main switch<br />
• Check whether the main switch is turned on and the grated cover is fitted (Fig. 47).<br />
Key operation<br />
• Verify that both elbow keys have a short free movement before presenting more resistance upon<br />
engagement in the actuating linkage.<br />
Douche WC function<br />
• Place checking cover and lower the seat ring (Fig. 48).<br />
• Weight the hinges with one hand and press one of the two keys. The flushing and douche come into action<br />
(Fig. 48), unless the key function has been separated at customer’s request.<br />
• With the hinges still weighted, release the key after about 10 seconds. Hot air drying ensues.<br />
• Weight the hinges again and press the other key: flushing and douching ensue, unless the key functions<br />
have been separated at customer’s request. Release after about 10 seconds and await hot air current.<br />
• When these sequences have been run through successfully, wipe the unit and checking cover dry with<br />
clean, soft cloths.<br />
Concluding work before leaving the site<br />
• If the customer is present:<br />
Hand over the unit and explain the principal controls briefly. Hand over the checking cover, drawing his<br />
attention to the detailed instructions for use and the accompanying guarantee card which is to be<br />
filled in by the customer.<br />
• If the customer is not present:<br />
Make absolutely sure that the checking cover and the instructions for use are handed over to the customer<br />
in due course.<br />
Please complete the installation report card accompanying<br />
these installation instructions and mail it back to us.<br />
Many thanks for your contribution in rendering first-class service to our shared customer.<br />
33