Altivar 21 H - Schneider Electric
Altivar 21 H - Schneider Electric
Altivar 21 H - Schneider Electric

You also want an ePaper? Increase the reach of your titles
YUMPU automatically turns print PDFs into web optimized ePapers that Google loves.
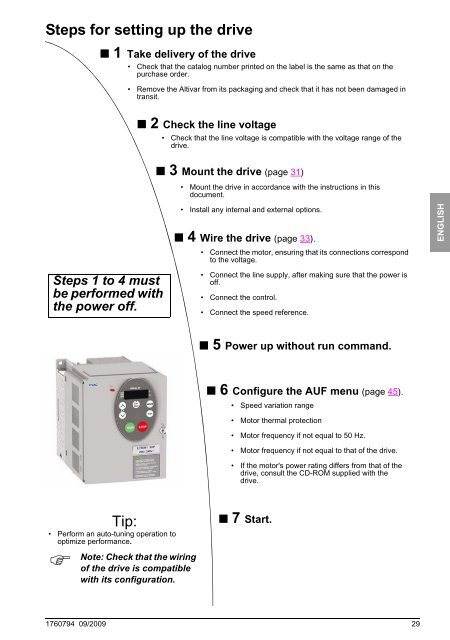
Steps for setting up the drive<br />
b 1 Take delivery of the drive<br />
• Check that the catalog number printed on the label is the same as that on the<br />
purchase order.<br />
• Remove the <strong>Altivar</strong> from its packaging and check that it has not been damaged in<br />
transit.<br />
b 2 Check the line voltage<br />
• Check that the line voltage is compatible with the voltage range of the<br />
drive.<br />
Steps 1 to 4 must<br />
be performed with<br />
the power off.<br />
b 3 Mount the drive (page 31)<br />
• Mount the drive in accordance with the instructions in this<br />
document.<br />
• Install any internal and external options.<br />
b 4 Wire the drive (page 33).<br />
• Connect the motor, ensuring that its connections correspond<br />
to the voltage.<br />
• Connect the line supply, after making sure that the power is<br />
off.<br />
• Connect the control.<br />
• Connect the speed reference.<br />
ENGLISH<br />
b 5 Power up without run command.<br />
b 6 Configure the AUF menu (page 45).<br />
• Speed variation range<br />
• Motor thermal protection<br />
• Motor frequency if not equal to 50 Hz.<br />
• Motor frequency if not equal to that of the drive.<br />
• If the motor's power rating differs from that of the<br />
drive, consult the CD-ROM supplied with the<br />
drive.<br />
Tip:<br />
• Perform an auto-tuning operation to<br />
optimize performance.<br />
b 7 Start.<br />
Note: Check that the wiring<br />
of the drive is compatible<br />
with its configuration.<br />
1760794 09/2009 29