Pharo® FunPool - Hansgrohe
Pharo® FunPool - Hansgrohe
Pharo® FunPool - Hansgrohe

You also want an ePaper? Increase the reach of your titles
YUMPU automatically turns print PDFs into web optimized ePapers that Google loves.
WhIrlPoolMontaGe MIt schÜrze<br />
WhIrlPool InstallatIon WIth sKIrt<br />
MontaGGIo vasca con Pannello<br />
0<br />
Deutsch<br />
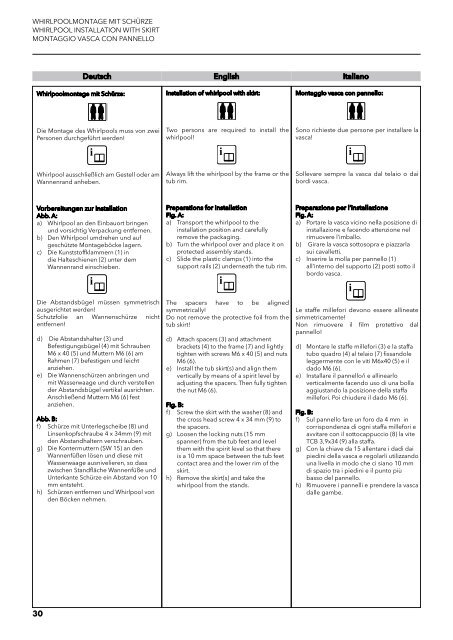
Whirlpoolmontage mit schürze:<br />
Die Montage des Whirlpools muss von zwei<br />
Personen durchgeführt werden!<br />
Whirlpool ausschließlich am Gestell oder am<br />
Wannenrand anheben.<br />
vorbereitungen zur Installation<br />
abb. a:<br />
a) Whirlpool an den einbauort bringen<br />
und vorsichtig verpackung entfernen.<br />
b) Den Whirlpool umdrehen und auf<br />
geschützte Montageböcke lagern.<br />
c) Die Kunststoffklammern (1) in<br />
die halteschienen (2) unter dem<br />
Wannenrand einschieben.<br />
Die abstandsbügel müssen symmetrisch<br />
ausgerichtet werden!<br />
schutzfolie an Wannenschürze nicht<br />
entfernen!<br />
d) Die abstandshalter (3) und<br />
Befestigungsbügel (4) mit schrauben<br />
M6 x 40 (5) und Muttern M6 (6) am<br />
rahmen (7) befestigen und leicht<br />
anziehen.<br />
e) Die Wannenschürzen anbringen und<br />
mit Wasserwaage und durch verstellen<br />
der abstandsbügel vertikal ausrichten.<br />
anschließend Muttern M6 (6) fest<br />
anziehen.<br />
abb. B:<br />
f) schürze mit Unterlegscheibe (8) und<br />
linsenkopfschraube 4 x 34mm (9) mit<br />
den abstandhaltern verschrauben.<br />
g) Die Kontermuttern (sW 15) an den<br />
Wannenfüßen lösen und diese mit<br />
Wasserwaage ausnivelieren, so dass<br />
zwischen standfläche Wannenfüße und<br />
Unterkante schürze ein abstand von 10<br />
mm entsteht.<br />
h) schürzen entfernen und Whirlpool von<br />
den Böcken nehmen.<br />
English<br />
Installation of whirlpool with skirt:<br />
two persons are required to install the<br />
whirlpool!<br />
always lift the whirlpool by the frame or the<br />
tub rim.<br />
Preparations for installation<br />
Fig. A:<br />
a) transport the whirlpool to the<br />
installation position and carefully<br />
remove the packaging.<br />
b) turn the whirlpool over and place it on<br />
protected assembly stands.<br />
c) slide the plastic clamps (1) into the<br />
support rails (2) underneath the tub rim.<br />
the spacers have to be aligned<br />
symmetrically!<br />
Do not remove the protective foil from the<br />
tub skirt!<br />
d) attach spacers (3) and attachment<br />
brackets (4) to the frame (7) and lightly<br />
tighten with screws M6 x 40 (5) and nuts<br />
M6 (6).<br />
e) Install the tub skirt(s) and align them<br />
vertically by means of a spirit level by<br />
adjusting the spacers. then fully tighten<br />
the nut M6 (6).<br />
Fig. B:<br />
f) screw the skirt with the washer (8) and<br />
the cross head screw 4 x 34 mm (9) to<br />
the spacers.<br />
g) loosen the locking nuts (15 mm<br />
spanner) from the tub feet and level<br />
them with the spirit level so that there<br />
is a 10 mm space between the tub feet<br />
contact area and the lower rim of the<br />
skirt.<br />
h) remove the skirt(s) and take the<br />
whirlpool from the stands.<br />
Italiano<br />
Montaggio vasca con pannello:<br />
sono richieste due persone per installare la<br />
vasca!<br />
sollevare sempre la vasca dal telaio o dai<br />
bordi vasca.<br />
Preparazione per l’installazione<br />
Fig. A:<br />
a) Portare la vasca vicino nella posizione di<br />
installazione e facendo attenzione nel<br />
rimuovere l’imballo.<br />
b) Girare la vasca sottosopra e piazzarla<br />
sui cavalletti.<br />
c) Inserire la molla per pannello (1)<br />
all’interno del supporto (2) posti sotto il<br />
bordo vasca.<br />
le staffe millefori devono essere allineate<br />
simmetricamente!<br />
non rimuovere il film protettivo dal<br />
pannello!<br />
d) Montare le staffe millefori (3) e la staffa<br />
tubo quadro (4) al telaio (7) fissandole<br />
leggermente con le viti M6x40 (5) e il<br />
dado M6 (6).<br />
e) Installare il pannello/i e allinearlo<br />
verticalmente facendo uso di una bolla<br />
aggiustando la posizione della staffa<br />
millefori. Poi chiudere il dado M6 (6).<br />
Fig. B:<br />
f) sul pannello fare un foro da 4 mm in<br />
corrispondenza di ogni staffa millefori e<br />
avvitare con il sottocappuccio (8) la vite<br />
tcB 3,9x34 (9) alla staffa.<br />
g) con la chiave da 15 allentare i dadi dai<br />
piedini della vasca e regolarli utilizzando<br />
una livella in modo che ci siano 10 mm<br />
di spazio tra i piedini e il punto più<br />
basso del pannello.<br />
h) rimuovere i pannelli e prendere la vasca<br />
dalle gambe.