HQI - Architekturprojektor AP2 - Pani Projection and Lighting
HQI - Architekturprojektor AP2 - Pani Projection and Lighting
HQI - Architekturprojektor AP2 - Pani Projection and Lighting

Erfolgreiche ePaper selbst erstellen
Machen Sie aus Ihren PDF Publikationen ein blätterbares Flipbook mit unserer einzigartigen Google optimierten e-Paper Software.
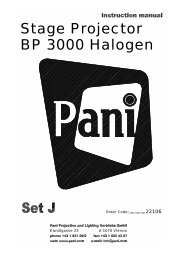
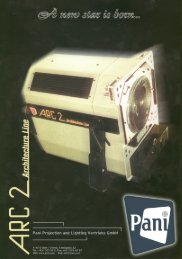
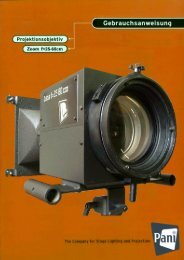
AP 2 /<strong>Architekturprojektor</strong> / Architecture Projector PANI <strong>Projection</strong> <strong>and</strong> Stage <strong>Lighting</strong> Vertriebs GmbH<br />
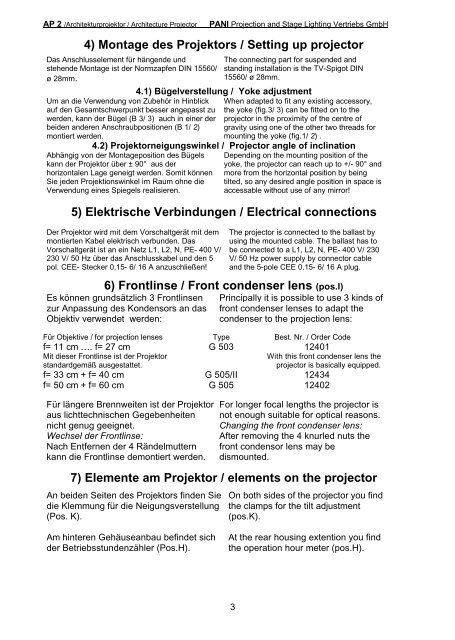
4) Montage des Projektors / Setting up projector<br />
Das Anschlusselement für hängende und<br />
stehende Montage ist der Normzapfen DIN 15560/<br />
ø 28mm.<br />
Um an die Verwendung von Zubehör in Hinblick<br />
auf den Gesamtschwerpunkt besser angepasst zu<br />
werden, kann der Bügel (B 3/ 3) auch in einer der<br />
beiden <strong>and</strong>eren Anschraubpositionen (B 1/ 2)<br />
montiert werden.<br />
The connecting part for suspended <strong>and</strong><br />
st<strong>and</strong>ing installation is the TV-Spigot DIN<br />
15560/ ø 28mm.<br />
4.1) Bügelverstellung / Yoke adjustment<br />
When adapted to fit any existing accessory,<br />
the yoke (fig.3/ 3) can be fitted on to the<br />
projector in the proximity of the centre of<br />
gravity using one of the other two threads for<br />
mounting the yoke (fig.1/ 2) .<br />
4.2) Projektorneigungswinkel / Projector angle of inclination<br />
Abhängig von der Montageposition des Bügels<br />
kann der Projektor über ± 90° aus der<br />
horizontalen Lage geneigt werden. Somit können<br />
Sie jeden Projektionswinkel im Raum ohne die<br />
Verwendung eines Spiegels realisieren.<br />
Depending on the mounting position of the<br />
yoke, the projector can reach up to +/- 90° <strong>and</strong><br />
more from the horizontal position by being<br />
tilted, so any desired angle position in space is<br />
accessable without use of any mirror!<br />
5) Elektrische Verbindungen / Electrical connections<br />
Der Projektor wird mit dem Vorschaltgerät mit dem<br />
montierten Kabel elektrisch verbunden. Das<br />
Vorschaltgerät ist an ein Netz L1, L2, N, PE- 400 V/<br />
230 V/ 50 Hz über das Anschlusskabel und den 5<br />
pol. CEE- Stecker 0,15- 6/ 16 A anzuschließen!<br />
The projector is connected to the ballast by<br />
using the mounted cable. The ballast has to<br />
be connected to a L1, L2, N, PE- 400 V/ 230<br />
V/ 50 Hz power supply by connector cable<br />
<strong>and</strong> the 5-pole CEE 0.15- 6/ 16 A plug.<br />
6) Frontlinse / Front condenser lens (pos.I)<br />
Es können grundsätzlich 3 Frontlinsen<br />
zur Anpassung des Kondensors an das<br />
Objektiv verwendet werden:<br />
Principally it is possible to use 3 kinds of<br />
front condenser lenses to adapt the<br />
condenser to the projection lens:<br />
Für Objektive / for projection lenses Type Best. Nr. / Order Code<br />
f= 11 cm …. f= 27 cm G 503 12401<br />
Mit dieser Frontlinse ist der Projektor With this front condenser lens the<br />
st<strong>and</strong>ardgemäß ausgestattet. projector is basically equipped.<br />
f= 33 cm + f= 40 cm G 505/II 12434<br />
f= 50 cm + f= 60 cm G 505 12402<br />
Für längere Brennweiten ist der Projektor<br />
aus lichttechnischen Gegebenheiten<br />
nicht genug geeignet.<br />
Wechsel der Frontlinse:<br />
Nach Entfernen der 4 Rändelmuttern<br />
kann die Frontlinse demontiert werden.<br />
For longer focal lengths the projector is<br />
not enough suitable for optical reasons.<br />
Changing the front condenser lens:<br />
After removing the 4 knurled nuts the<br />
front condensor lens may be<br />
dismounted.<br />
7) Elemente am Projektor / elements on the projector<br />
An beiden Seiten des Projektors finden Sie<br />
die Klemmung für die Neigungsverstellung<br />
(Pos. K).<br />
Am hinteren Gehäuseanbau befindet sich<br />
der Betriebsstundenzähler (Pos.H).<br />
On both sides of the projector you find<br />
the clamps for the tilt adjustment<br />
(pos.K).<br />
At the rear housing extention you find<br />
the operation hour meter (pos.H).<br />
3