BA Umschlag ROWELD ROFUSE Basic 48 DE-EN-FR-NL ... - Santeko
BA Umschlag ROWELD ROFUSE Basic 48 DE-EN-FR-NL ... - Santeko
BA Umschlag ROWELD ROFUSE Basic 48 DE-EN-FR-NL ... - Santeko

Sie wollen auch ein ePaper? Erhöhen Sie die Reichweite Ihrer Titel.
YUMPU macht aus Druck-PDFs automatisch weboptimierte ePaper, die Google liebt.
correct, the decoded information is displayed, and the “Start ” message indicates that the device is ready<br />
to start welding.<br />
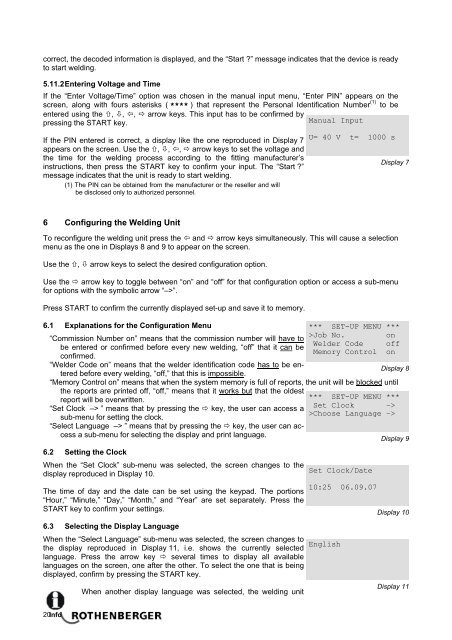
5.11.2 Entering Voltage and Time<br />
If the “Enter Voltage/Time” option was chosen in the manual input menu, “Enter PIN” appears on the<br />
screen, along with fours asterisks ( **** ) that represent the Personal Identification Number (1) to be<br />
entered using the , , , arrow keys. This input has to be confirmed by<br />
pressing the START key.<br />
Manual Input<br />
If the PIN entered is correct, a display like the one reproduced in Display 7<br />
U= 40 V t= 1000 s<br />
appears on the screen. Use the , , , arrow keys to set the voltage and<br />
the time for the welding process according to the fitting manufacturer’s<br />
Display 7<br />
instructions, then press the START key to confirm your input. The “Start ”<br />
message indicates that the unit is ready to start welding.<br />
(1) The PIN can be obtained from the manufacturer or the reseller and will<br />
be disclosed only to authorized personnel.<br />
6 Configuring the Welding Unit<br />
To reconfigure the welding unit press the and arrow keys simultaneously. This will cause a selection<br />
menu as the one in Displays 8 and 9 to appear on the screen.<br />
Use the , arrow keys to select the desired configuration option.<br />
Use the arrow key to toggle between “on” and “off” for that configuration option or access a sub-menu<br />
for options with the symbolic arrow “–>”.<br />
Press START to confirm the currently displayed set-up and save it to memory.<br />
6.1 Explanations for the Configuration Menu<br />
*** SET-UP M<strong>EN</strong>U ***<br />
“Commission Number on” means that the commission number will have to<br />
>Job No.<br />
on<br />
Welder Code off<br />
be entered or confirmed before every new welding, “off” that it can be<br />
Memory Control on<br />
confirmed.<br />
“Welder Code on” means that the welder identification code has to be entered<br />
before every welding, “off,” that this is impossible.<br />
Display 8<br />
“Memory Control on” means that when the system memory is full of reports, the unit will be blocked until<br />
the reports are printed off, “off,” means that it works but that the oldest<br />
report will be overwritten.<br />
*** SET-UP M<strong>EN</strong>U ***<br />
“Set Clock –> ” means that by pressing the key, the user can access a<br />
Set Clock –><br />
>Choose Language –><br />
sub-menu for setting the clock.<br />
“Select Language –> ” means that by pressing the key, the user can access<br />
a sub-menu for selecting the display and print language.<br />
Display 9<br />
6.2 Setting the Clock<br />
When the “Set Clock” sub-menu was selected, the screen changes to the<br />
display reproduced in Display 10.<br />
Set Clock/Date<br />
The time of day and the date can be set using the keypad. The portions<br />
“Hour,” “Minute,” “Day,” “Month,” and “Year” are set separately. Press the<br />
START key to confirm your settings.<br />
6.3 Selecting the Display Language<br />
When the “Select Language” sub-menu was selected, the screen changes to<br />
English<br />
the display reproduced in Display 11, i.e. shows the currently selected<br />
language. Press the arrow key several times to display all available<br />
languages on the screen, one after the other. To select the one that is being<br />
displayed, confirm by pressing the START key.<br />
When another display language was selected, the welding unit<br />
10:25 06.09.07<br />
Display 10<br />
Display 11<br />
20 Info