PDF Download - MacroSystem
PDF Download - MacroSystem
PDF Download - MacroSystem
Sie wollen auch ein ePaper? Erhöhen Sie die Reichweite Ihrer Titel.
YUMPU macht aus Druck-PDFs automatisch weboptimierte ePaper, die Google liebt.
14<br />
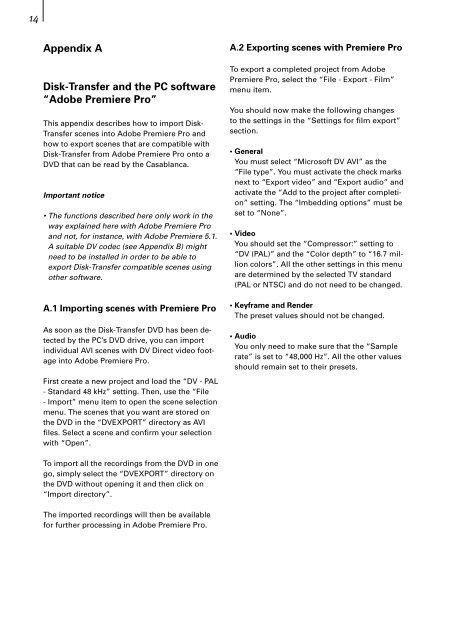
Appendix A<br />
Disk-Transfer and the PC software<br />
“Adobe Premiere Pro”<br />
This appendix describes how to import Disk-<br />
Transfer scenes into Adobe Premiere Pro and<br />
how to export scenes that are compatible with<br />
Disk-Transfer from Adobe Premiere Pro onto a<br />
DVD that can be read by the Casablanca.<br />
Important notice<br />
• The functions described here only work in the<br />
way explained here with Adobe Premiere Pro<br />
and not, for instance, with Adobe Premiere 5.1.<br />
A suitable DV codec (see Appendix B) might<br />
need to be installed in order to be able to<br />
export Disk-Transfer compatible scenes using<br />
other software.<br />
A.1 Importing scenes with Premiere Pro<br />
As soon as the Disk-Transfer DVD has been detected<br />
by the PC’s DVD drive, you can import<br />
individual AVI scenes with DV Direct video footage<br />
into Adobe Premiere Pro.<br />
First create a new project and load the “DV - PAL<br />
- Standard 48 kHz” setting. Then, use the “File<br />
- Import” menu item to open the scene selection<br />
menu. The scenes that you want are stored on<br />
the DVD in the “DVEXPORT” directory as AVI<br />
files. Select a scene and confirm your selection<br />
with “Open”.<br />
To import all the recordings from the DVD in one<br />
go, simply select the “DVEXPORT” directory on<br />
the DVD without opening it and then click on<br />
“Import directory”.<br />
The imported recordings will then be available<br />
for further processing in Adobe Premiere Pro.<br />
A.2 Exporting scenes with Premiere Pro<br />
To export a completed project from Adobe<br />
Premiere Pro, select the “File - Export - Film”<br />
menu item.<br />
You should now make the following changes<br />
to the settings in the “Settings for film export”<br />
section.<br />
• General<br />
You must select “Microsoft DV AVI” as the<br />
“File type”. You must activate the check marks<br />
next to “Export video” and “Export audio” and<br />
activate the “Add to the project after completion”<br />
setting. The “Imbedding options” must be<br />
set to “None”.<br />
• Video<br />
You should set the “Compressor:” setting to<br />
“DV (PAL)” and the “Color depth” to “16.7 million<br />
colors”. All the other settings in this menu<br />
are determined by the selected TV standard<br />
(PAL or NTSC) and do not need to be changed.<br />
• Keyframe and Render<br />
The preset values should not be changed.<br />
• Audio<br />
You only need to make sure that the “Sample<br />
rate” is set to “48,000 Hz”. All the other values<br />
should remain set to their presets.


