Service Information - Hartzell Engine Technologies
Service Information - Hartzell Engine Technologies
Service Information - Hartzell Engine Technologies

You also want an ePaper? Increase the reach of your titles
YUMPU automatically turns print PDFs into web optimized ePapers that Google loves.
1400 East South Blvd<br />
Montgomery, AL 36116<br />
(334) 286-8551 • (334) 286-8018 Fax<br />
http://www.kellyaerospace.com<br />
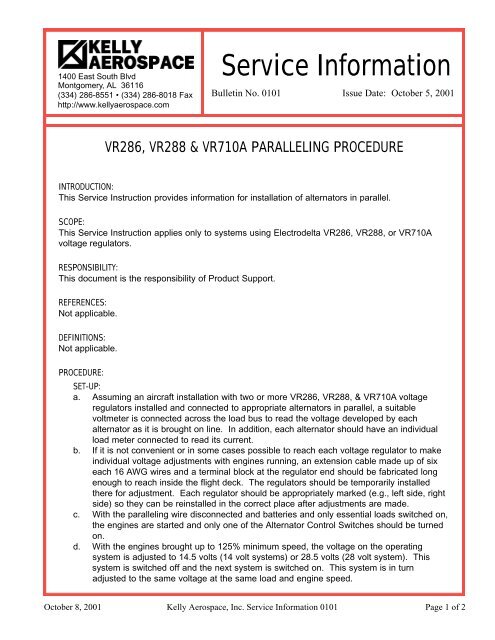
<strong>Service</strong> <strong>Information</strong><br />
Bulletin No. 0101 Issue Date: October 5, 2001<br />
VR286, VR288 & VR710A PARALLELING PROCEDURE<br />
INTRODUCTION:<br />
This <strong>Service</strong> Instruction provides information for installation of alternators in parallel.<br />
SCOPE:<br />
This <strong>Service</strong> Instruction applies only to systems using Electrodelta VR286, VR288, or VR710A<br />
voltage regulators.<br />
RESPONSIBILITY:<br />
This document is the responsibility of Product Support.<br />
REFERENCES:<br />
Not applicable.<br />
DEFINITIONS:<br />
Not applicable.<br />
PROCEDURE:<br />
SET-UP:<br />
a. Assuming an aircraft installation with two or more VR286, VR288, & VR710A voltage<br />
regulators installed and connected to appropriate alternators in parallel, a suitable<br />
voltmeter is connected across the load bus to read the voltage developed by each<br />
alternator as it is brought on line. In addition, each alternator should have an individual<br />
load meter connected to read its current.<br />
b. If it is not convenient or in some cases possible to reach each voltage regulator to make<br />
individual voltage adjustments with engines running, an extension cable made up of six<br />
each 16 AWG wires and a terminal block at the regulator end should be fabricated long<br />
enough to reach inside the flight deck. The regulators should be temporarily installed<br />
there for adjustment. Each regulator should be appropriately marked (e.g., left side, right<br />
side) so they can be reinstalled in the correct place after adjustments are made.<br />
c. With the paralleling wire disconnected and batteries and only essential loads switched on,<br />
the engines are started and only one of the Alternator Control Switches should be turned<br />
on.<br />
d. With the engines brought up to 125% minimum speed, the voltage on the operating<br />
system is adjusted to 14.5 volts (14 volt systems) or 28.5 volts (28 volt system). This<br />
system is switched off and the next system is switched on. This system is in turn<br />
adjusted to the same voltage at the same load and engine speed.<br />
October 8, 2001 Kelly Aerospace, Inc. <strong>Service</strong> <strong>Information</strong> 0101 Page 1 of 2
e. When this is completed the paralleling lead is reconnected, the first system is switched on<br />
and the loads compared. Each load should be equal or its maximum differential no more<br />
than 15% of the rating of a single alternator. (Example: In the case of 60 amp alternators,<br />
9 amps should be the maximum difference.)<br />
f. If it is desired to pull the load division closer together, the heavier loaded channel’s<br />
regulator may be adjusted lower, the lighter channel’s regulator adjusted higher on both.<br />
This is a very fine adjustment and may not be readjusted too far.<br />
g. An alternate method used when it is anticipated that very small loads are to be paralleled<br />
is to use the Alt. Out Indicators as an aid for the adjustment. This involves using the<br />
lightest loading possible and begins by setting the systems as shown above. If one<br />
channel’s Alt. Out indicator is lit signifying that it’s off the bus, readjust it slowly upward until<br />
its Alt. Out indicator just goes out. This usually provides the sharpest paralleling for low<br />
loads.<br />
h. Regardless of the procedure, test the system by turning on the heaviest loads available<br />
and vary engine speeds, together and separately (if possible) to be certain that everything<br />
remains properly in balance throughout the speed and load range of the alternators.<br />
PROBLEMS & TROUBLESHOOTING:<br />
a. If problems are encountered the first thing is to check each channel individually. If both<br />
channels don’t operate properly, don’t attempt to parallel until the problem is remedied. It<br />
may be anything from a loose belt to a bad rotor coil in one of the alternators.<br />
b. Good paralleling depends on balance. If substantial voltage rise is necessary to achieve<br />
equal load division the problem is usually a higher impedance across one of the channels.<br />
The ground return must also be included in this analysis.<br />
c. In order for proper load sharing to occur both channels must be approximately the same<br />
impedance. If not the higher impedance channel’s voltage regulator must raise voltage<br />
excessively to achieve load balance. This voltage rise is an indication that such a problem<br />
has occurred. Sometimes the higher impedance channel may be determined by precise<br />
measurement of the voltage drop when it is operated by itself and compared to the other<br />
side.<br />
WARNINGS & PRECAUTIONS:<br />
Consult your airframe operating and maintenance manuals and technical information for<br />
additional guidance in application.<br />
RECORDS:<br />
Not applicable.<br />
REVISION HISTORY:<br />
New<br />
APPROVAL:<br />
Randy Knuteson, Director of Product Support<br />
October 8, 2001 Kelly Aerospace, Inc. <strong>Service</strong> <strong>Information</strong> 0101 Page 2 of 2