User manual HAIER BC112G - MY PDF MANUALS
User manual HAIER BC112G - MY PDF MANUALS
User manual HAIER BC112G - MY PDF MANUALS

You also want an ePaper? Increase the reach of your titles
YUMPU automatically turns print PDFs into web optimized ePapers that Google loves.
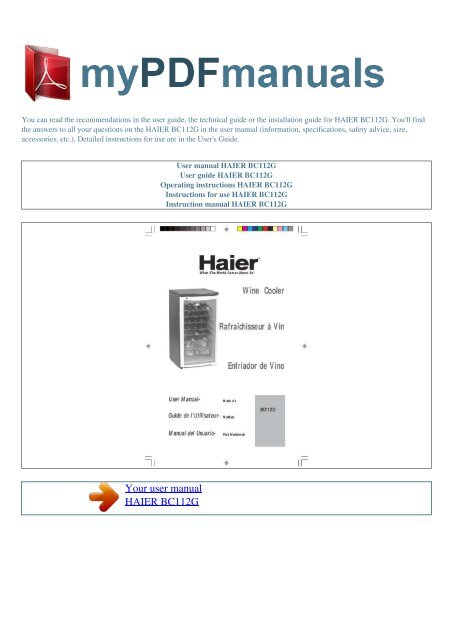
You can read the recommendations in the user guide, the technical guide or the installation guide for <strong>HAIER</strong> <strong>BC112G</strong>. You'll find<br />
the answers to all your questions on the <strong>HAIER</strong> <strong>BC112G</strong> in the user <strong>manual</strong> (information, specifications, safety advice, size,<br />
accessories, etc.). Detailed instructions for use are in the <strong>User</strong>'s Guide.<br />
<strong>User</strong> <strong>manual</strong> <strong>HAIER</strong> <strong>BC112G</strong><br />
<strong>User</strong> guide <strong>HAIER</strong> <strong>BC112G</strong><br />
Operating instructions <strong>HAIER</strong> <strong>BC112G</strong><br />
Instructions for use <strong>HAIER</strong> <strong>BC112G</strong><br />
Instruction <strong>manual</strong> <strong>HAIER</strong> <strong>BC112G</strong><br />
Your user <strong>manual</strong><br />
<strong>HAIER</strong> <strong>BC112G</strong>
Powered by TC<strong>PDF</strong> (www.tcpdf.org)<br />
Manual abstract:<br />
· Leveling legs can be adjusted by turning them clockwise to raise your wine cooler or by turning them counterclockwise to lower your wine cooler. The wine<br />
cooler door will close easier when the leveling legs are extended. Proper Air Circulation · To assure your wine cooler works at the maximum efficiency it was<br />
designed for, you should install it in a location where there is proper air circulation, plumbing and electrical connections. · The following are recommended<br />
clearances around the wine cooler: Sides.2 "(50mm) Top2" (50mm) Back2" (50mm) · Do not over fill your wine cooler for proper internal air circulation. 55<br />
English English Electrical Requirement · Make sure there is a suitable power Outlet (115 volts, 15 amps outlet) with proper grounding to power the wine<br />
cooler. · Avoid the use of three plug adapters or cutting off the third grounding in order to accommodate a two plug outlet. This is a dangerous practice since<br />
it provides no effective grounding for the wine cooler and may result in shock hazard. Install Limitations · Do not install your wine cooler in any location not<br />
properly insulated or heated e.g.<br />
garage etc. Your wine cooler was not designed to operate in temperature settings below 55° Fahrenheit. · Select a suitable location for the wine cooler on a<br />
hard even surface away from direct sunlight or heat source e.g. radiators, baseboard heaters, cooking appliances etc.<br />
Any floor unevenness should be corrected with the leveling legs located on the front and rear bottom corners of the wine cooler. · Your wine cooler is<br />
designed for free-standing installation only. It is not designed for built-in application. 6 6 English English Wine Cooler Features And Use Initial Setup<br />
Electronic Controlled Units: Once you have plugged the unit into an electrical outlet, let the unit run for at least 30 minutes to acclimate itself before making<br />
any adjustments. During this time the Red Wine light may stay on.<br />
Mechanical Controlled Units: The control for this is on the back of the unit. There are 6 settings plus 0 (OFF). Initially set the temperature setting to 3. Let<br />
the unit run for at least 30 minutes to acclimate itself before making any adjustments. Temperature Adjustments: Electronic Control Unit: See fig. # 1 · The<br />
wine cooler is preset from the factory to automatically accommodate temperature requirements for red or white wines. If you store mostly white wines, press<br />
the "White Wine" button and the wine cooler will maintain an average temperature between 45° to 50° F. Pushing the "Red Wine" button will yield an<br />
average temperature between 55° to 60° F. · The wine cooler can be set to any temperature you desire to accommodate your wine storage requirements. To<br />
set the temperature, press both the "White Wine" and "Red Wine" buttons simultaneously and hold for approximately 3 seconds.<br />
Now you are in temperature set mode. Decrease the temperature by pushing the "White Wine" button and increase the temperature by pressing the "Red<br />
Wine" button. Pressing the appropriate button 3 times will adjust the temperature 3 degrees, press 4 times equals 4 degrees, 5 times equals 5 degrees, and so<br />
on. Once you have selected the temperature you desire, push the "Light/Set" button. Now the wine cooler is programmed and the LED readout will return to<br />
current internal temperature reading. 77 English English fig. # 1 + White Red Light Set F · There will be a 3 degree variance +/- between the temperature<br />
you select and the temperature indicated on the LED readout. This occurs because the wine cooler activates and deactivates trying to maintain your desired<br />
temperature. There is often a 10° variance between the top and bottom shelves of the wine cooler. Therefore, if you have set the wine cooler for 50° and have<br />
a mix of red and white wines, you may want to put the white wine on the bottom shelf where the temperature will be 45° F, and place the red wine on the top<br />
shelf where the temperature will be 55° F.<br />
Mechanical Control Unit: See fig. # 2 · Your wine cooler has a temperature control knob on the back of the unit There are two settings. If the knob hand<br />
points to the red color area, the cooler is set for red wine storage. If the knob hand points to the white color area, the cooler temperature is set for white wine<br />
storage. White Coldest fig.<br />
.<br />
Your user <strong>manual</strong><br />
<strong>HAIER</strong> <strong>BC112G</strong>