Eldningsinstruktion och bruksanvisning Cronspisen 100, 200, 500 ...
Eldningsinstruktion och bruksanvisning Cronspisen 100, 200, 500 ...
Eldningsinstruktion och bruksanvisning Cronspisen 100, 200, 500 ...

Create successful ePaper yourself
Turn your PDF publications into a flip-book with our unique Google optimized e-Paper software.
stove and the draft in the chimney. Remember that the<br />
fire must always burn with bright clear flames.<br />
4. Add two more loads of wood of 2-2.5 kg each. Then<br />
allow the tiled stove to give off the accumulated heat<br />
for 9-12 hours before repeating the lighting procedure.<br />
Do not exceed the permitted amount of wood of 12 kg<br />
per lighting instance with a following cooling period of<br />
at least 9 hours. Maximum permitted weight of wood<br />
is 24kg over 24 hours.<br />
5. When the glow has gone out the combustion damper<br />
and the flue damper can be shut. This is to prevent<br />
heat leakage through the chimney during the cooling<br />
period.<br />
Important!<br />
It is important that the wood catches fire quickly. Quick<br />
lighting is achieved by opening the combustion air damper<br />
fully or by leaving the door ajar for a moment. Pyre<br />
lighting causes thick smoke and can cause quick gas<br />
ignition with the risk of damage to property and personal<br />
injury.<br />
It is important that the flue damper is not closed until<br />
the glow in the tiled stove has gone out.<br />
DAMPER<br />
Below the door of the tiled stove there is a control for the<br />
combustion damper. The control is open when it is pulled<br />
out. The combustion air damper must be fully out during<br />
lighting and at the start of the first loading. The supply air<br />
can first be controlled when the tiled stove and chimney are<br />
hot. How much the supply air can be controlled depends<br />
on how hot the stove is and the strength of the draft in the<br />
chimney. When the glow has gone out, the combustion<br />
damper can be shut completely.<br />
There are two damper controls on the side of the upper<br />
section of the tiled stove. The damper control that moves<br />
in and out controls the start damper. The start control is<br />
open when it is pulled out. The twist control controls the<br />
flue damper. When the control is vertical the flue damper is<br />
open, when it is horizontal it is closed.<br />
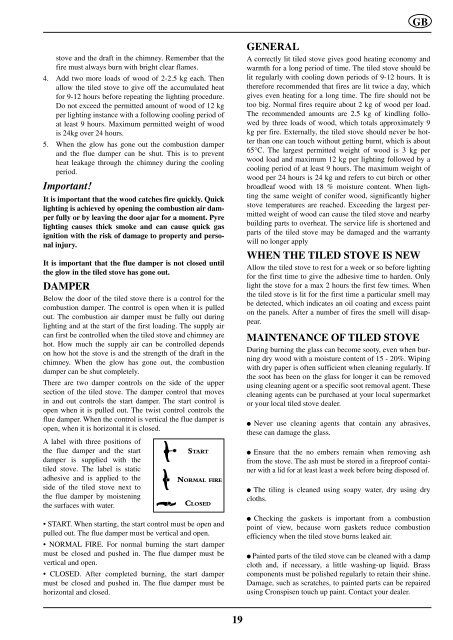
A label with three positions of<br />
the flue damper and the start<br />
damper is supplied with the<br />
tiled stove. The label is static<br />
adhesive and is applied to the<br />
side of the tiled stove next to<br />
the flue damper by moistening<br />
the surfaces with water.<br />
• START. When starting, the start control must be open and<br />
pulled out. The flue damper must be vertical and open.<br />
• NORMAL FIRE. For normal burning the start damper<br />
must be closed and pushed in. The flue damper must be<br />
vertical and open.<br />
• CLOSED. After completed burning, the start damper<br />
must be closed and pushed in. The flue damper must be<br />
horizontal and closed.<br />
1<br />
GB<br />
GENERAL<br />
A correctly lit tiled stove gives good heating economy and<br />
warmth for a long period of time. The tiled stove should be<br />
lit regularly with cooling down periods of 9-12 hours. It is<br />
therefore recommended that fires are lit twice a day, which<br />
gives even heating for a long time. The fire should not be<br />
too big. Normal fires require about 2 kg of wood per load.<br />
The recommended amounts are 2.5 kg of kindling followed<br />
by three loads of wood, which totals approximately 9<br />
kg per fire. Externally, the tiled stove should never be hotter<br />
than one can touch without getting burnt, which is about<br />
65°C. The largest permitted weight of wood is 3 kg per<br />
wood load and maximum 12 kg per lighting followed by a<br />
cooling period of at least 9 hours. The maximum weight of<br />
wood per 24 hours is 24 kg and refers to cut birch or other<br />
broadleaf wood with 18 % moisture content. When lighting<br />
the same weight of conifer wood, significantly higher<br />
stove temperatures are reached. Exceeding the largest permitted<br />
weight of wood can cause the tiled stove and nearby<br />
building parts to overheat. The service life is shortened and<br />
parts of the tiled stove may be damaged and the warranty<br />
will no longer apply<br />
WHEN THE TILED STOVE IS NEW<br />
Allow the tiled stove to rest for a week or so before lighting<br />
for the first time to give the adhesive time to harden. Only<br />
light the stove for a max 2 hours the first few times. When<br />
the tiled stove is lit for the first time a particular smell may<br />
be detected, which indicates an oil coating and excess paint<br />
on the panels. After a number of fires the smell will disappear.<br />
MAINTENANCE OF TILED STOVE<br />
During burning the glass can become sooty, even when burning<br />
dry wood with a moisture content of 15 - 20%. Wiping<br />
with dry paper is often sufficient when cleaning regularly. If<br />
the soot has been on the glass for longer it can be removed<br />
using cleaning agent or a specific soot removal agent. These<br />
cleaning agents can be purchased at your local supermarket<br />
or your local tiled stove dealer.<br />
● Never use cleaning agents that contain any abrasives,<br />
these can damage the glass.<br />
● Ensure that the no embers remain when removing ash<br />
from the stove. The ash must be stored in a fireproof container<br />
with a lid for at least least a week before being disposed of.<br />
● The tiling is cleaned using soapy water, dry using dry<br />
cloths.<br />
● Checking the gaskets is important from a combustion<br />
point of view, because worn gaskets reduce combustion<br />
efficiency when the tiled stove burns leaked air.<br />
● Painted parts of the tiled stove can be cleaned with a damp<br />
cloth and, if necessary, a little washing-up liquid. Brass<br />
components must be polished regularly to retain their shine.<br />
Damage, such as scratches, to painted parts can be repaired<br />
using <strong>Cronspisen</strong> touch up paint. Contact your dealer.