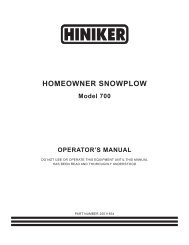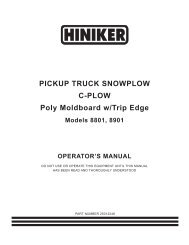
Hiniker 9850 Manual - Snow Plow Stuff
Hiniker 9850 Manual - Snow Plow Stuff
Hiniker 9850 Manual - Snow Plow Stuff

Create successful ePaper yourself
Turn your PDF publications into a flip-book with our unique Google optimized e-Paper software.
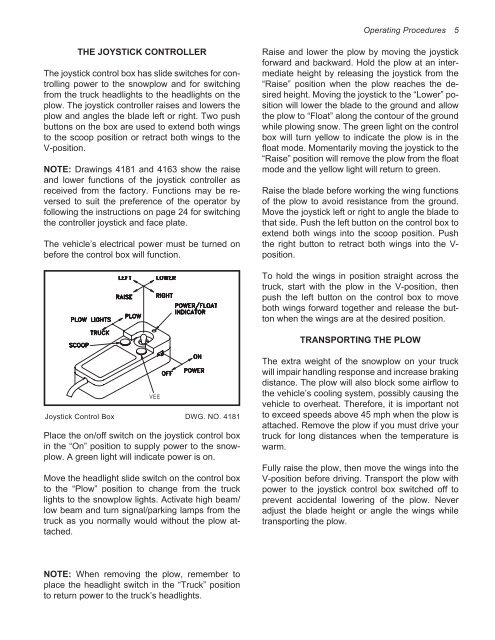
THE JOYSTICK CONTROLLER<br />
The joystick control box has slide switches for controlling<br />
power to the snowplow and for switching<br />
from the truck headlights to the headlights on the<br />
plow. The joystick controller raises and lowers the<br />
plow and angles the blade left or right. Two push<br />
buttons on the box are used to extend both wings<br />
to the scoop position or retract both wings to the<br />
V-position.<br />
NOTE: Drawings 4181 and 4163 show the raise<br />
and lower functions of the joystick controller as<br />
received from the factory. Functions may be reversed<br />
to suit the preference of the operator by<br />
following the instructions on page 24 for switching<br />
the controller joystick and face plate.<br />
The vehicle’s electrical power must be turned on<br />
before the control box will function.<br />
VEE<br />
Joystick Control Box DWG. NO. 4181<br />
Place the on/off switch on the joystick control box<br />
in the “On” position to supply power to the snowplow.<br />
A green light will indicate power is on.<br />
Move the headlight slide switch on the control box<br />
to the “<strong>Plow</strong>” position to change from the truck<br />
lights to the snowplow lights. Activate high beam/<br />
low beam and turn signal/parking lamps from the<br />
truck as you normally would without the plow attached.<br />
NOTE: When removing the plow, remember to<br />
place the headlight switch in the “Truck” position<br />
to return power to the truck’s headlights.<br />
Operating Procedures 5<br />
Raise and lower the plow by moving the joystick<br />
forward and backward. Hold the plow at an intermediate<br />
height by releasing the joystick from the<br />
“Raise” position when the plow reaches the desired<br />
height. Moving the joystick to the “Lower” position<br />
will lower the blade to the ground and allow<br />
the plow to “Float” along the contour of the ground<br />
while plowing snow. The green light on the control<br />
box will turn yellow to indicate the plow is in the<br />
float mode. Momentarily moving the joystick to the<br />
“Raise” position will remove the plow from the float<br />
mode and the yellow light will return to green.<br />
Raise the blade before working the wing functions<br />
of the plow to avoid resistance from the ground.<br />
Move the joystick left or right to angle the blade to<br />
that side. Push the left button on the control box to<br />
extend both wings into the scoop position. Push<br />
the right button to retract both wings into the Vposition.<br />
To hold the wings in position straight across the<br />
truck, start with the plow in the V-position, then<br />
push the left button on the control box to move<br />
both wings forward together and release the button<br />
when the wings are at the desired position.<br />
TRANSPORTING THE PLOW<br />
The extra weight of the snowplow on your truck<br />
will impair handling response and increase braking<br />
distance. The plow will also block some airflow to<br />
the vehicle’s cooling system, possibly causing the<br />
vehicle to overheat. Therefore, it is important not<br />
to exceed speeds above 45 mph when the plow is<br />
attached. Remove the plow if you must drive your<br />
truck for long distances when the temperature is<br />
warm.<br />
Fully raise the plow, then move the wings into the<br />
V-position before driving. Transport the plow with<br />
power to the joystick control box switched off to<br />
prevent accidental lowering of the plow. Never<br />
adjust the blade height or angle the wings while<br />
transporting the plow.