SKF Differential, Transfer Case & Transmission Kits - SKF.com
SKF Differential, Transfer Case & Transmission Kits - SKF.com
SKF Differential, Transfer Case & Transmission Kits - SKF.com

Create successful ePaper yourself
Turn your PDF publications into a flip-book with our unique Google optimized e-Paper software.
SPEEDI-SLEEVE installation instructions<br />
From scored to restored in a few minutes<br />
Although installation is simple, it should be done carefully to<br />
achieve the best results.<br />
Before starting, the sealing zone on the shaft should be<br />
carefully cleaned and any burrs or rough spots should be<br />
filed down and polished. Deep wear grooves, scratches or<br />
very rough surfaces should be treated with a suitable powdered<br />
metal epoxy filler. The sleeve must be positioned on<br />
the shaft before the filler has hardened.<br />
It should also be noted that although SPEEDI-SLEEVES<br />
can be easily installed within minutes on most shafts, they<br />
should not be placed over splines or keyways etc. on the<br />
shaft. As the thin-walled sleeve has an interference fit, any<br />
disturbances on the shaft surface may create a similar pattern<br />
on the sleeve surface and the seal will leak.<br />
Choosing the right size<br />
To determine the appropriate sleeve size it is first necessary<br />
to clean the shaft carefully. The diameter of an undamaged<br />
section of the seal counterface should then be measured<br />
in at least three different planes. The arithmetical mean of<br />
these measurements is used to choose a SPEEDI-SLEEVE.<br />
If the value lies within the permissible range shown in the<br />
product table for the shaft diameter then the SPEEDI-<br />
SLEEVE will have an adequately tight fit on the shaft. The<br />
sleeve cannot turn on the shaft and no adhesive is required.<br />
If no suitable sleeve is listed in the product table, then it will<br />
be necessary to rework the shaft to an appropriate dimension.<br />
This will also mean that a new size of seal will be<br />
required. If production quantities are viable, <strong>SKF</strong> will also<br />
make tailored sleeves.<br />
<strong>SKF</strong> SPEEDI-SLEEVE installation<br />
Note: If you can catch your fingernail in a seal wear<br />
track or shaft groove, a repair sleeve should be installed<br />
to prevent leakage.<br />
1. Clean the shaft where the seal contacts the shaft. File<br />
down and polish any burrs or rough spots.<br />
2. Measure the diameter where the sleeve will be positioned<br />
on an unworn portion of the shaft. Measure<br />
in three positions and average the readings (to insure<br />
the shaft is within re<strong>com</strong>mended specifications). If the<br />
average diameter is within the range for a given sleeve<br />
size, there is sufficient press-fit built into the sleeve to<br />
prevent it from sliding or spinning without the need<br />
for cement adhesive.<br />
3. Determine how far back the sleeve must be positioned<br />
to cover the old seal wear track. Measure to the exact<br />
point, or mark directly on the surface. The sleeve must<br />
be placed over the worn area, not just bottomed or left<br />
flush with the end of the shaft.<br />
4. Shallow wear grooves do not require filling. Optionally,<br />
a light layer of non-hardening sealant can be applied<br />
to the inner surface of the sleeve. Clear away sealant<br />
that migrates to the outer sleeve surface.<br />
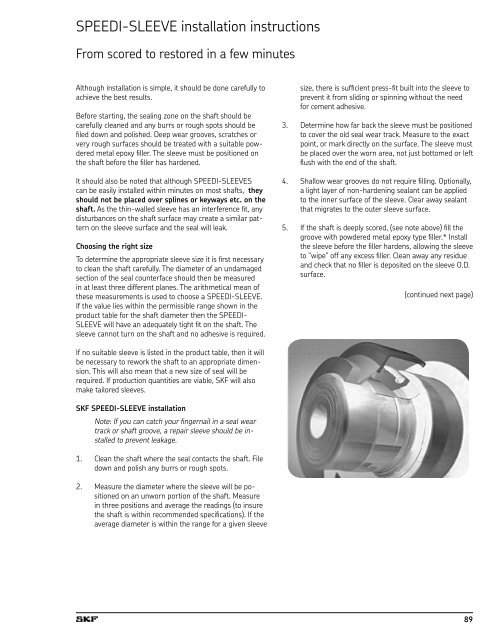
5. If the shaft is deeply scored, (see note above) fill the<br />
groove with powdered metal epoxy type filler.* Install<br />
the sleeve before the filler hardens, allowing the sleeve<br />
to "wipe" off any excess filler. Clean away any residue<br />
and check that no filler is deposited on the sleeve O.D.<br />
surface.<br />
(continued next page)<br />
89